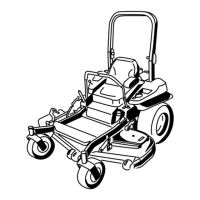
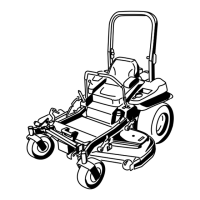
Figure18
BagInstallation
1.Hood4.Mounttab
2.Notched-bagbracket5.Bag
3.Hopper-supportframe
2.Alignthemounttabofthebagassemblywiththe
notched-bagbracket(Figure18).
3.Lowerthebagassemblyuntilthebagtabisfullyseated
intothenotchedbracket(Figure18).
4.Repeatsteps1and2fortheotherbag(Figure18).
5.Lowerthebaggerhoodoverthebags(Figure18).
6.Aligntheholeinthehoodlatchwiththehood
hold-downrod.(Figure19).
7.Pushthehoodlatchforwarduntiltheendofthehood
rodhaspassedthroughlatchasshowninFigure19.
Figure19
9
RoutingtheBlowerBeltinto
theBlowerAssembly
Partsneededforthisprocedure:
1
Blower(fromthebloweranddrivekit)
1
Blowerbelt(fromthebloweranddrivekit)
Procedure
1.Installthebeltaroundtheblowerpulley(Figure20and
Figure21).
Figure20
BlowerBeltRouting
1.Drivepulley3.Blowerpulley
2.Blowerbelt
4.Idler/tensionpulley
16
 Loading...
