EasyManuals Logo

Toshiba E-STUDIO 351C User Functions Guide

Toshiba E-STUDIO 351C
234 pages
To Next Page IconTo Next Page
To Previous Page IconTo Previous Page
Page #146 background imageLoading...
Page #146 background image
144
4.SETTING ITEMS (ADMIN)
3.SETTING NETWORK FUNCTIONS (Cont.)
4
10
Press the [Next] button.
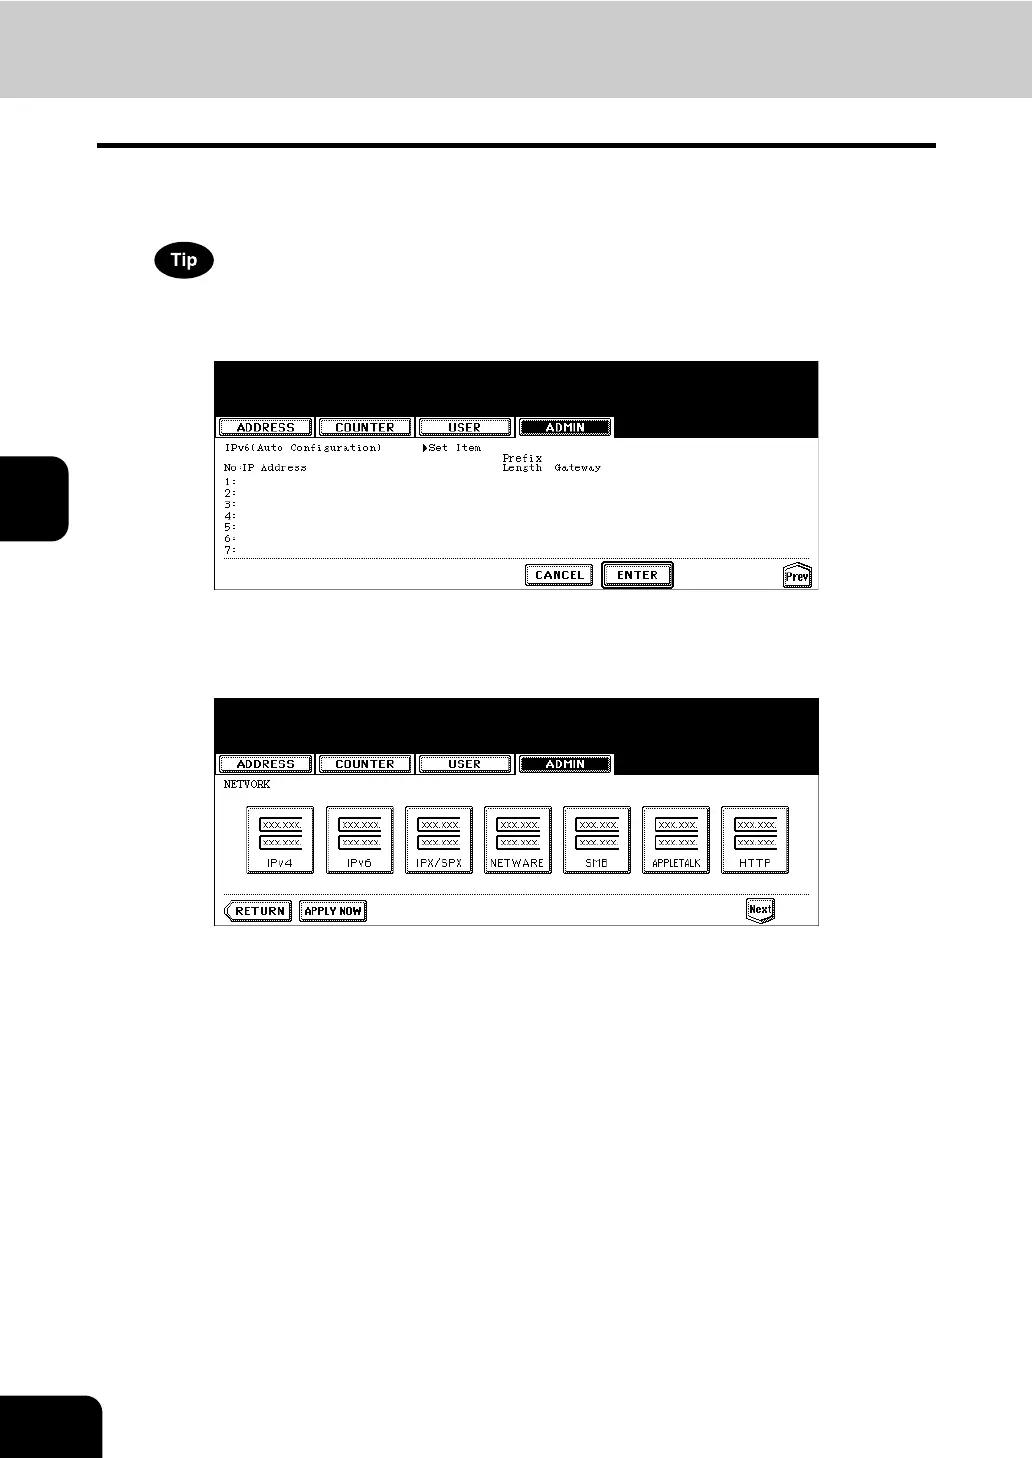
IPv6 addresses obtained from routers are displayed.
Up to 7 IPv6 addresses can be retained.
11
Press the [ENTER] button.
Returns you to the NETWORK menu.
12
Continue to another network setting if required, then press the
[APPLY NOW] button.
The “NETWORK INITIALIZING” message is displayed and this equipment starts initializing the network inter-
face card to apply the changes.

Table of Contents

Other manuals for Toshiba E-STUDIO 351C

Questions and Answers:

Question and Answer IconNeed help?

Do you have a question about the Toshiba E-STUDIO 351C and is the answer not in the manual?

Toshiba E-STUDIO 351C Specifications

General IconGeneral
BrandToshiba
ModelE-STUDIO 351C
CategoryAll in One Printer
LanguageEnglish

Related product manuals