206
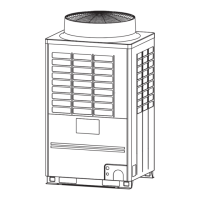
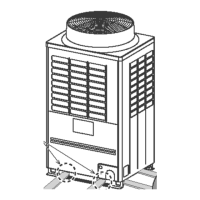
3 Heat exchanger
WARNING
Wear a pair of gloves.
Otherwise, you will risk an injury involving
a replacement part or some other object.
Before the work, be sure to recover the
refrigerant of outdoor unit into cylinders or
another unit connected to the same system.
(Refer to the chapter on “refrigerant recovery
methods to be used during compressor
replacement”.)
1. Detachment (Right-Side Heat
Exchanger as Example)
1)Remove the cabinet.
2)Remove the motor base.
(M5 × 0.4’ (10 mm), 6 pcs.)
(Detach the fan motor leads as well.)
3)Remove the upper partition plate.
(M5 × 0.1’ (10 mm), 5 pcs.)
4)Remove the screws for the support post.
(M5 × 0.1’ (10 mm), 2 pcs.)
5)Remove the screws for the waterproof
board.
(M4 × 0.1’ (10 mm), 2 pcs.)
6)Remove the brazed joints of the piping
connected (2 locations).
7)Remove the screws for the heat exchanger
end plate and pull the heat exchanger out.
(M5 × 0.1’ (10 mm), 2 pcs.)
No. Part to be replaced Work procedure Remarks
With a 096 type, 114 type, remove the
discharge cabinet anchor plates.
Left and right: (M5 × 0.1’ (2 mm), 2 pcs.) - 2
sets
With a 096 type, 114 type, also remove the
brazed joints of the piping connected to the
sub-heat exchanger (2 locations).
2) Moter base
3) Discharge cabinet anchor plate
Heat exchanger
(left)
Heat exchanger
(right)
4) Support post
5) Waterproof board
(between left and
right heat
exchangers)
6) Brazed joints
(2 locations on
header side)
6) Brazed joints
(2 locations on distributor side)
7) Rear
Support
post
Pull heat exchanger out of rear end.
(Left-side heat exchanger is pulled out of
front end.)
 Loading...