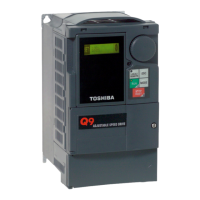
EOI Remote Mounting
Q9 Plus ASD Install/Op Manual
https://www.toshiba.com/tic/ 27
Remote Mounting without the Mounting
Kit
Note: See Figure 27. for the dimensions and
the item locations referenced in steps
1 – 8.
1. At the EOI mounting location, mark the 3.80” by
3.56” hole and the four 7/32” screw holes.
2. Cut the 3.80” by 3.56” rectangular mounting hole.
3. Drill the four 7/32” screw holes.
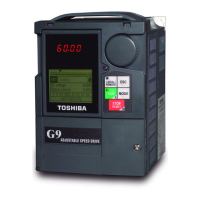
4. Remove the Front Panel Assembly of the ASD —
using a flathead screwdriver, release the upper
retaining tabs of the EOI panel. Then pivot the
EOI assembly away from the ASD and lift (see
Figure 25.).
5. Remove the EOI from the Front Panel Assembly
of step 4 — discard the assembly.
6. Attach and secure the EOI to the front side of the
mounting location using the four 6-32 x 5/16” pan
head screws, the #6 split lock washers, and the
#6 flat washers.
7. Install the Front Panel Connector Assembly to
the ASD (see Figure 25.).
8. Connect the Extender Cable from the EOI to the
Front Panel Assembly.
Figure 27. EOI Remote Mounting Dimensions (inches/millimeters).

 Loading...