156
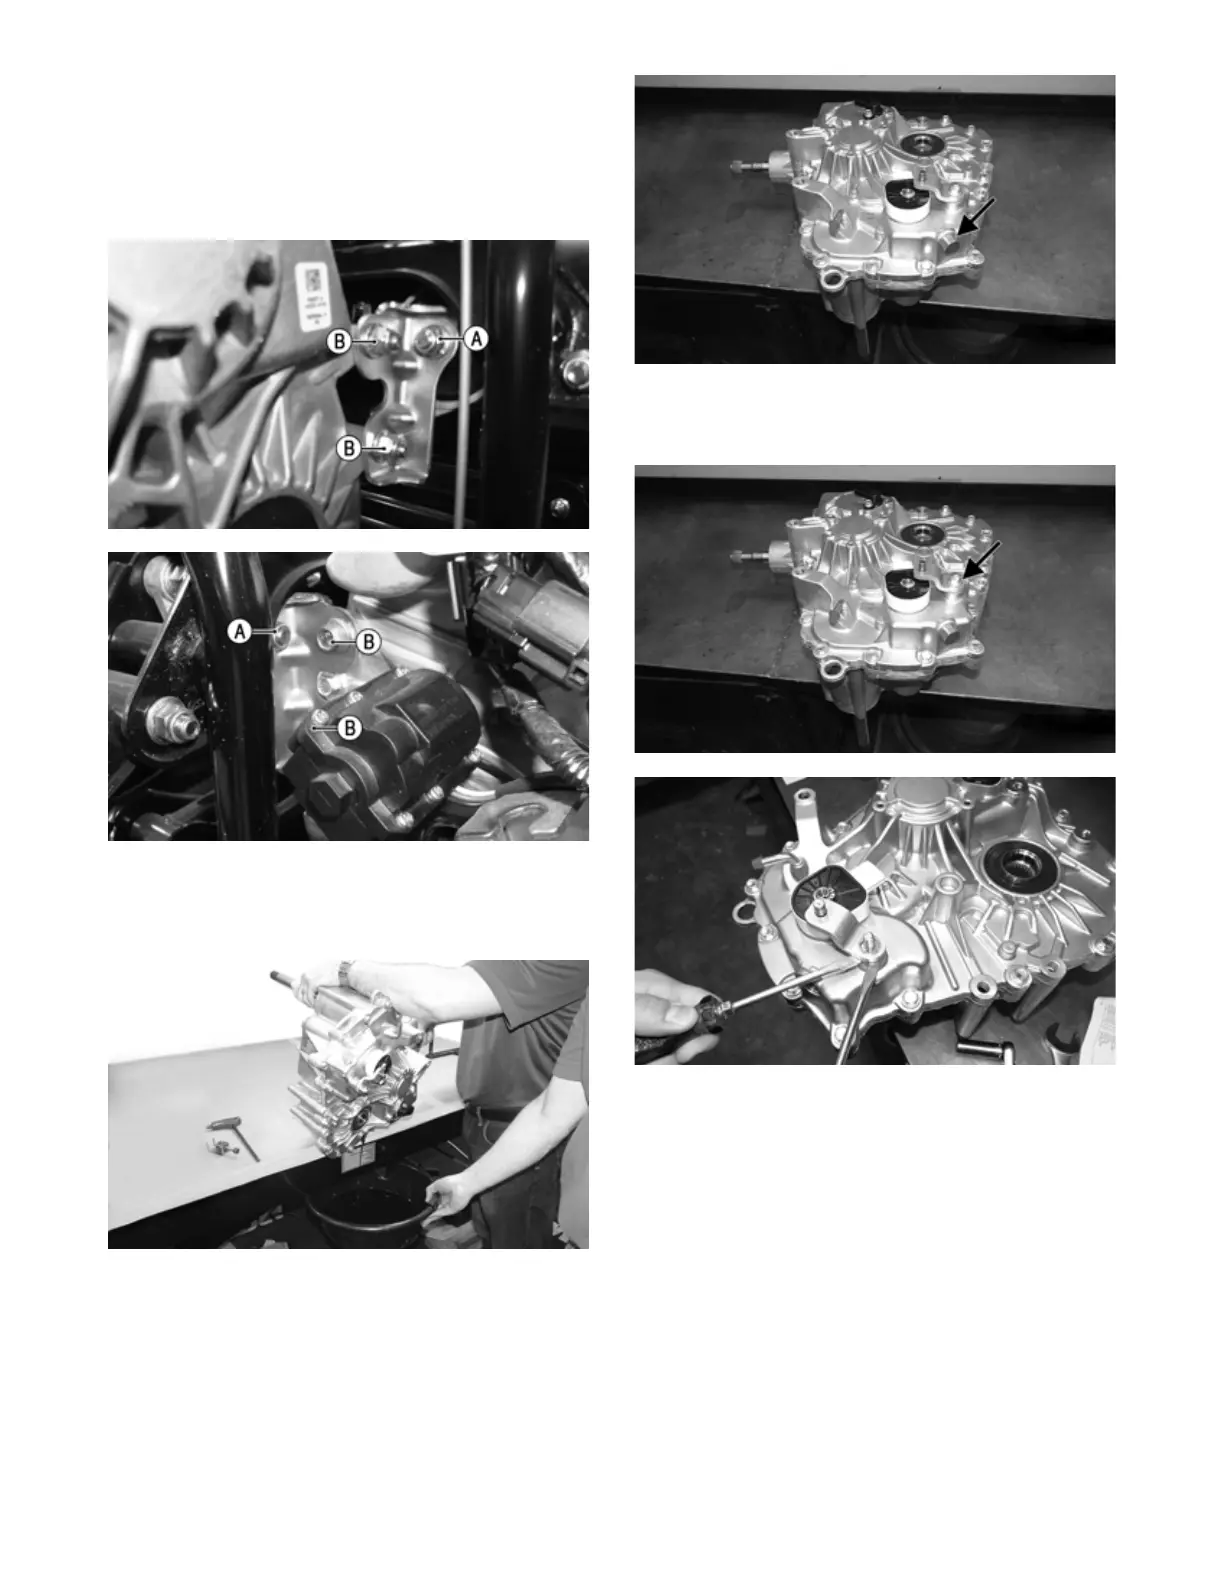
9. Remove the rear transaxle mount to frame cap
screws and lock nuts (A); then gently slide the tran-
saxle toward the front of the vehicle and remove the
rear transaxle to transaxle mount cap screws and lock
nuts (B); then being careful not to damage any items,
gently remove the transaxle. Discard lock nuts.
Inspect cap screws and replace if damaged.
MOD380
MOD381
SEPARATING HALVES
1. With the transaxle on a bench, drain the fluid into a
suitable pan.
TA004
NOTE: Tip the transaxle toward the drain to get
any remaining fluid.
NOTE: Install the drain plug and tighten to 18 ft-lb.
2. Lay the transaxle flat on the bench; then remove the
19 mm detent (gold plug) near the gear position
switch. Account for the spring and O-ring.
TA012A
3. Remove and discard the lock nut securing the bell
crank; then using two screwdrivers, pry the bell
crank off the shift shaft.
TA012B
TA027
4. Remove the clip securing the gear position switch.
Gently pry the switch off the shift rail and account
for the wave washer.
5. Remove the screws securing the case halves together.
6. While prying the two halves apart with an assistant,
use a rubber mallet to gently tap the shift shaft (A),
shift drum (B), and output shaft (C) into the lower
half.
 Loading...