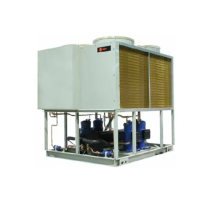
Figure 5. CGAM030–035 ton (S2 units); 1 of 2
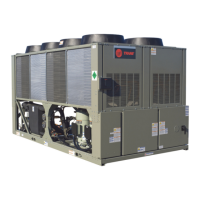
Figure 6. CGAM030–035 ton (S2 units); 2 of 2
Installation
PART-SVN228B-EN 11
1. Install two center louver supports (Figure 7, p. 12,
Item 1) to unit with provided M8 X 16 screws (Figure 7,
Item 2).
Note: Do not use an im
pact gun when installing
plastic louvers.
2. Install four upper louvers (Figure 7, Item 3) with
pr
ovided M8 X 16 screws
(Figure 7, Item 2).
3. Install upper backside panel (Figure 7, Item 4) with
provided M8 X 16 screws
(Figure 7, Item 2).
4. Install lower back side panel su
pport (Figure 7, Item 5)
with provided M8 X 16 screws (Figure 7, Item 2).
5. Install left back side panel (Figure 7, Item 6) and right
ba
ck side pa
nel (Figure 7, Item 7) with provided
M8 X 16 screws (Figure 7, Item 2).
Note: Front panel, Item 9 in Step 7, is
only used on
units that do NOT have the flow control option.
Item 11, Item 12, and Item 13 are used on units
with the flow control option.
6. In
stall four lower louvers (Figure 8, p. 13, Item 3) with
provided M8 X 16 screws (Figure 8, Item 2).
7. Install front panel (Figure 8, p. 13, Item 8) with
provid
ed M8
X 16 screws (Figure 8, Item 2).
8. If unit has the flow control option in
stall the three front
panels (Figure 7, Item 11, Item 12, and Item 13) with
provided M8 X 16 screws (Figure 7, Item 2).
9. Install two lower left side panels (Figure 7, Item 9 and
Item 10) with provided M8 X 16 screws (Figure 7,
Item 2).