34
BLACK
RED
GREEN - GROUND
GREEN
GROUND
WIRES CIRCLE
BACK AND GO
THROUGH
STRAIN RELIEF
CLAMP
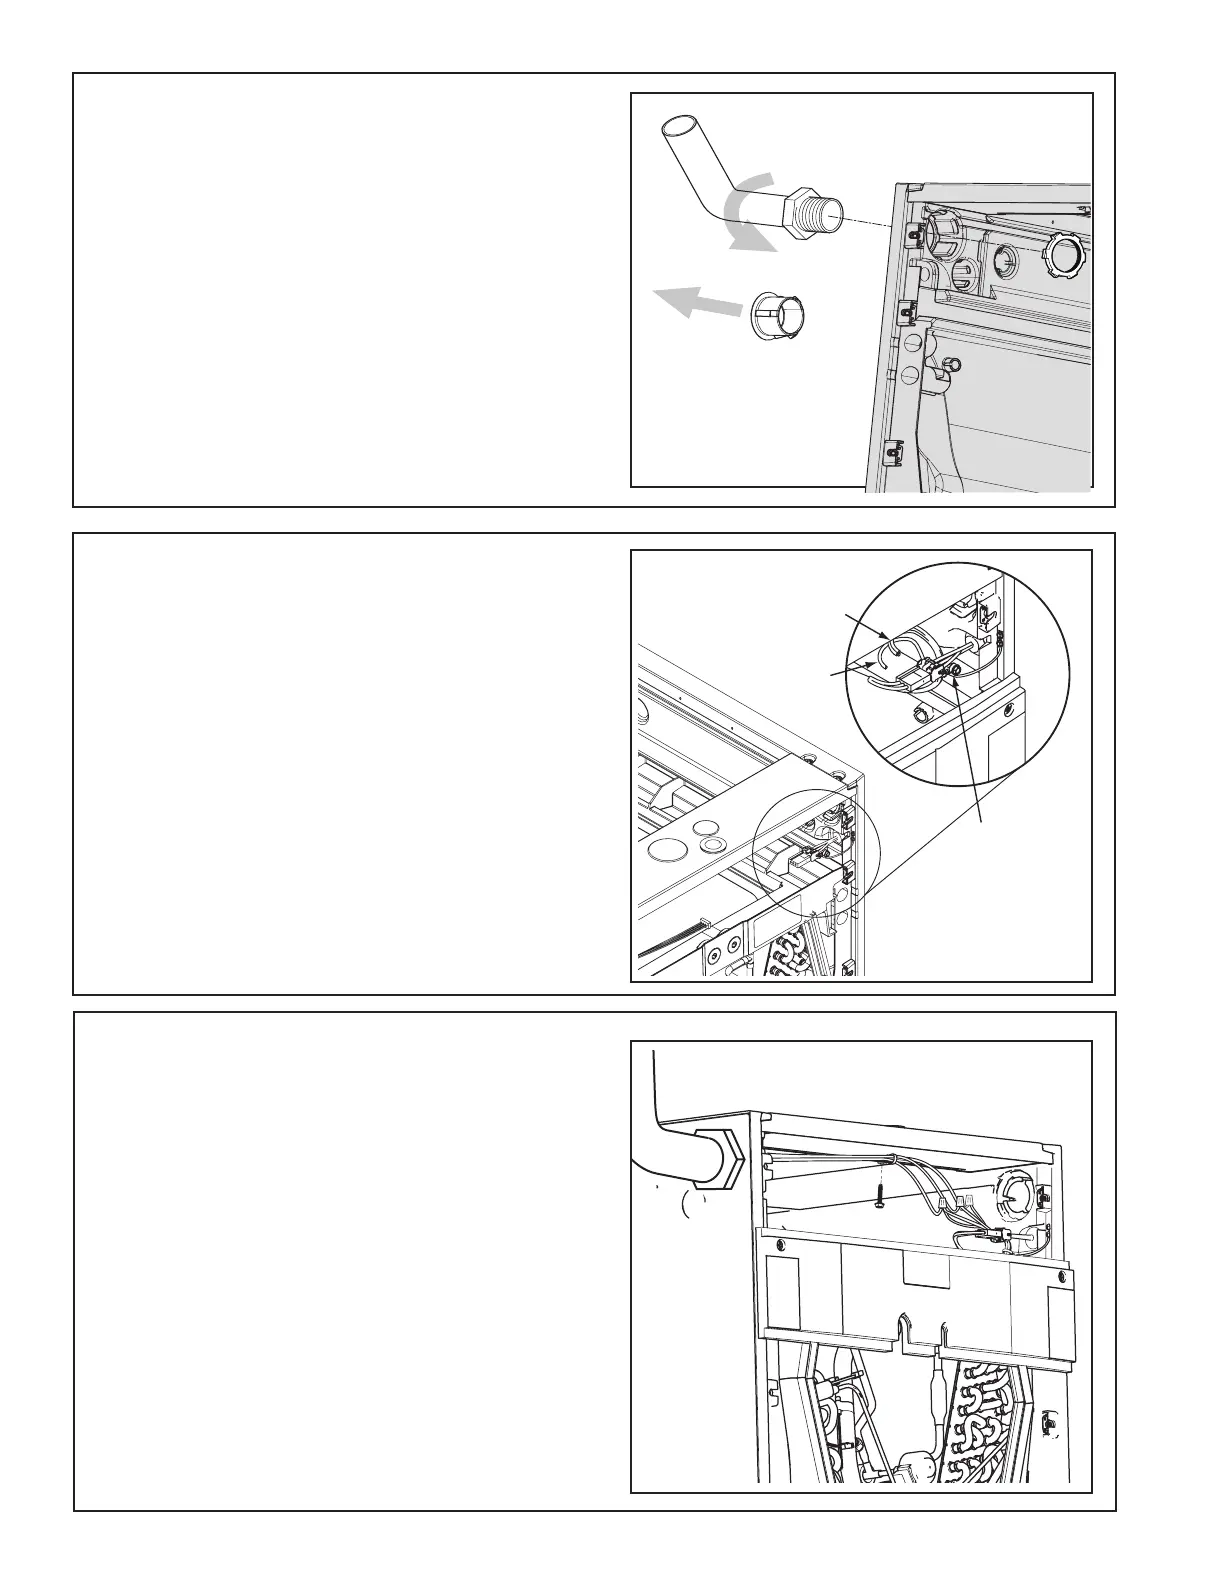
STEP 3 - Route conduit (if used) to the entry point
and connect.
1. Remove the plug from the entry point.
2. Use one hand to secure the conduit nut from inside of
the heater compartment.
3. Connect a field supplied 3/4" or 1-1/2" conduit to
conduit nut.
Note: Reducing bushings may be required for your
application.
STEP 4 - Connect L1, L2, and ground wiring
to pigtail harness and single green ground in
Heater Compartment using wire nuts. The in-
coming ground wiring will mate up with both the
green wires shown in the illustration.
STEP 5 - If the L1, L2, and ground wires enter
the case from the left side, use a field supplied
1/2”-5/8” maximum length screw and wire tie to
hold the wires to the top center of the Heater
Compartment.