Maintenance SeaKing & SeaPrince Imaging Sonars
0374-SOM-00001, Issue: 08 35 © Tritech International Ltd.
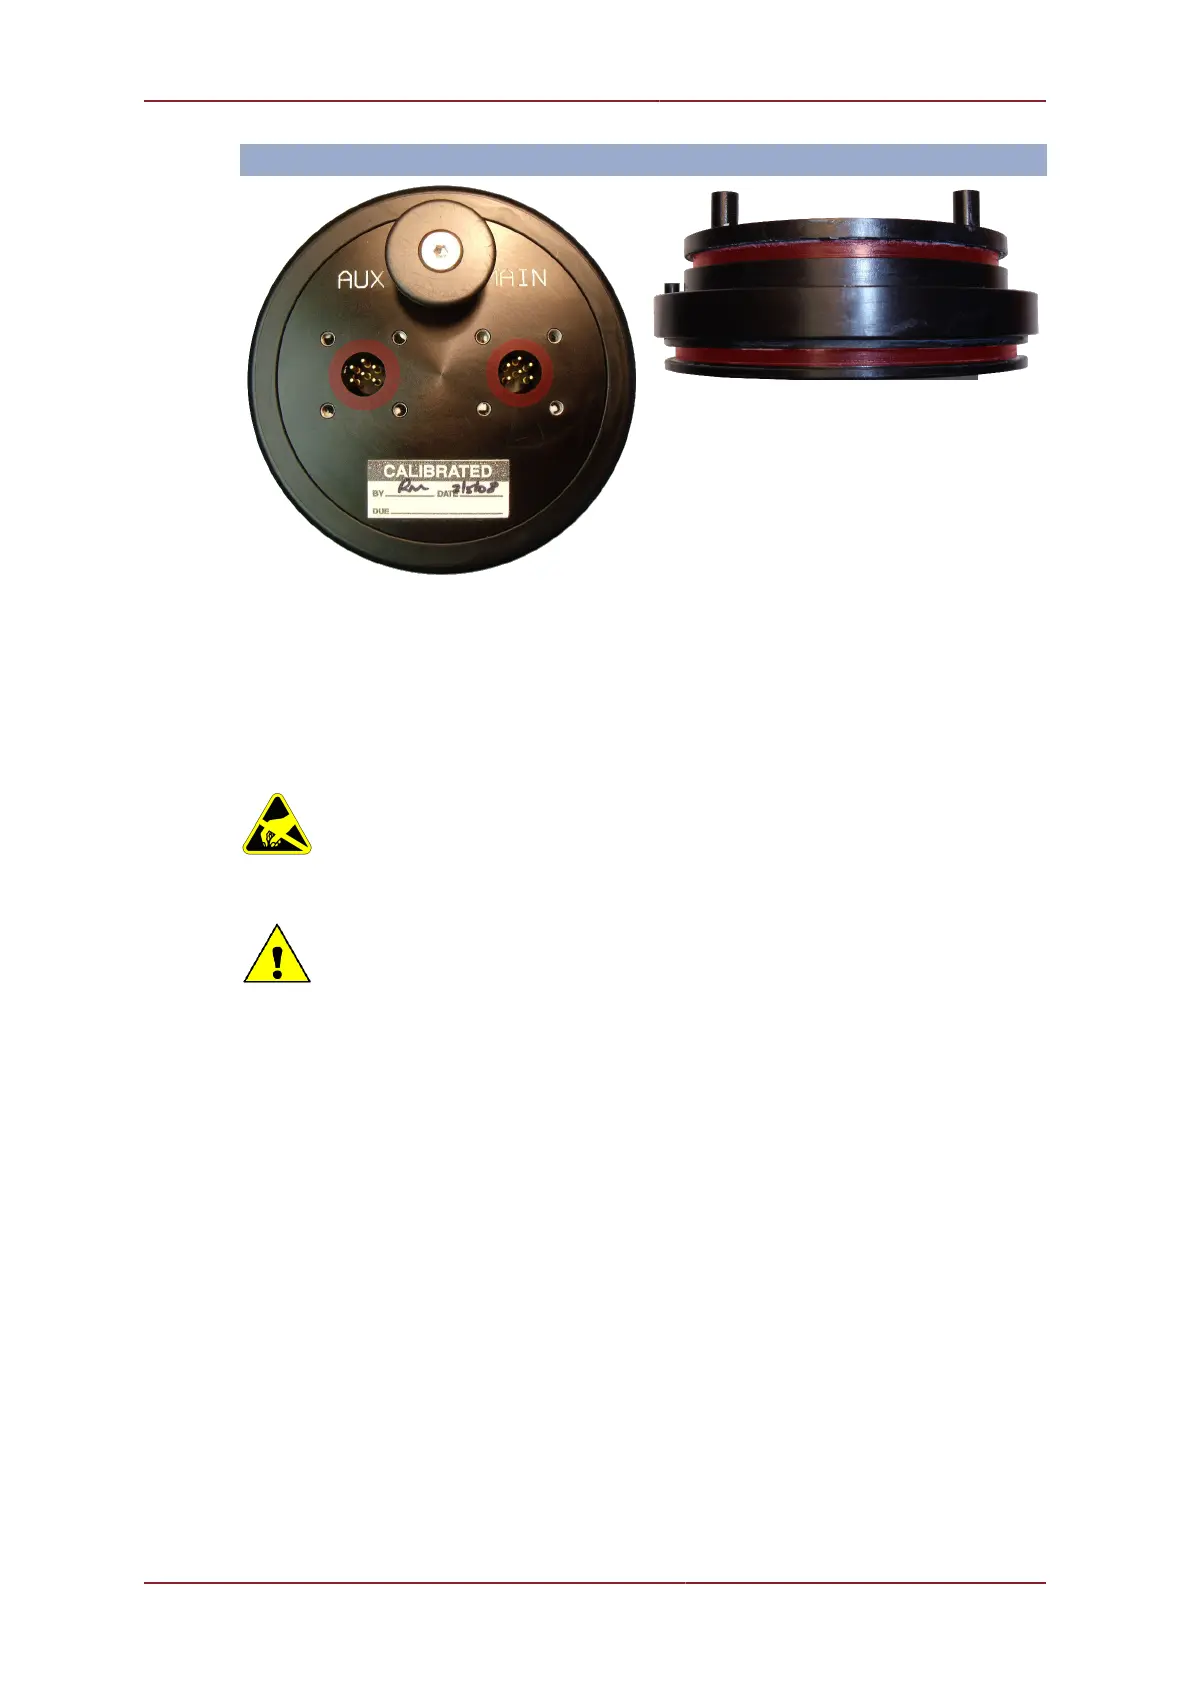
Waterblock O-Ring Endcap O-Ring
The highlighted areas on the images above are the critical sealing areas that should have no
signs of corrosion. Corrosion in these areas will necessitate the replacement of the connector
endcap.
6.3.2. Reassembly of the SeaKing unit
Important
The steps outlined here will expose sensitive electronic equipment and so
appropriate steps should be taken to prevent any static discharge occurring
which may harm the equipment.
Caution
Servicing of the SeaKing unit should only be carried out by competent personnel
in a dry, clean environment with full ESD precautions.
Service tools required
• Clean absorbent wipes
• Silicon grease MS-111 lubricant (or equivalent)
• A M3 Allen Key or Hex driver
• A 5.5mm spanner, or nut spinner
• A small nose flush plier, or M2.5 spanner
Procedure
1. Carefully clean all parts and check for damage.
2. Inspect o-ring seals and replace if necessary.
3. Screw in the four guide posts onto the connector endcap
4. Fit the COM PCB and a set of four stand off posts
5. Refit each PCB and set of stand off posts