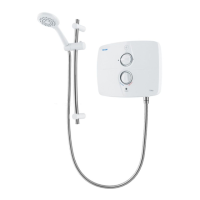
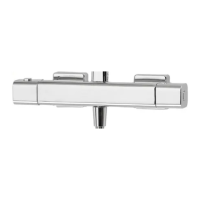
Thermostatic bar mixer shower
9
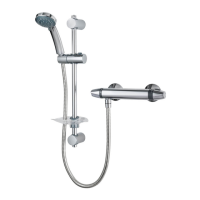
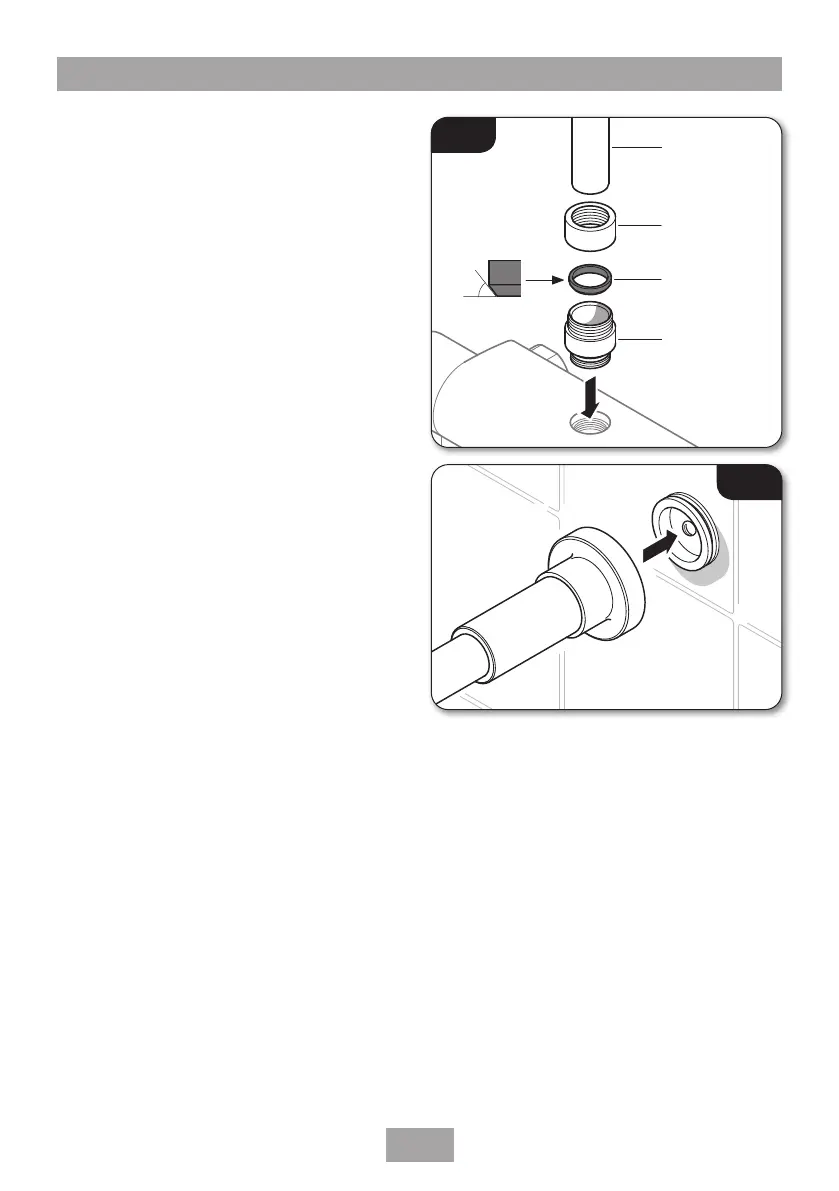
• Install the adaptor into the top outlet of the
mixer. Slide the base of the riser pipe into the
adaptor (fig.11), making sure the sealing
washer and locking collar are in place. Do not
fully tighten the collar at this time.
• Fit the rear section of the fixed arm over the
mounting plate, but do not fully tighten
the grub screw at this time. (fig.12).
• Adjust the riser pipe and fixed arm position
to suit.
• Once correctly positioned, lock the diverter
collar. Finger tight should be sufficient.
Note: There is a small amount of depth
adjustment within the collar. Adjust the depth
of the bracket before securing in place to the
mounting plate.
• Using a suitable allen key, secure the fixed
arm in place by tightening the locking screw.
LEAK TESTING THE MIXER
IMPORTANT: Flush out the pipework in
accordance with Water Regulations and Bylaws.
• Fit the hose to the outlet without the
showerhead tted and direct it towards the
waste outlet.
• Open the water isolating valves to the
shower and check for leaks.
• If any leaks are found, rectify them before
carrying out the commissioning procedure.
Fitting the fixed showerhead
• Screw the fixed head to the fixed spray arm.
Make sure the sealing washer is in place and
screw tight to seal the joint.
Fitting the hose and handset
• Connect one end of the flexible hose to the
bottom outlet connector on the mixer valve
and the other end to the handset, making
sure that the seals are in place.
IMPORTANT: It is the conical end of the hose
which grips into the holder. The showerhead will
not fit in the holder without the hose attached.
Fig.11
Riser pipe
Collar
Seal
Adaptor
Angled section
facing down
Fig.12
 Loading...