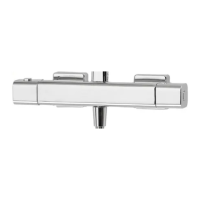
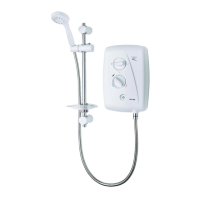
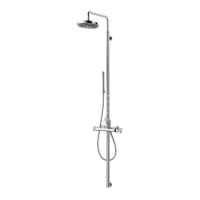
Thermostatic shower pole
8
When installing into a stud partition or other
hollow wall structures, the installer will need to
consider building rear supports or other options.
Such options are beyond the scope of this
guide.
IMPORTANT: The pipe depth must be such
that the face of the fitting is flush with the
finished surface.
Flush out the pipework in accordance with
Water Regulations and Bylaws.
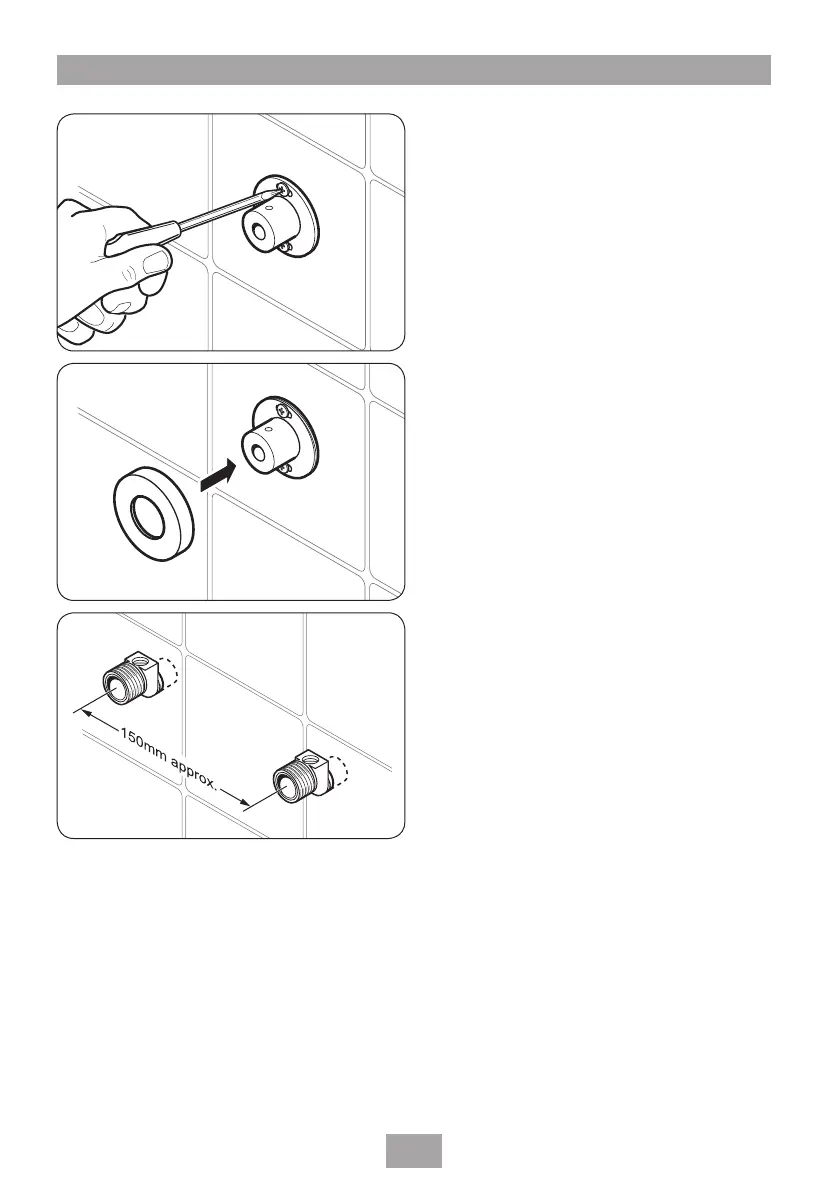
Mark the positions for both the upper and lower
mounting brackets as shown in fig.9.
Drill and plug the wall using suitable wall plugs
(the wall plugs provided are suitable for most brick
walls — use an appropriate masonry drill, but if
the wall is soft building block, use suitable wall
plugs and an appropriate drill bit).
Secure the mounting brackets to the wall using
suitable screws (fig.10).
Note: The elongated hole in the mounting
bracket allows for a small amount of adjustment.
Screw the bracket cover trims onto the
mounting brackets (fig.11).
Using PTFE thread tape, screw the supplied inlet
connectors into the female fittings (fig.12).
Make sure the fittings are level and set at
150 mm between centres.
Make good the wall, tiling, etc. up to the
outlets.
The collars will provide a limited degree of
tolerance and the amount of exposed thread
will depend on the accuracy of fittings set in the
wall.
Fig.10
Fig.12
Fig.11
 Loading...