TRUE RESIDENTIAL
®
TEC_TM_151 | REV. A | EN07/28/2021Page 24 of 48
CABINET SETUP
REFRIGERATOR STORAGE
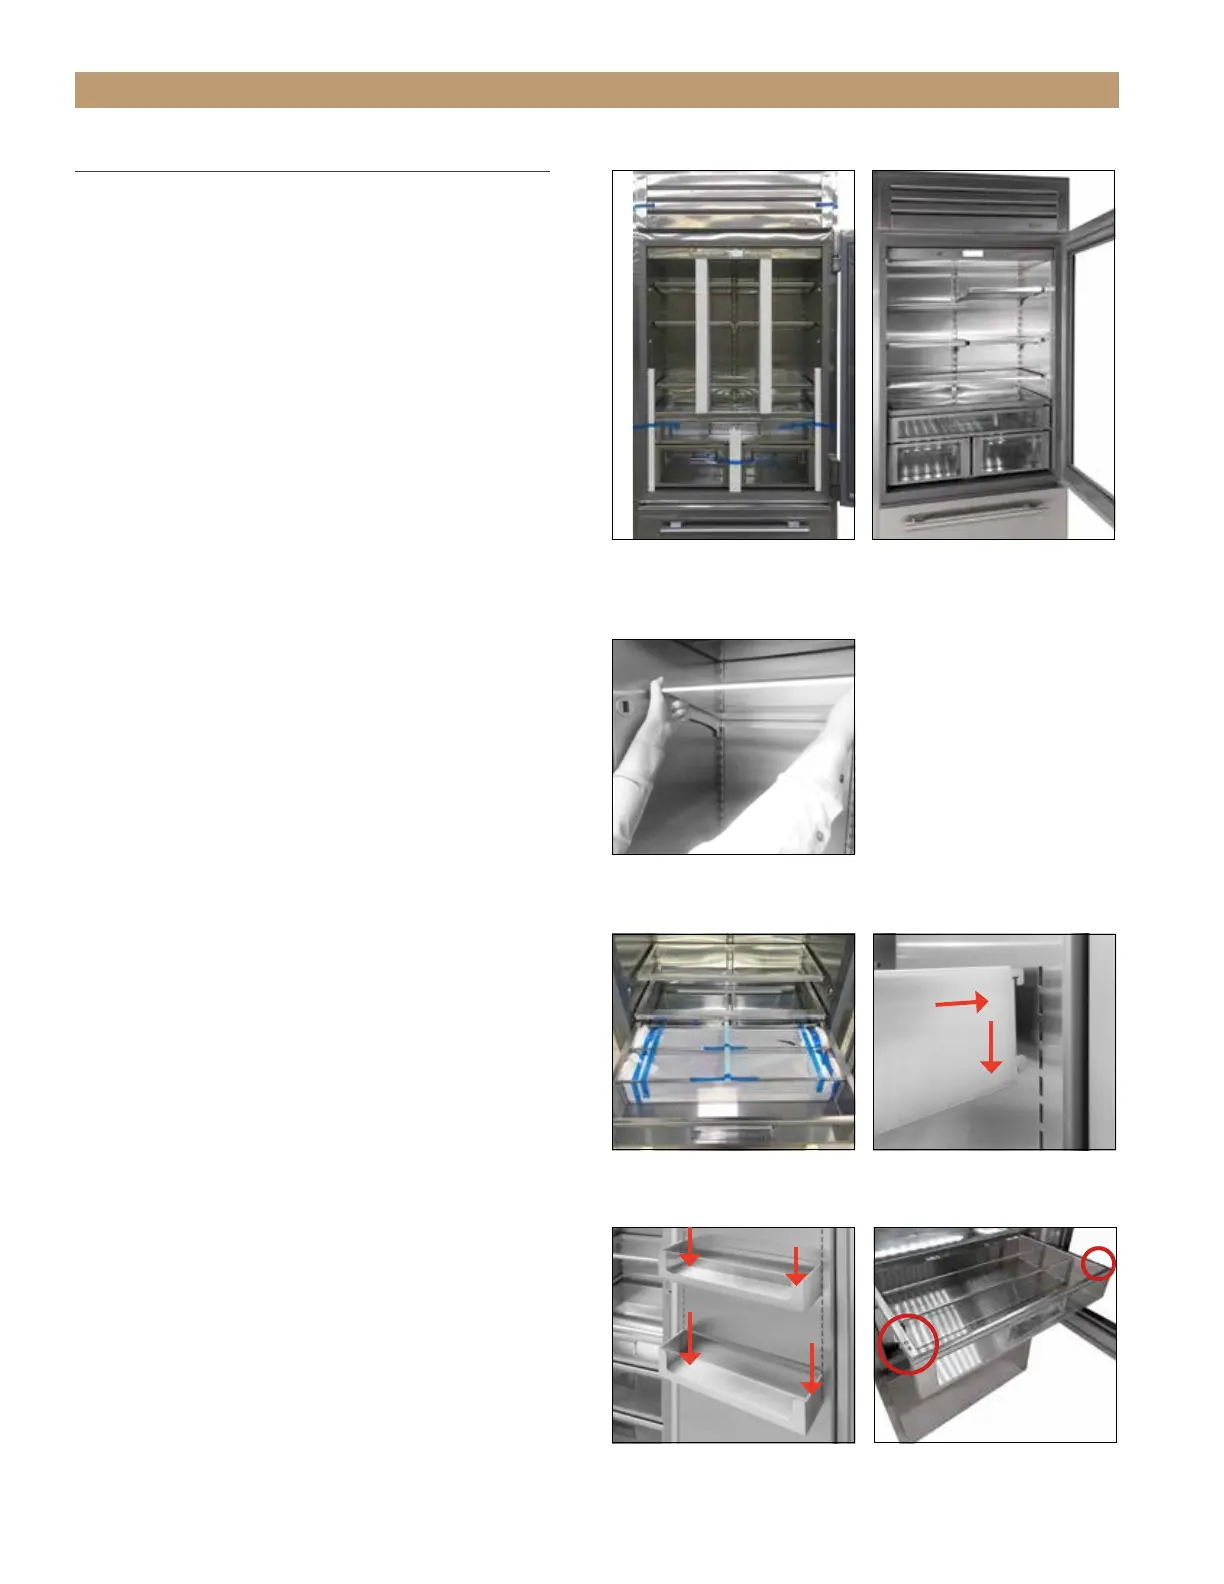
The refrigerator section of the cabinet is divided
into shelving and produce / crisper bins.
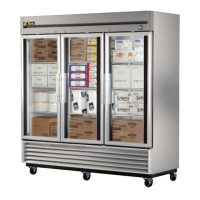
SHELVING
The shelving comes installed on the unit. See figs.
1 and 2. It is adjustable for customer application.
SHELVING ADJUSTMENT
1. Gently lift the front of the shelf and unhook the
shelf from the shelf standards on the back wall.
See fig. 3.
2. Hook the shelf into the pilaster at the desired
height.
DOOR BINS (SOLID DOORS ONLY)
Door bins are only available for solid door units.
1. Locate the door bins packaged in the top
refrigerator drawer. See fig. 4.
2. Hook the door into the door slots at the desired
height. See fig. 5.
3. Push the door bins down to ensure the tabs are
fully engaged in the slots. See fig. 6.
PRODUCE / CRISPER BINS
The refrigerator section has three drawers. See
the instructions below for drawer removal or
reinstallation.
BIN REMOVAL
1. Fully open the drawer.
2. With a Phillips screwdriver, remove the drawer
slide screws. See fig. 7.
3. Lift the drawer from the unit.
BIN INSTALLATION
1. Pull the drawer slides fully forward.
2. Slide the drawer into position until the drawer
rests under the rear hooks on the drawer slides.
3. With a Phillips screwdriver, fasten the drawer to
the drawer slides.
FIG. 6.
Be sure the door bins are
fully seated.
FIG. 7.
Drawer slide screw
locations. Top drawer shown.
FIG. 4.
Door bins packaged in the
top refrigerator drawer.
FIG. 5.
Hook the door bin into
the door.
FIG. 1.
Remove the interior
packaging holding the shelving
in place.
FIG. 2.
Installed cabinet shelving.
FIG. 3.
Unhook the shelves from the
shelf standards to adjust the shelving.