Do you have a question about the Truma Powrtouch Freedom RV and is the answer not in the manual?
Perform safety checks before moving the RV, testing handset functions with rollers off tires.
The system can be shut down by pressing 'On' buttons and then the isolation switch.
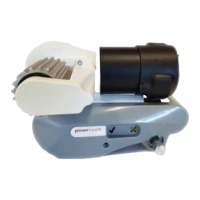
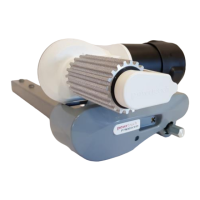
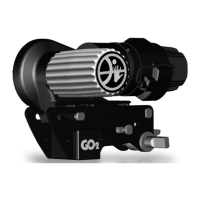
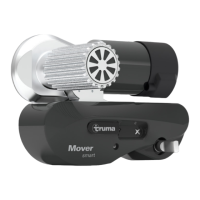
Understand components and controls; safety is the primary consideration during operation.
Carry out pre-movement safety checks and ensure the RV is safe to move.
Insert and turn the key in the isolation switch to power on the system.
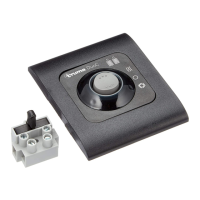
Press both 'On' buttons (D and F) simultaneously to activate the handset.
Remove the rear screw, open the cover, and replace the 9-volt DC battery.
Press 'Function' (E) and 'Roller Engagement' (K) buttons to engage rollers to tires.
Utilize handset buttons (A, B, C, G, H, I) to control RV movement direction.
Adjust speed using 'Speed Decrease' (J) and 'Speed Increase' (K) buttons.
Employ the Soft Start system for precise 1mm movements, aiding hitching.
Ensure the RV handbrake is engaged before retracting rollers from the tires.
Handset auto-powers off after 3 minutes; switch off at isolation switch when not in use.
System is pre-mapped; remapping involves button R and handset activation.
Insert lugs, push cover until clicked, and secure with the retaining screw.
Unpack and verify all mover components against the provided checklist.
Lists the necessary tools and equipment not supplied with the mover.
Ensure the RV is disconnected from power sources before beginning installation.
Verify the RV chassis depth is compatible with the mover's design.
Securely fit clamps and U-bolts to the chassis, adjusting roller position.
Wire motors to the ECB, route cables, and secure them properly.
Connect battery cables to ECB, isolation switch, and inline fuse, ensuring correct polarity.
Apply wax oil annually; wash with water if needed but avoid pressure washers.
Clean rollers with a hard brush, ensuring the isolation switch is off.
A 12-month warranty is provided; registration is advised for an extended period.
Ensure battery is charged and consult the fault-finding list before contacting support.
Details the meaning of LED indicators on the Electronics Control Box.
Provides voltage and hydrometer readings for assessing battery charge levels.
Lists common symptoms and their possible causes and correction methods.
Contains notes on instruction accuracy and adherence to local installation standards.
| Brand | Truma |
|---|---|
| Model | Powrtouch Freedom RV |
| Category | Automobile Accessories |
| Language | English |