

A
Alexa FloresJul 29, 2025
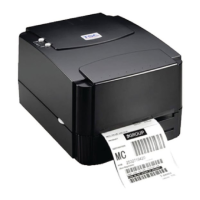
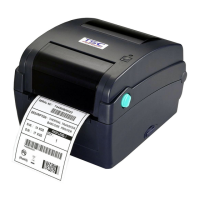
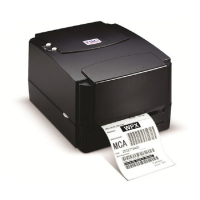
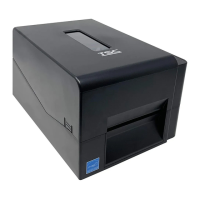
Why is my TSC TE210 not printing?
- BBrandon HarrisJul 30, 2025
Several factors can cause a TSC Barcode Reader to stop printing. Check the following: * Ensure the cable is securely connected to the serial, USB interface, or parallel port. * Verify the serial port cable has the correct pin configuration. * Confirm that the ribbon and media are compatible. * Reload the ribbon. * Clean the print head. * Adjust the print density setting. * Reconnect the print head's harness connector. * Ensure your program includes a PRINT command at the end of the file and CRLF at the end of each command line.