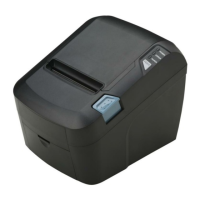
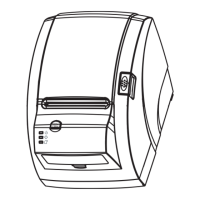
3.4 Installing the Printer
3.4 Installing the Printer3.4 Installing the Printer
3.4 Installing the Printer
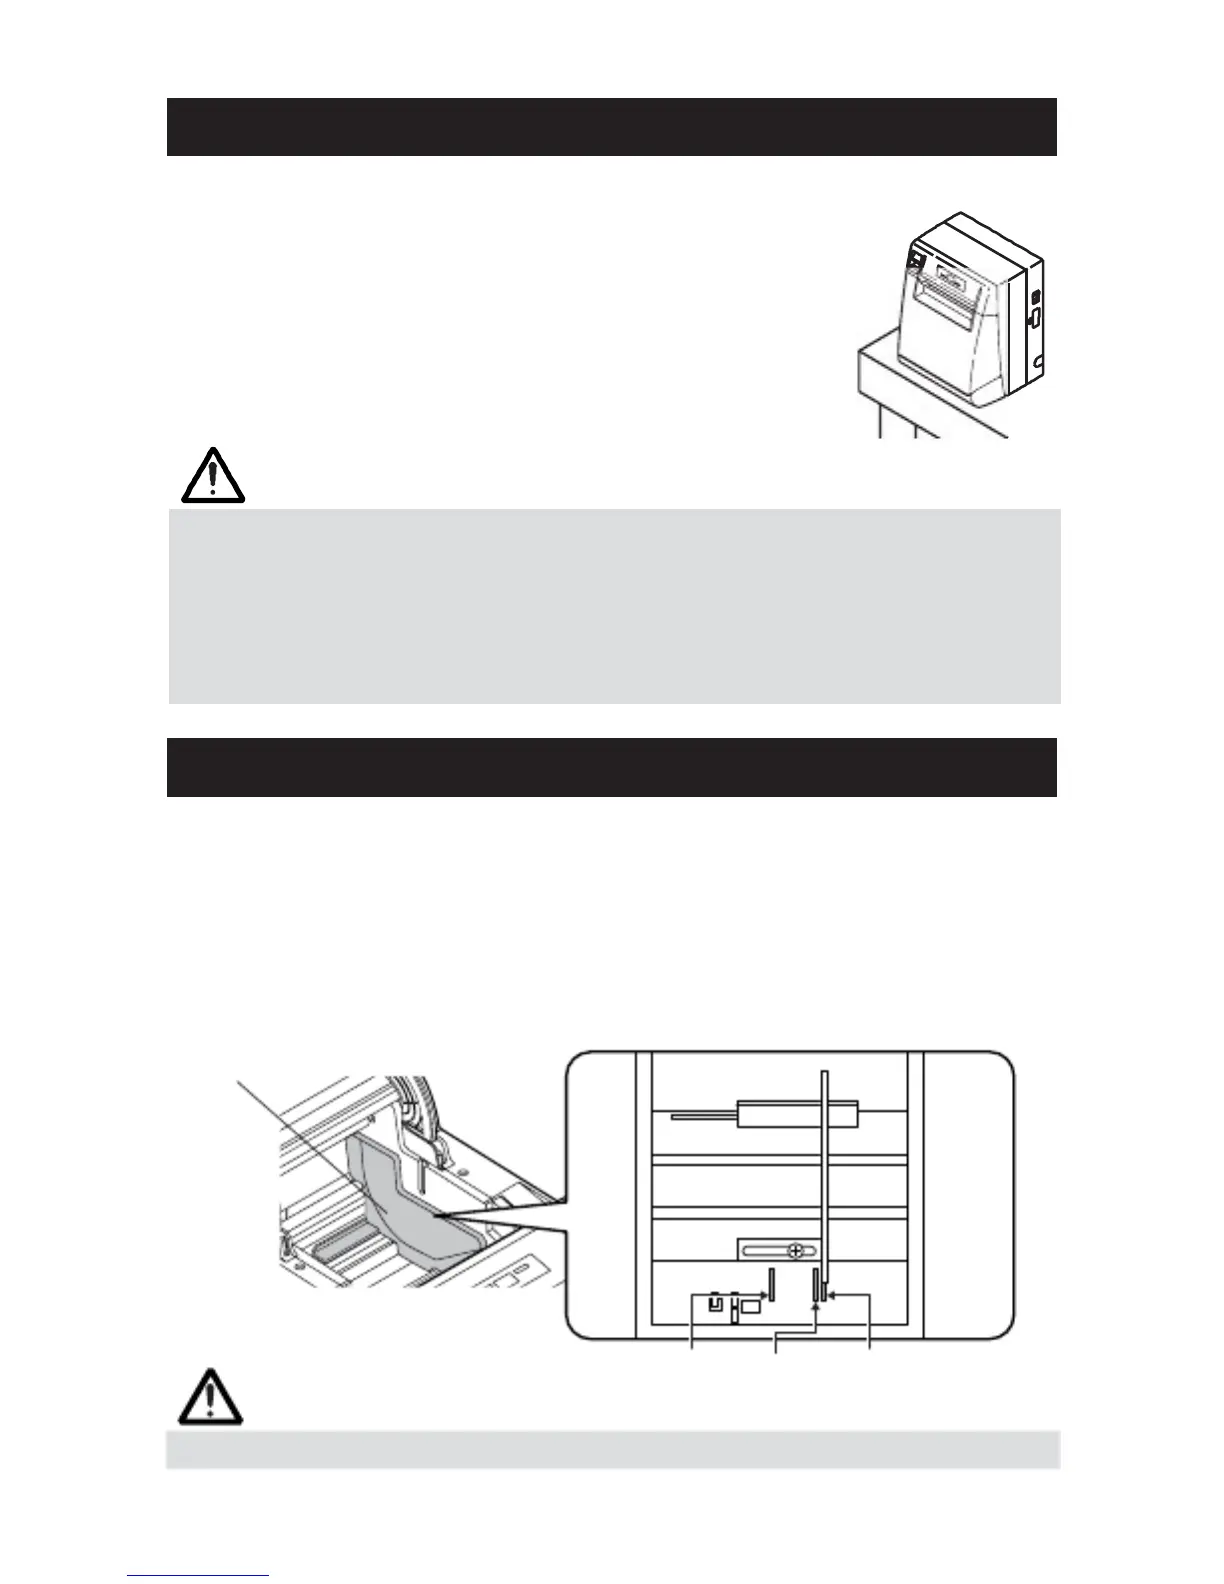
The printer can be installed horizontally, vertically, and on the wall.
At the time of shipment, the printer is set for horizontal
installation. To install the printer vertically or on the wall, the
following adjustments are required.
1. Adjustment of paper near
1. Adjustment of paper near1. Adjustment of paper near
1. Adjustment of paper near-
--
-end sensor position (See section
end sensor position (See sectionend sensor position (See section
end sensor position (See section
3.7)
3.7)3.7)
3.7)
2. Anti
2. Anti2. Anti
2. Anti-
--
-slip rubber feet (for vertical setting)
slip rubber feet (for vertical setting)slip rubber feet (for vertical setting)
slip rubber feet (for vertical setting)
3. Optional wall
3. Optional wall3. Optional wall
3. Optional wall-
--
-mounting kit (for wall
mounting kit (for wallmounting kit (for wall
mounting kit (for wall-
--
-mounting)
mounting)mounting)
mounting)
CAUTI
CAUTICAUTI
CAUTION!
ON!ON!
ON!
Vertical position
■ When used in vertical position, the printer ejects paper not to fall naturally even with
full cutting. Be careful in using the printer built in equipment, etc.
■ Ensure that the wall on which the printer is mounted has enough strength before
installation.
■ When using in horizontal setting, avoid cutting full. Otherwise, the cut paper may
drop into the cutter and may result in double cutting and narrow pieces of paper. This
may cause paper jam.
3.5 Partition for Paper Roll
3.5 Partition for Paper Roll3.5 Partition for Paper Roll
3.5 Partition for Paper Roll
At the time of shipment, this partition is not installed.
1. Confirm that the power switch is OFF.
1. Confirm that the power switch is OFF.1. Confirm that the power switch is OFF.
1. Confirm that the power switch is OFF.
2. Open the printer cover.
2. Open the printer cover.2. Open the printer cover.
2. Open the printer cover.
3. Insert the partition into the slot and align it with the scale inside of the printer
3. Insert the partition into the slot and align it with the scale inside of the printer3. Insert the partition into the slot and align it with the scale inside of the printer
3. Insert the partition into the slot and align it with the scale inside of the printer
which meets the width of the paper roll used.
which meets the width of the paper roll used.which meets the width of the paper roll used.
which meets the width of the paper roll used.
When using the 80mm or
When using the 80mm orWhen using the 80mm or
When using the 80mm or
82.5mm wide paper roll, set the partition by using the accessory screw.
82.5mm wide paper roll, set the partition by using the accessory screw.82.5mm wide paper roll, set the partition by using the accessory screw.
82.5mm wide paper roll, set the partition by using the accessory screw.
*58 mm is only for label supporting model.
*58 mm is only for label supporting model.*58 mm is only for label supporting model.
*58 mm is only for label supporting model.
4. Change the setting of paper width by reffering to the section 5.2, "Manual
4. Change the setting of paper width by reffering to the section 5.2, "Manual4. Change the setting of paper width by reffering to the section 5.2, "Manual
4. Change the setting of paper width by reffering to the section 5.2, "Manual
Setting of Memory Switch".
Setting of Memory Switch".Setting of Memory Switch".
Setting of Memory Switch".
Partition
Partition→
Scales→
58mm 80mm 82.5mm
CAUTION!
CAUTION!CAUTION!
CAUTION!
When using 112 paper roll, the partition is not used.
— 18 —