10
JUMP STARTING CONT.:
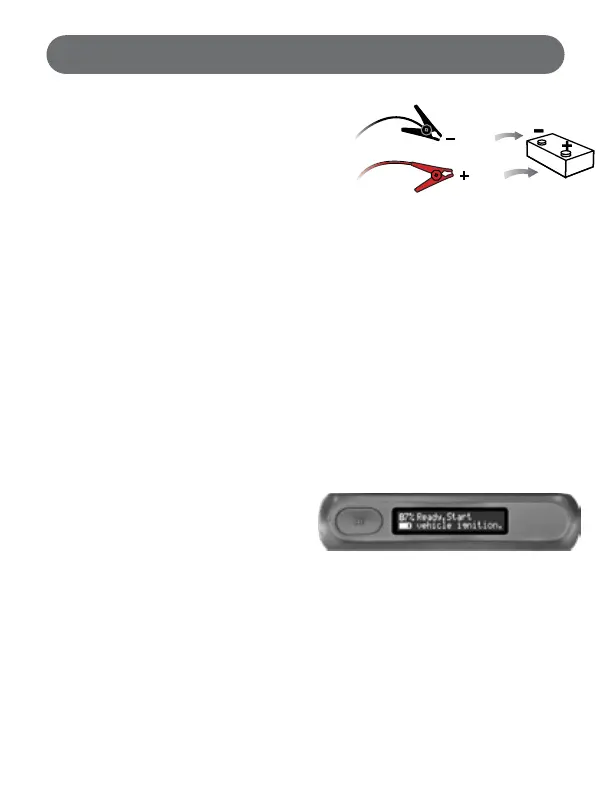
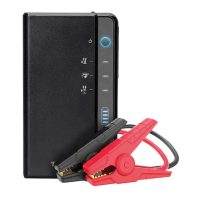
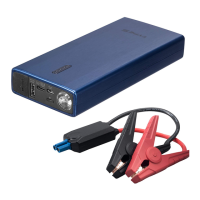
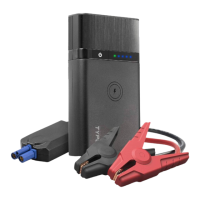
3. Connect the RED clamp to the POSITIVE
(+) post on the car battery. The
POSITIVE battery post will be slightly
larger than the NEGATIVE post, and will
be marked with a PLUS (+) sign. There
may also be a RED plastic protective
cover over the positive battery post.
4. Connect the BLACK clamp to the NEGATIVE (-) post on the car battery.
The NEGATIVE will be marked with a MINUS (-) sign. There may be a
BLACK plastic protective cover over the negative battery post.
NOTE: Do not connect the RED clamp (+) and the BLACK clamp (-) at
the same time. Connect the RED clamp rst, then the BLACK clamp.
CAUTION: DO NOT lean directly over the battery while making jumper
connections.
5. Check the LED status on the Polarity Circuit Protection Box. Proceed to
the next step unless the LED is ashing RED and BEEPING. Reference
Polarity Protection Circuit Status chart in the next section.
6. Once the clamps are properly
connected to the vehicle battery,
the LCD Display will read:
Ready, Start vehicle ignition.
You have 90 seconds to start your vehicle before the Jump Starter
shuts off in order to prevent the vehicle battery from reverse charging
the unit.
NOTE: If vehicle does not crank, or cranks very slowly, wiggle the
cable clamps on the vehicle battery to ensure they are making good
contact. Wait 60 seconds before trying to jump start your vehicle again.
Each new jump start attempt requires disconnection of both
clamps from the vehicle battery and reconnection.
Red
Black