13
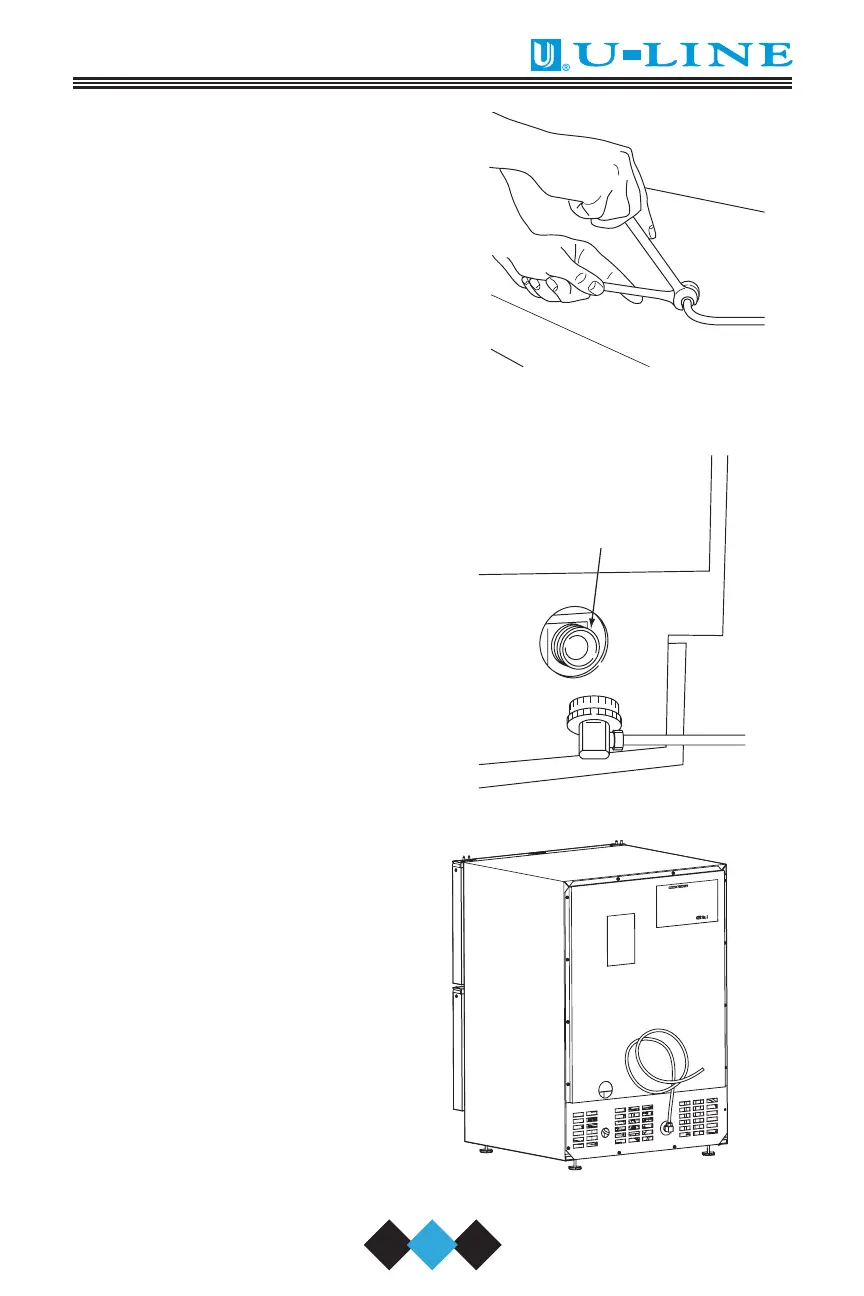
1. Locate the compression fitting
and ferrule packed in the unit.
Slide the compression fitting and
ferrule over the 1/4" outside
diameter water supply line. Do
not use thread sealing com-
pound or tape. Using two
wrenches, tighten the compres-
sion fitting on the supply line (see
Figure 6). Do not overtighten.
2. Carefully bend the water supply
line into position and connect
the line to the solenoid valve
(see Figure 7). Avoid kinking the
water supply line.
3. For recessed installations,
allow extra water supply line
length to provide slack for easy
removal from the recessed
area (see Figure 8). This will
also safeguard against kinking
the line.
DWR033
UL103_CO
WATER
CONNECTION
UL134_C
Figure 6
Figure 7
Figure 8
30035 User Manual Body.qxd 1/5/05 8:08 AM Page 13