User’s Manual
CONNECTING THE WATER SUPPLY -
ICE MAKER MODELS ONLY
Install a 1/4" outside diameter copper water line (not
supplied with unit) from the nearest COLD water pipe. When
connecting the water supply, follow these guidelines:
• Review the local plumbing codes before you install the unit.
• In most instances, the cold water supply will come from the
basement through a hole in the floor.
• The water pressure should be between 15 and 150 psi.
• Install a shut-off valve in the 1/4" outside diameter supply line
(not supplied with unit).
• Connect sufficient tubing to the unit to allow the unit to be
moved for cleaning and servicing. However, make certain that
the tubing is not pinched or damaged during installation.
• U-Line recommends the use of copper tubing for installation.
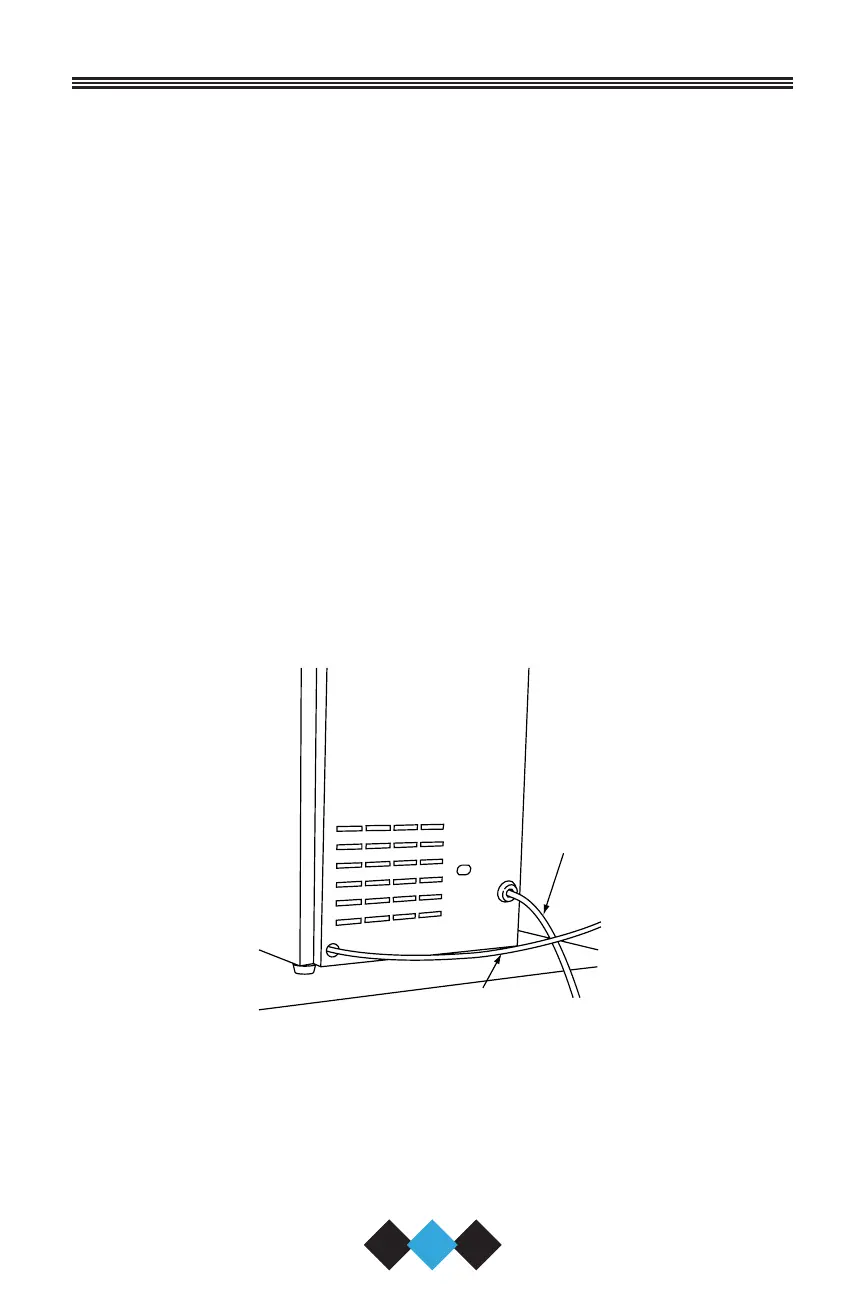
On BI-95 and BI-98 models, the water line is inserted through the hole
in the rear of the unit to connect to the solenoid valve in the front
(Figure 5).
Figure 5
UL101
POWER
CORD
WATER LINE
12
30035 User Manual Body.qxd 1/5/05 8:08 AM Page 12