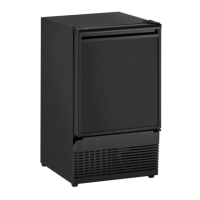
REVERSING THE DOOR
Depending upon the location of the unit, it may be desirable to change
the side on which the door is mounted.
NOTE
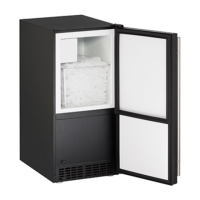
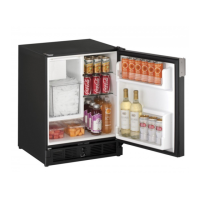
On Combo Models 29A and 29FF (built-in installations only),
changing the door mounting to the left side may interfere
with ice bucket removal. See BUILT-IN INSTALLATION sec-
tion for clearance requirements.
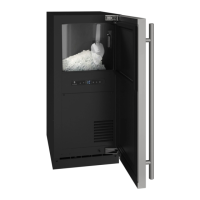
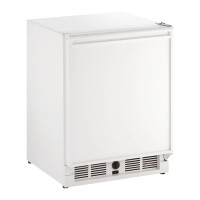
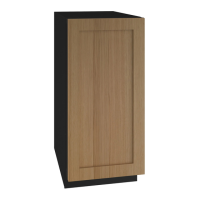
To reverse the door mounting on Models SP18, BI-95, BI-98, 15R,
29R, Combo 29A, and Combo 29FF (except Stainless Steel
models), perform the following:
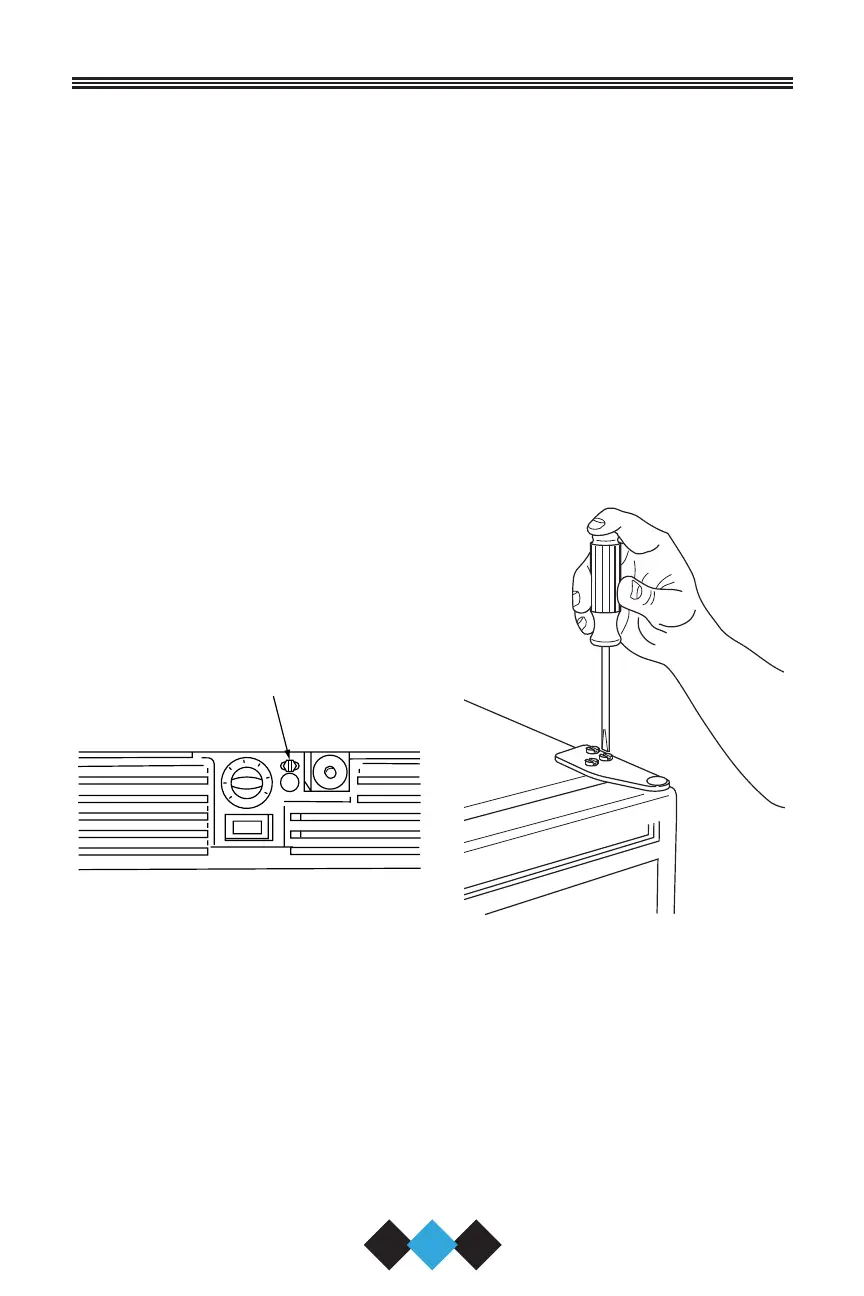
1. Remove grille (one screw)
(Figure 22).
2. Remove top hinge from cabinet
(three screws) (Figure 23). Hold
door to keep it from falling.
Figure 22
3. Lift the door off the bottom hinge.
4. Remove bottom hinge from cabinet (two screws) (Figure 24).
Remove screws on opposite side of cabinet (Figure 25). Note that
there may be a nut behind one or both screws on either side.
5. Install hinge on opposite side, bottom of cabinet (Figure 26).
Replace nut on back side where installed. Align hinge outer edge
with cabinet before tightening screws.
UL116
REMOVE SCREW
UL109
26
User’s Manual
Figure 23
30035 User Manual Body.qxd 1/5/05 8:08 AM Page 26