19GB/IE/NI/CY/MT
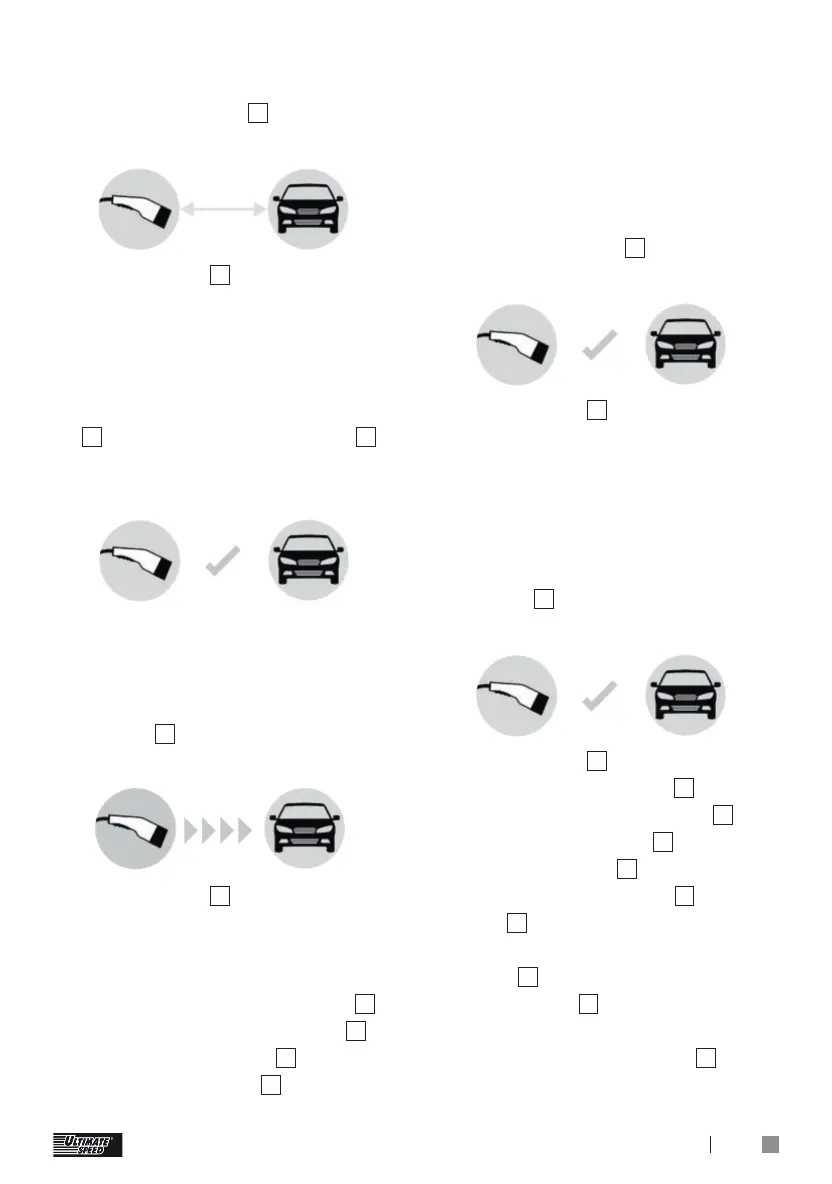
in the car. In this case, the digital
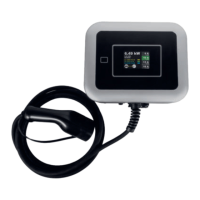
charging display
3
indicates that
a car is connected:
The LED strip
4
continues to light
up white.
Some cars carry out a test charge
first for a few seconds. In this
case, the digital charging display
3
indicates that the charger
1
is ready to charge at the time
programmed in the car:
Other cars take a very low charge
current, before the actual charging
at the time programmed in the car.
In this case, the digital charging
display
3
already indicates that
the car is being charged:
The LED strip
4
flashes continu-
ally in a circle and indicates that
current is flowing into the car
(however this is almost zero)
The digital charging display
3
indicates the charging time
13
,
the energy supplied
14
, and the
charging capacity
15
.
Finish the charging process
and disconnect from the
vehicle:
The charging process will stop
automatically at the time pro-
grammed in the car. The digital
charging display
3
indicates that
the charging process is complete:
The LED strip
4
lights up fully in
green.
If the charging timer in the car
is deactivated, then finish the
charging process in the car.
The charging process will be
stopped. The digital charging
display
3
indicates that the
charging process is complete:
The LED strip
4
lights up fully in
green. On the display
3
you can
read off the charging time
13
and
the energy supplied
14
.
Unplug the plug
8
from the car
and put the cover cap
9
on the
plug
8
.
Wind the electric car connection
cable
7
up without kinks.
The charger
1
goes into standby
mode automatically after approx.
10 minutes, if the button
2
is not
pressed.


 To Next Page
 Loading...