MSC-400 Reference Manual
Rev 4
24
Step by Step – Programming a Typical MSC-400 System
Start a NEW File
1. If not already open, launch COMPLETE CONTROL SUITE (CCS). The CCS TOOL BAR will appear.
CCS Tool Bar
2. In the CCS TOOL BAR, click the MSC-400 BUTTON. MSC-400 EDITOR will open.
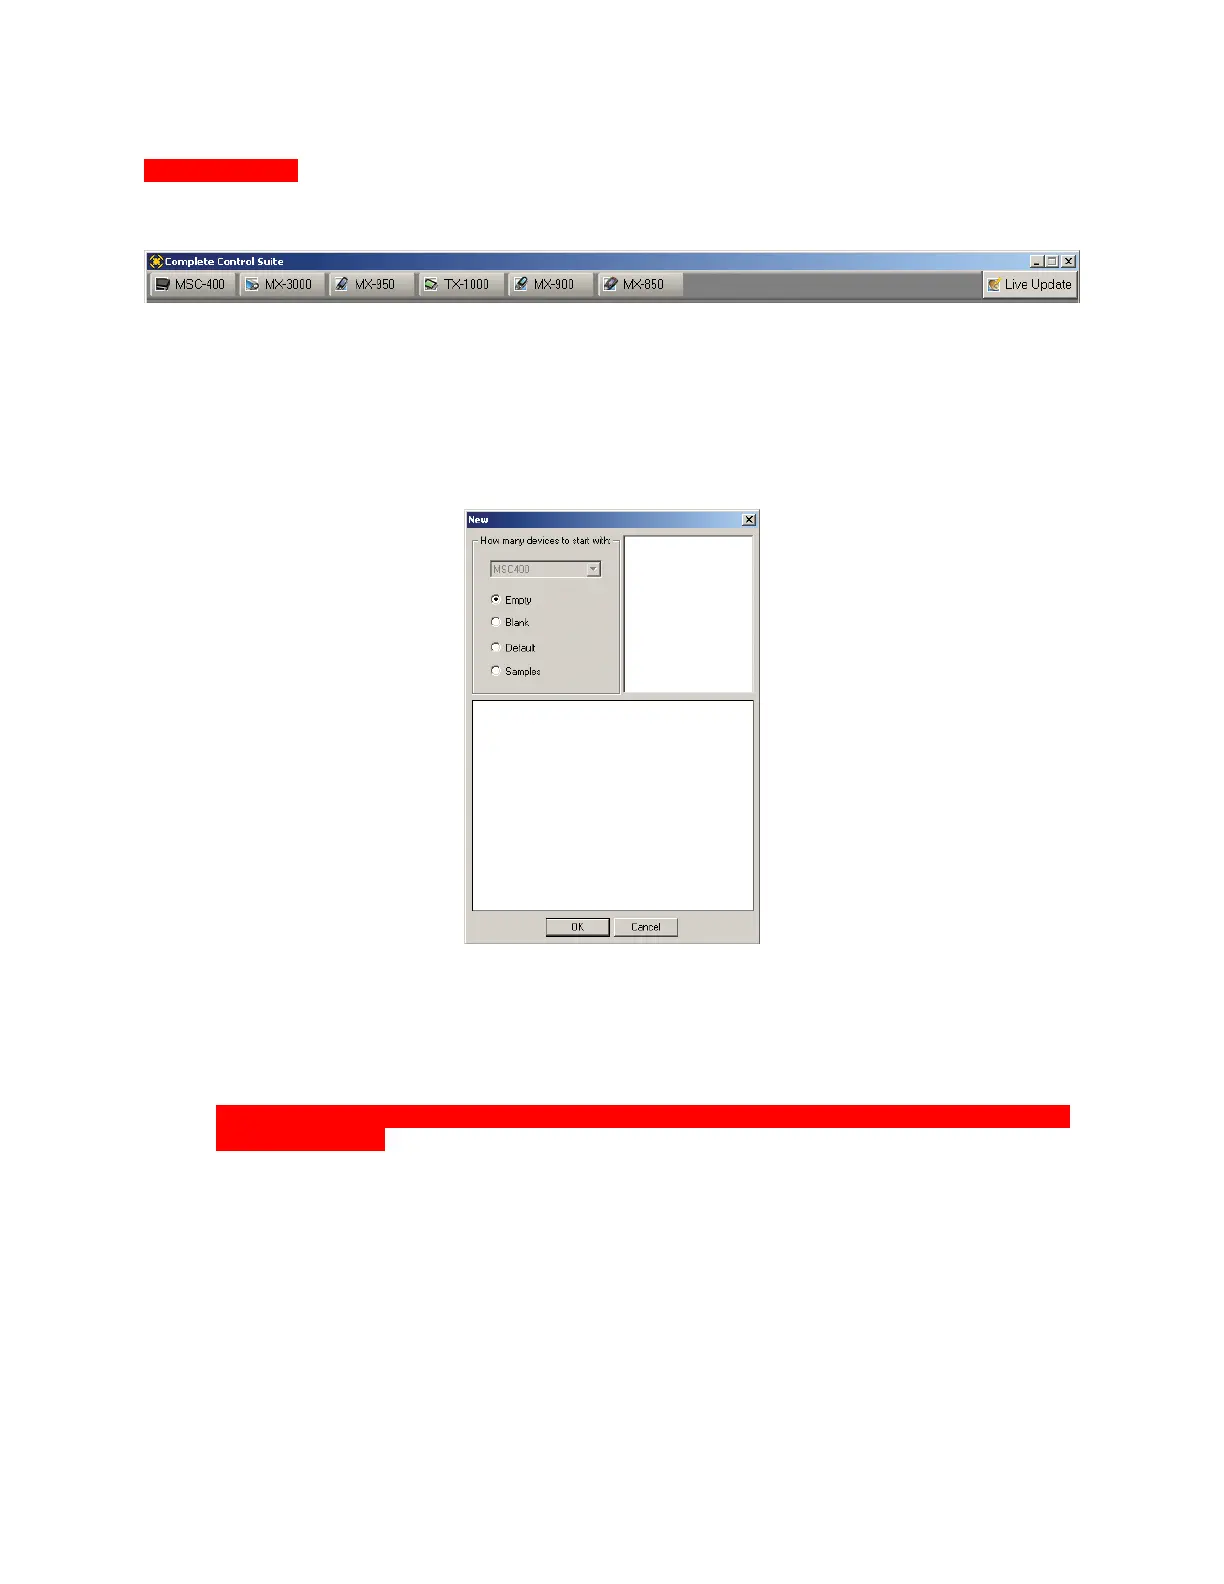
3. In the MSC EDITOR MENU BAR, click FILE then click NEW to create a file for the new project. The
CREATE NEW PROJECT WINDOW will appear.
MSC-400 Editor Create New Project Window
4. In the NEW WINDOW select one of the following:
a) Empty – This will open an EMPTY PROJECT TEMPLATE as shown in . It will have NO
DEFAULT CONNECTED DEVICES or SMART MACROS. Use this template to start a new
system from scratch.
NOTE – You cannot save this file until you have created a Smart Macro Group and at least
one Smart Macro!
b) Blank – This will open a BLANK PROJECT TEMPLATE with TWO GENERIC CONNECTED
DEVICES (New Device 1-IR, New Device 2-Serial) and ONE GENERIC SMART MACRO (Smart
Macro 1) for reference in starting a system. These devices and macro must be renamed for use
for a client.
c) Default – This will open a PROJECT TEMPLATE that has been populated with SEVEN IR
CONTROLLED A/V DEVICES, ONE GENERIC RS232 CONTROLLED DEVICE and ONE
GENERIC SMART MACRO. This template is useful to experiment with while you are learning
MSC-400 editor.
5. After selecting the template, to SAVE and NAME the NEW PROJECT FILE, do either of:
a) In the MSC EDITOR MENU BAR click FILE then click SAVE.
b) In the MSC EDITOR TOOL BAR click the SAVE ICON.