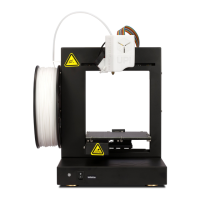
UP Plus 2 3D Printer User Manual v 2013.10.24
Auto Levelling : (Only needs to be done once at setup or
when there is a problem)
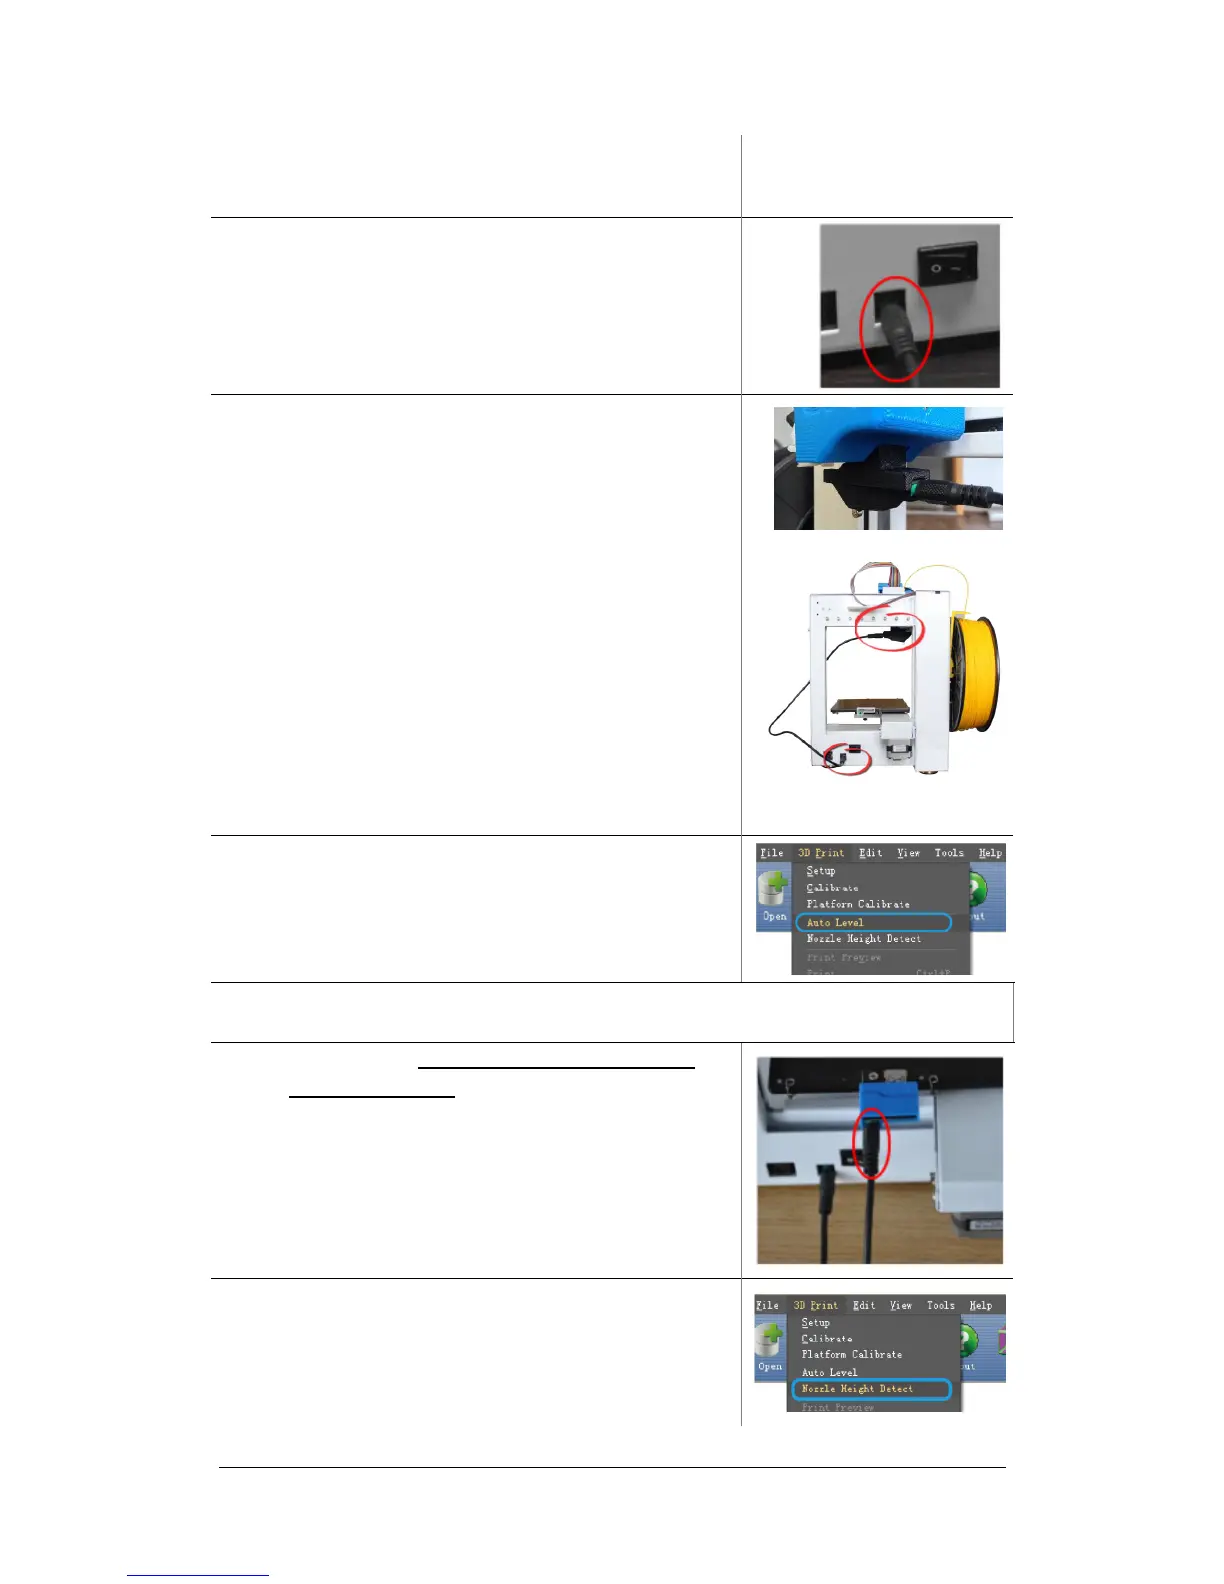
16. Plug in the black calibration wire into the back of the
printer.
Make sure that the cable is seated flush in the socket.
17. Plug in the black calibration cable into the auto level-
ling sensor and mount under the print head. There is a
small hole in the print head cover where the sensor
goes.
Make sure that the cable is seated flush in the socket on
the sensor. If it isn't, an error will occur when you go to
auto-level the platform.
18. In the software, click 3D Print / Auto Level.
(if “Auto Level” is greyed out check the connections)
The platform will rise up and the auto level sensor will
touch the Perfboard in nine points and record the level-
ling positions.
Auto Platform Height
19. Once complete, remove the Auto levelling sensor
from the print head and unplug it. Now plug in the
black calibration cable into the back of the platform
height sensor.
Make sure that the cable is seated flush in the socket of
the sensor.
20. In the software, click 3D Print / Nozzle Height Detect.
(if “Nozzle Height Detect” is greyed out check the
connections)