UP Plus 2 3D Printer User Manual v 2013.10.24
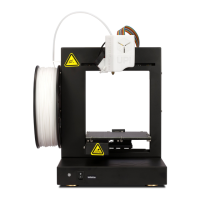
21. The table will rise up and the nozzle will touch the sil-
ver switch in order to automatically set the height.
(the value will be around +/- 135mm)
My First Print
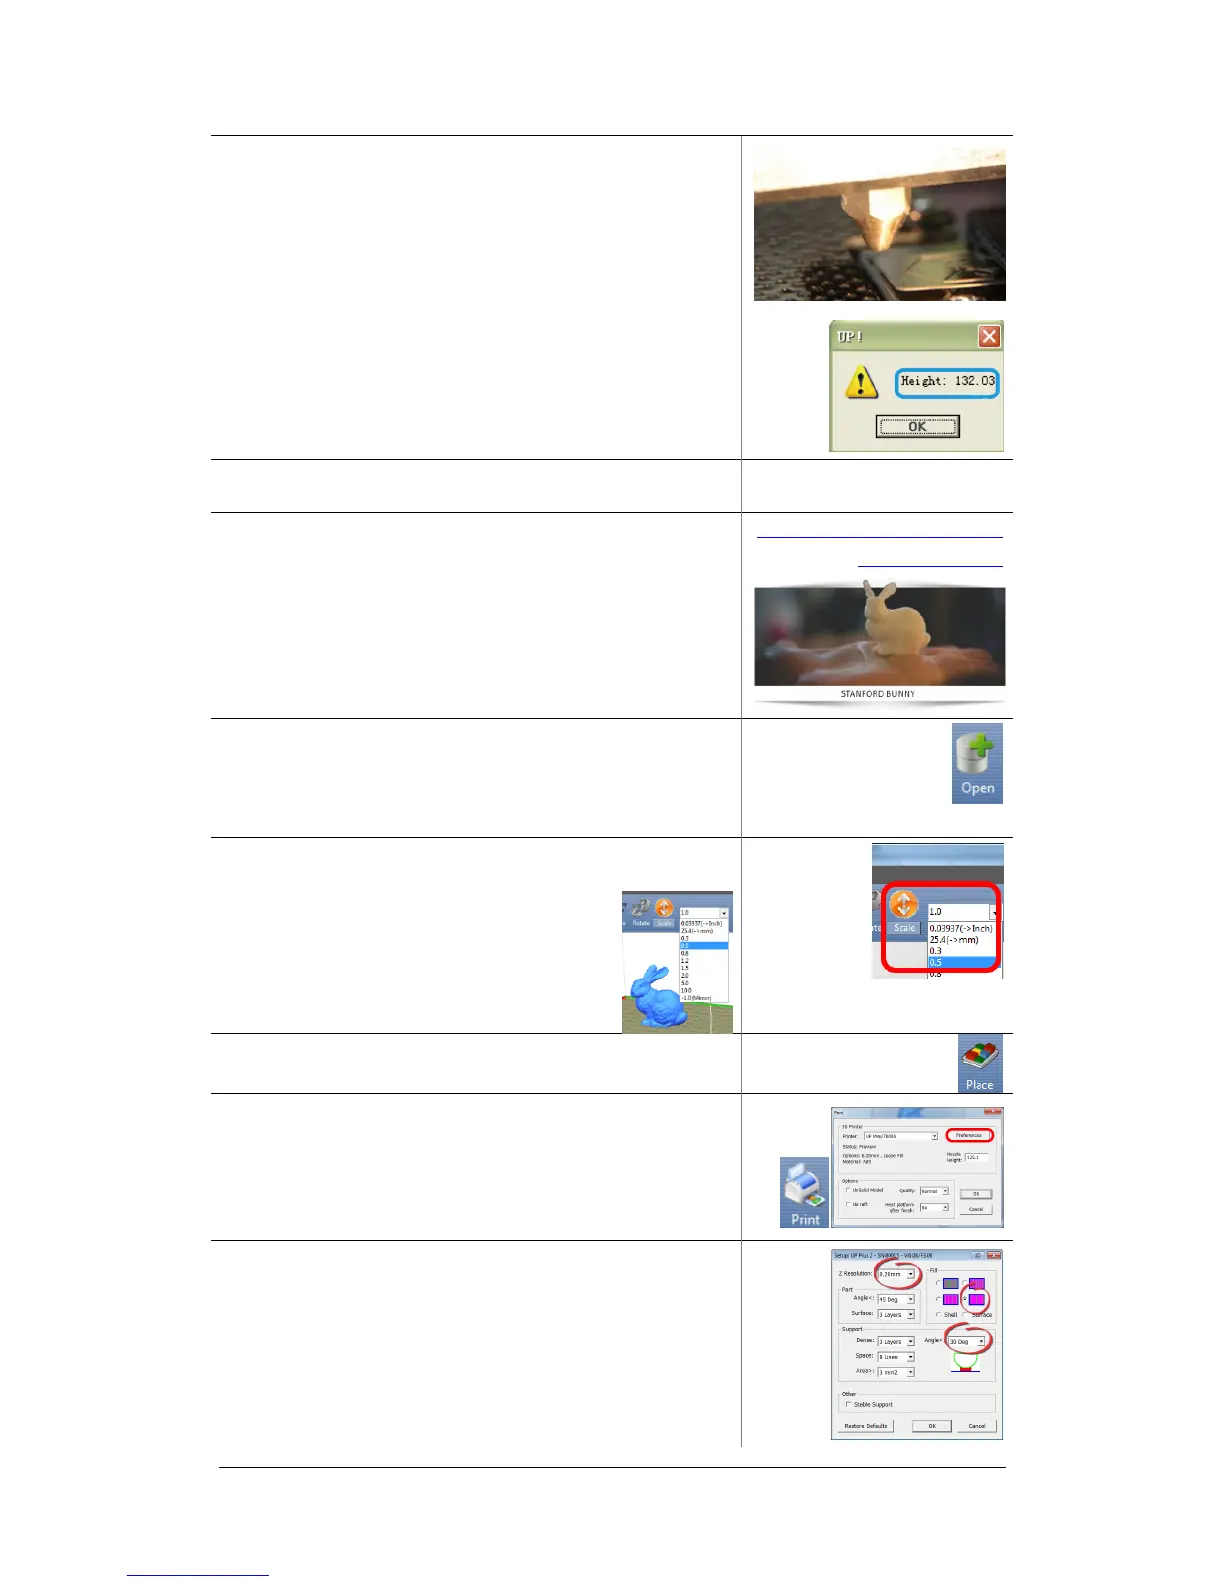
22. Download the test “bunny.stl” file. This is an excellent
first print as it shows the capabilities of the printer and
support material generation.
http://3dprintingsystems.com/d
ownload/bunny.stl
23. Run the software and then click “Open”. Locate where
you downloaded the “bunny.stl” file and open it.
24. Scale the bunny by 50%, click “Scale” and select “0.5”
from the drop down menu and click
scale again.
25. Click “Place” this will centre the model on the base of
the print area on the software.
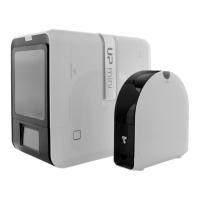
26. Click the “Print” icon and click “Preferences”
27. Select the following:
Z Resolution: “0.25mm” = Each layers height
Fill: Objects internal fill - Hollow Honeycomb (bottom
right)
Support Angle: 30 degrees
Typically these are the only values you’ll need to
change.