45 46
8.3 Material Installation
Important: To avoid accidental injuries while working, please wear gloves when
operating in the machining room.
1. Open the equipment operating door and simultaneously click on the material
loading and unloading position in CNC 3.
2. Use an Allen wrench to loosen the 3 bolts on the fixture used for fixation, but
do not remove them.
3. If there is a mounted tray, remove it and use a brush to clean the fixture,
ensuring no residue remains.
4. Install the disc material from top to bottom into the fixture. If the material is
multi-layered, ensure the top color side is facing you.
5. If you are using a processed tray, rotate it to the marked position on the fixture
to avoid cutting abnormalities.
6. After installation, use a wrench to tighten the fixing bolts to ensure the mate-
rial is secure and ready for machining.
Note: Residues and improper fixation in the tray can lead to damage to the current
cutting material. Please confirm cleanliness and installation before machining.
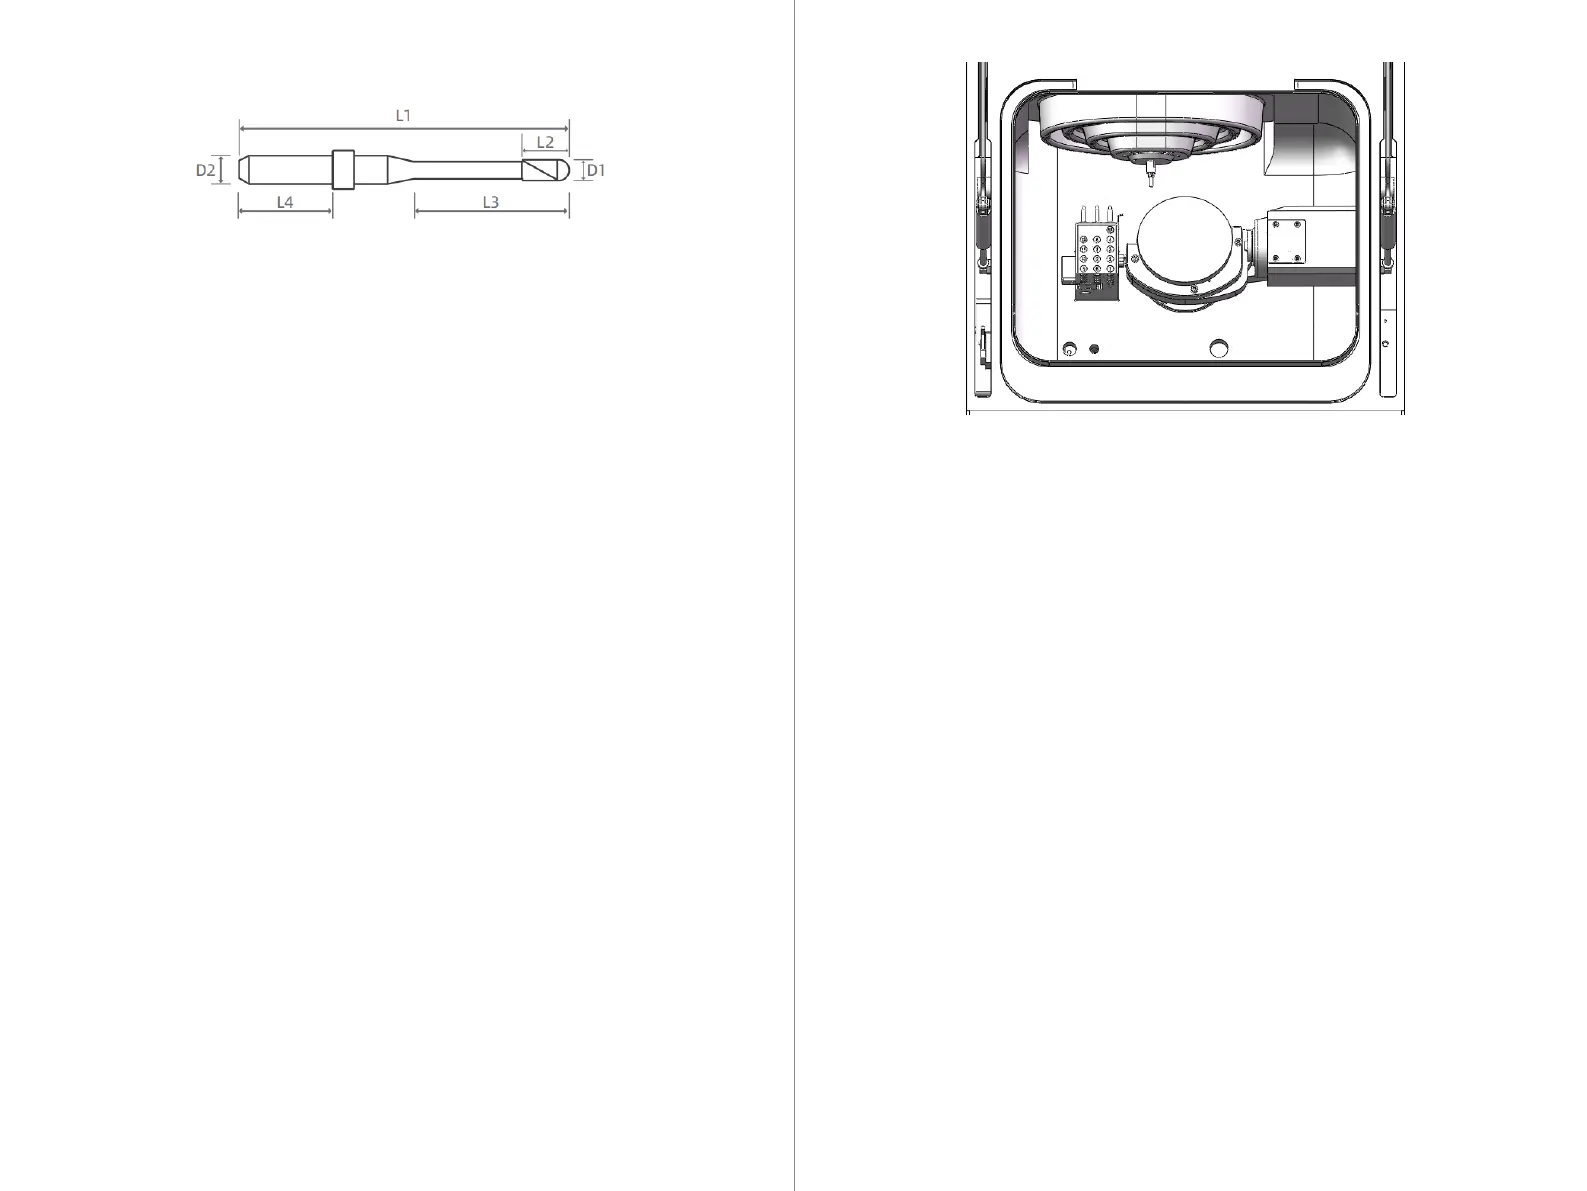
Length L1: 50mm Shank diameter D2: 4mm
Tool specifications are for reference only.
8.2.2 Supported Tool Information
8.3.1 Installing Disc Materials
Install the square material onto the BK-1 fixture. The BK-1 fixture supports the
installation of up to 6 square materials simultaneously.
1. According to the corresponding machining positions in UPCAM layout, install
the square material, and please confirm the installation positions are correct.
2. Take out the BK-1 chuck body and loosen the bolts at the intended machining
positions using a wrench, but do not remove the bolts.
3. If the square material is multi-layered, ensure that the top area of the material
is positioned at the top during installation.
4. After confirming the correct installation position of the material, align the
groove on the tail of the material with the locating pin on the chuck body and
insert it to secure.
5. After ensuring the material is tightly secured and cannot rotate, use the
wrench to tighten the corresponding square material bolts to secure it in place,
completing the installation.
8.3.2 Installing Square Materials