© UPLIFT Desk • 800-349-3839 • 512-614-3152 • info@upliftdesk.com • upliftdesk.com
5
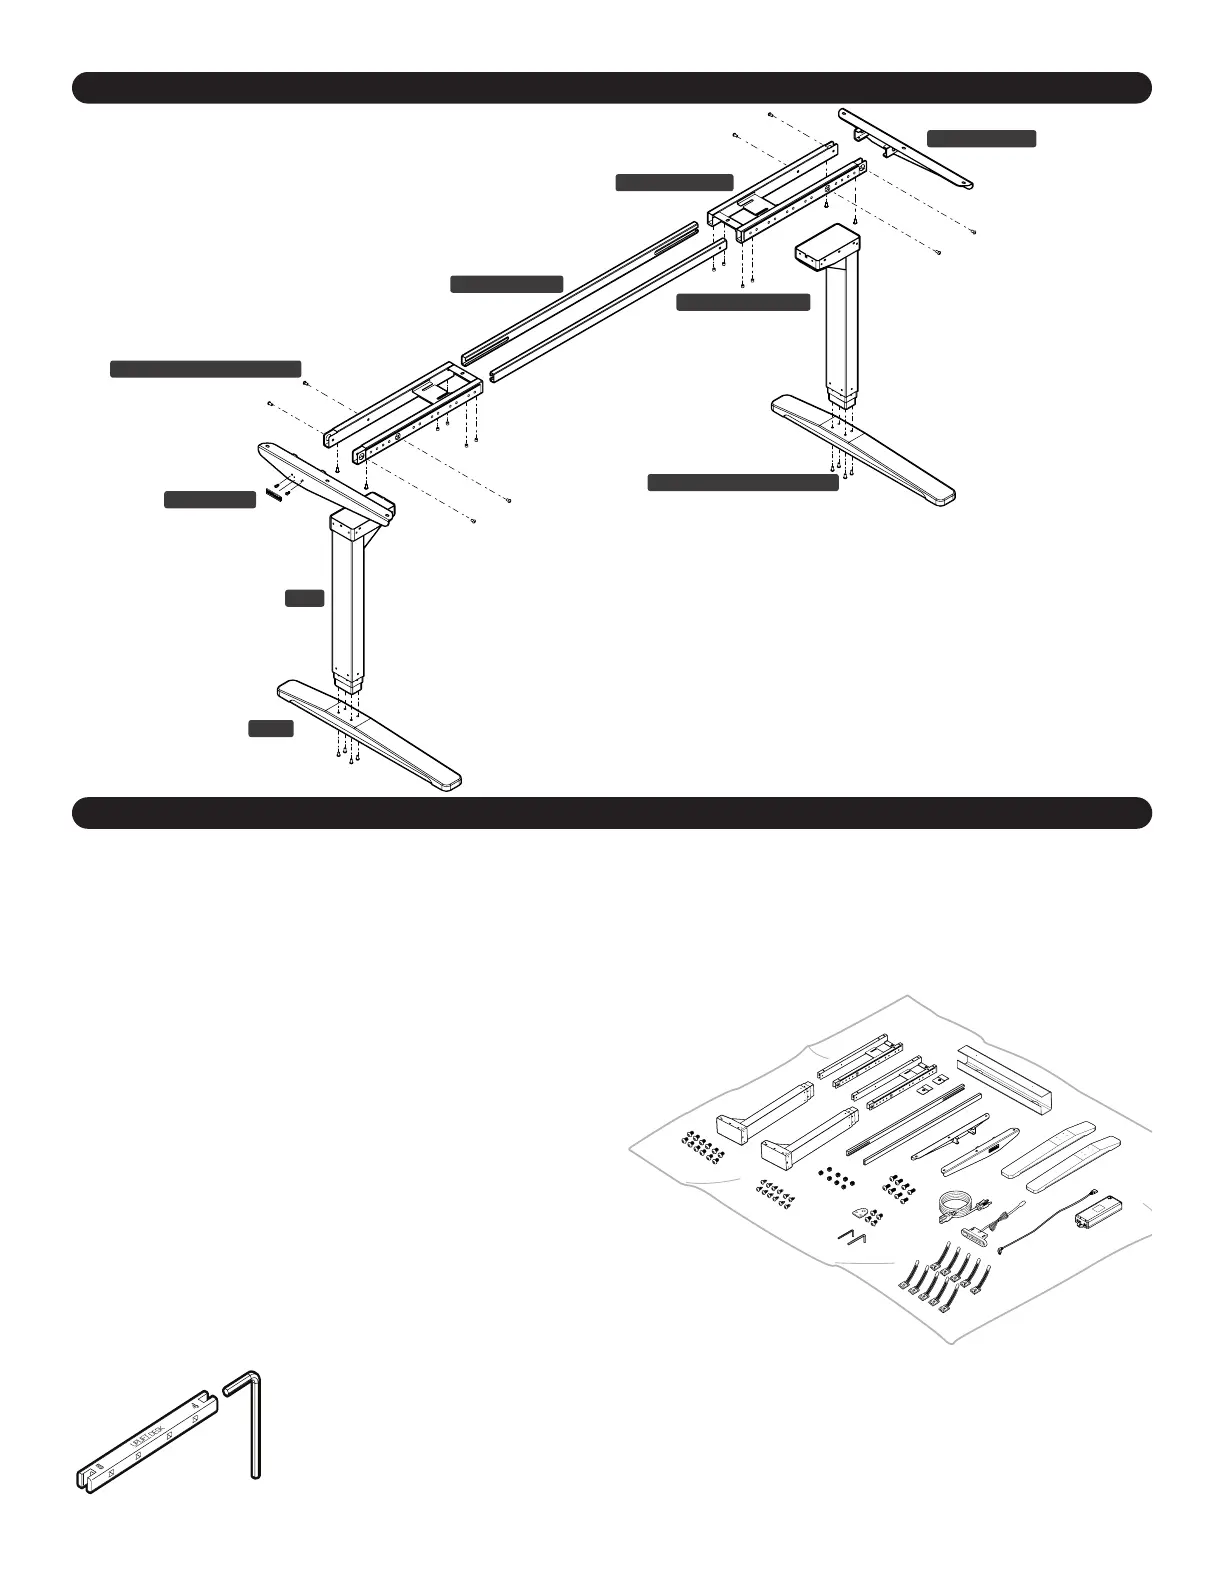
Step 1 - Inventory of Parts
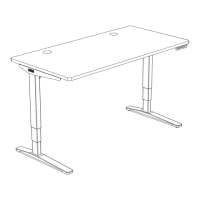
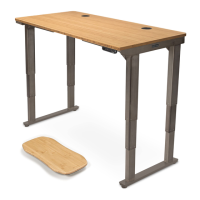
A. For ease and safety, we recommend using two people for assembly. Before assembly, consider where
you want your desk to be located. Since your new desk is height adjustable, you will want it located
a safe distance from anything that could obstruct the desk from being raised or lowered (like a wall
mounted shelf or cabinet). With an Advanced Keypad, you can set the upper and lower height limits for
your desk to avoid any potential collisions.
B. To avoid any damage to your oor or desktop, we
recommend assembling your desk on a debris-free
carpet or blanket.
C. Ensure you have received all components and
hardware before disposing of any packing material.
Lay out the components from all boxes and make
sure the items and quantities match what is shown
in each of the package contents sections in these
instructions.
D. Inspect the top surface of your desktop for damage
before beginning your frame assembly. This will
save you time if the desktop was damaged in
shipment.
E. The included Allen Wrench Handle (H15) provides increased leverage and a better
grip when tightening the frame screws. Insert the 4mm Allen Wrench (H6) into the
side marked with the number “4”. Push the Allen Wrench all the way into the slot of the
handle until it “snaps” securely into place.
Component Diagram
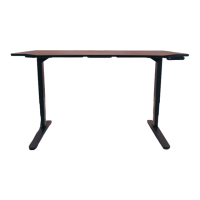
Desk Assembly Instructions
Foot
Leg
M6x14 Machine Screw
Crossbar End
Side Bracket
M6x10 Machine Screw
M8x8 Set Screw
Crossbar Rail
Logo Plate
V2 2-Leg C-Frame shown