page 20 of 27
Documents are only to be used and distributed completely and unchanged. It is strictly the users´ responsibility to check carefully
the validity of this document with respect to his product. 25/11/2013 // 999281
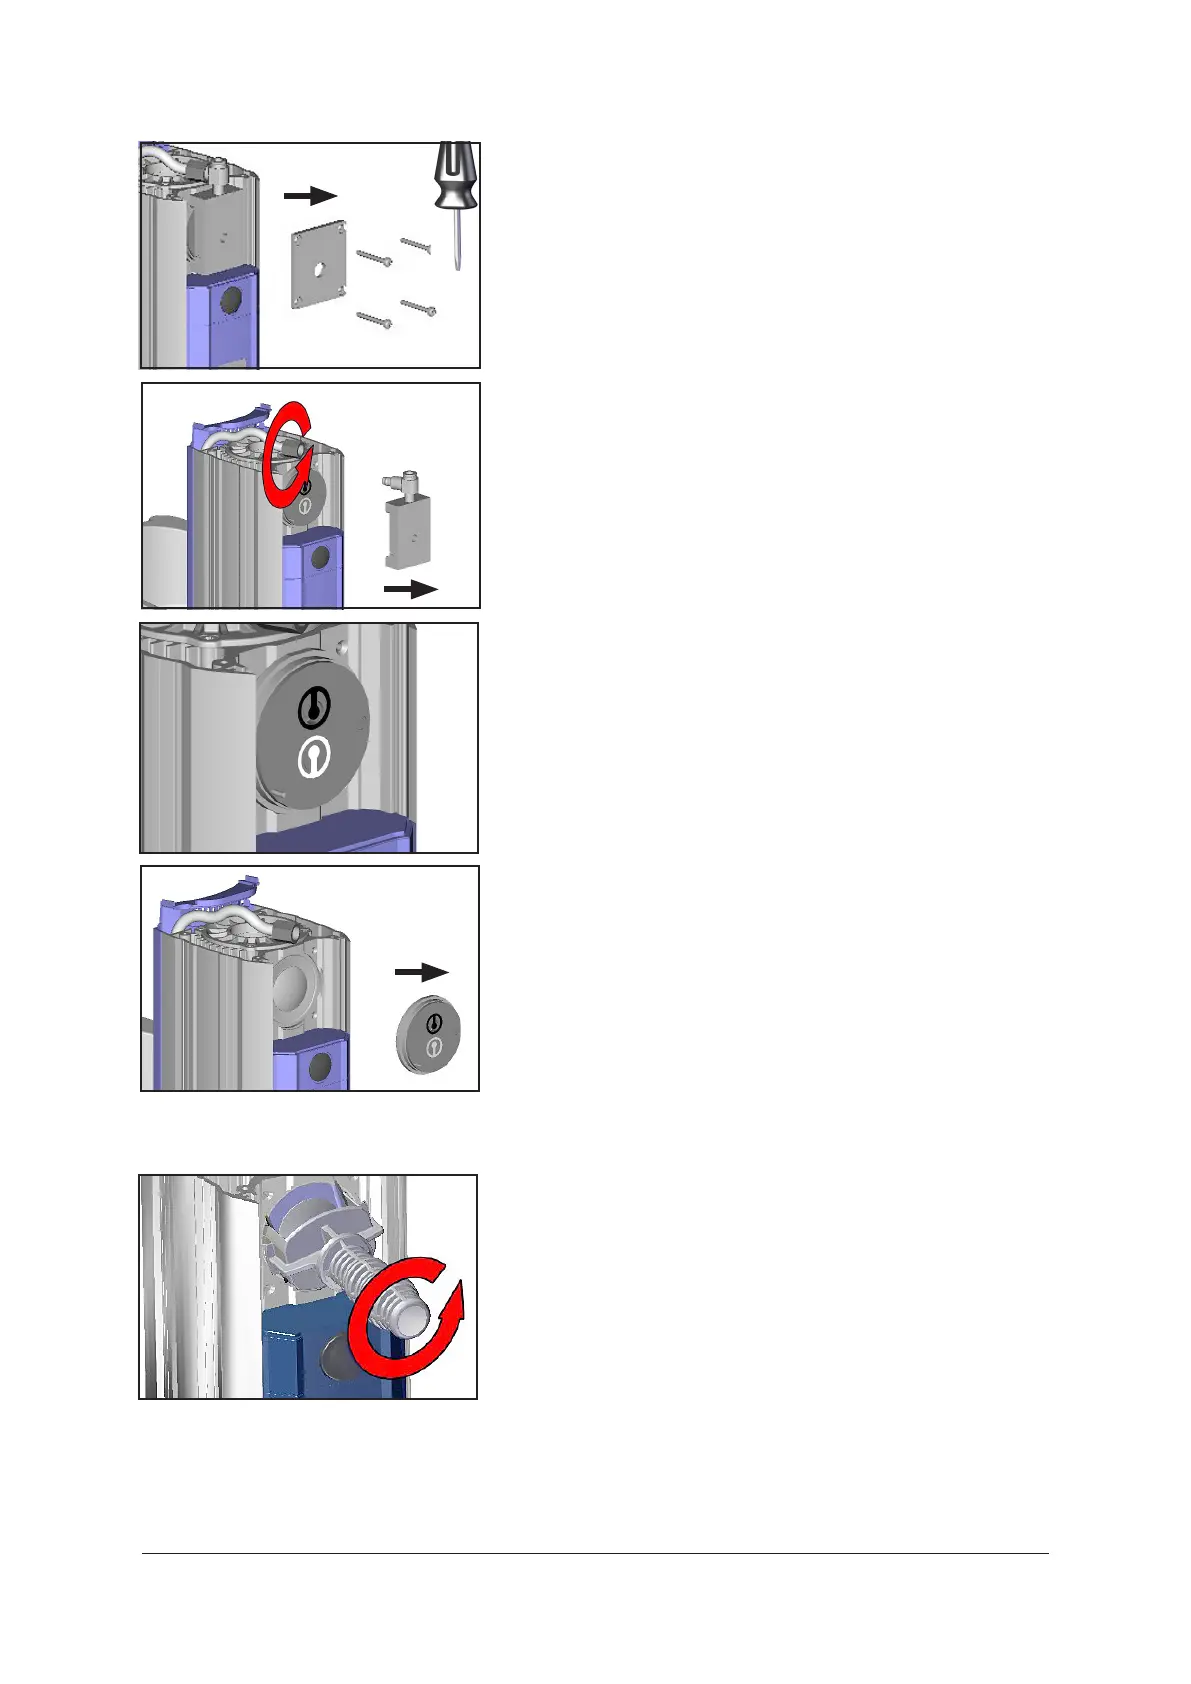
➨ Lift diaphragm carefully sidewise.
+ Never use a pointed or sharp-edged tool to lift the dia-
phragm.
➨ Usethediaphragmkeytogripthediaphragmsupportdisc
below the diaphragm.
➨ Press down the diaphragm clamping disc to bring the
diaphragmtoitslowestoscillatingposition.Unscrewdia-
phragm support disc with diaphragm and diaphragm clam-
ping disc.
+ Ifthediaphragmisdifculttoseparatefromthediaphragm
support disc, immerse assembly in naphtha or petroleum
ether.Donotinhalevapors!
+ Check for washers between the diaphragm support disc
andtheconnectingrod.Makesurethattheoriginalnum-
ber is reassembled.
➨ Note position of valves.
➨ Unscrewfourscrewsatthepumphead,payingattention
to washers.
Remove housing cover.
➨ Unscrewunionnutandremovehosefromelbowtting.
➨ Removehousingcoverinsertwithelbowtting.
➨ Remove head cover and valves.
+ Checkdiaphragmfordamage.
+ Attention: In case of a defect diaphragm the interior
of the pump housing has to be decontaminated, e. g.,
using a spray disinfection.
+ The appropriate decontamination method has to be
ensured by the user.
+ Never remove parts by using a pointed or sharp-edged
tool(e.g., screw driver),we recommend touse a rubber
malletorcompressedair(tobeblowncarefullyintoport).
 Loading...