*****INTERNAL*****30 R_D proof- 26.10.2022 / 09:15:46- VaillantGroup\DOC-agt\Brand\VIH_QW_190_6\ENG\OI-II_GB_0020291525
28 Installation and maintenance instructions 0020291525_04
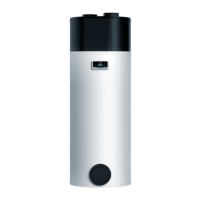
4.14 Removing the carrying straps
1. After you have set up the product, cut off the carrying
straps and dispose of them in accordance with the
relevant regulations.
2. Refit the front casing to the product.
5 Hydraulics installation
5.1 Carrying out the installation preparations
▶ Install the following components, preferably from the
manufacturer's accessories:
– An expansion relief valve, a stopcock and a mano-
meter on the heating return
– A domestic hot water safety assembly and a stopcock
on the cold water supply
– A stopcock on the heating flow
▶ Check whether the volume of the installed expansion
vessel is sufficient for the heating system. If required, in-
stall an additional expansion vessel, connected as close
to the product as possible, in the heating return. Adjust
the pre-charge pressure of the heating installation.
▶ Install the connection pipes such that they are free from
mechanical stress.
▶ If you are using metallic pipes to connect the pipe to the
outdoor unit, earth the pipes.
▶ Heat-insulate the pipes.
▶ Only solder connectors if the connectors are not yet
screwed to the service valves.
▶ Carefully flush the heating installation before connecting
the product.
▶ Check whether the expansion relief valve's drain pipe-
work opposite the outdoor air remains open, is installed
in a frost-free environment, always runs downwards and
visibly ends in an open drain.
▶ For heating installations with solenoid valves or thermo-
statically controlled valves, install a bypass with bypass
valve in order to guarantee a volume flow of at least 40%.
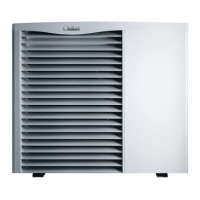
5.2 Connecting the heat pump to the indoor unit
1 G 1 1/4" connection,
heating flow from the
heat pump
2 G 1 1/4" connection,
heating return to the
heat pump
1. Blow or flush the supply pipes thoroughly prior to in-
stallation.
2. Connect the heat pump to the product.
3. Check whether the connections are leak-tight.
(→ Section 8.16)
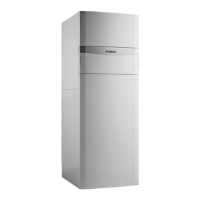
5.3 Connecting the building circuit
▶ Install the building circuit's flow (2) and return (1) in ac-
cordance with the relevant standards.
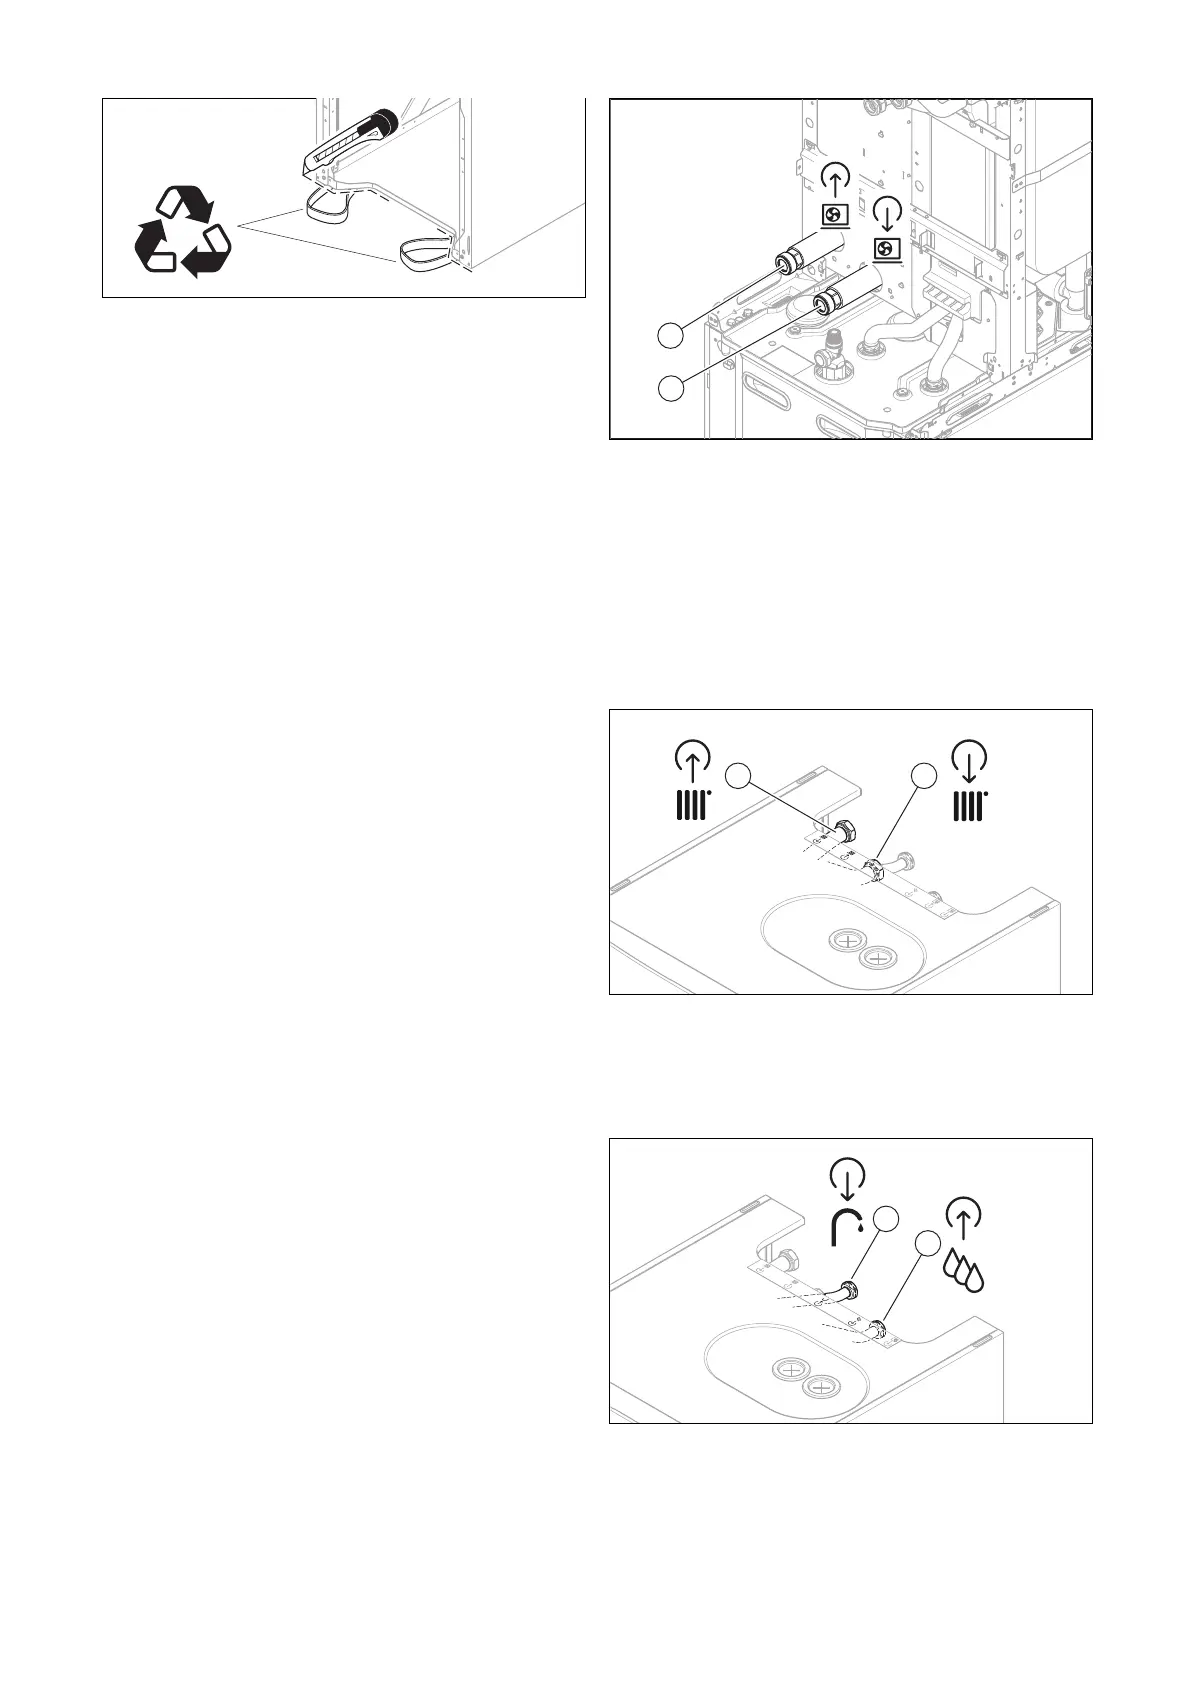
5.4 Installing the domestic hot and cold water
connection
▶ Install the cold water connection (2) and the domestic
hot water connection (1) in accordance with the relevant
standards.