__________________________________________________________________________ English
VAISALA________________________________________________________________________ 9
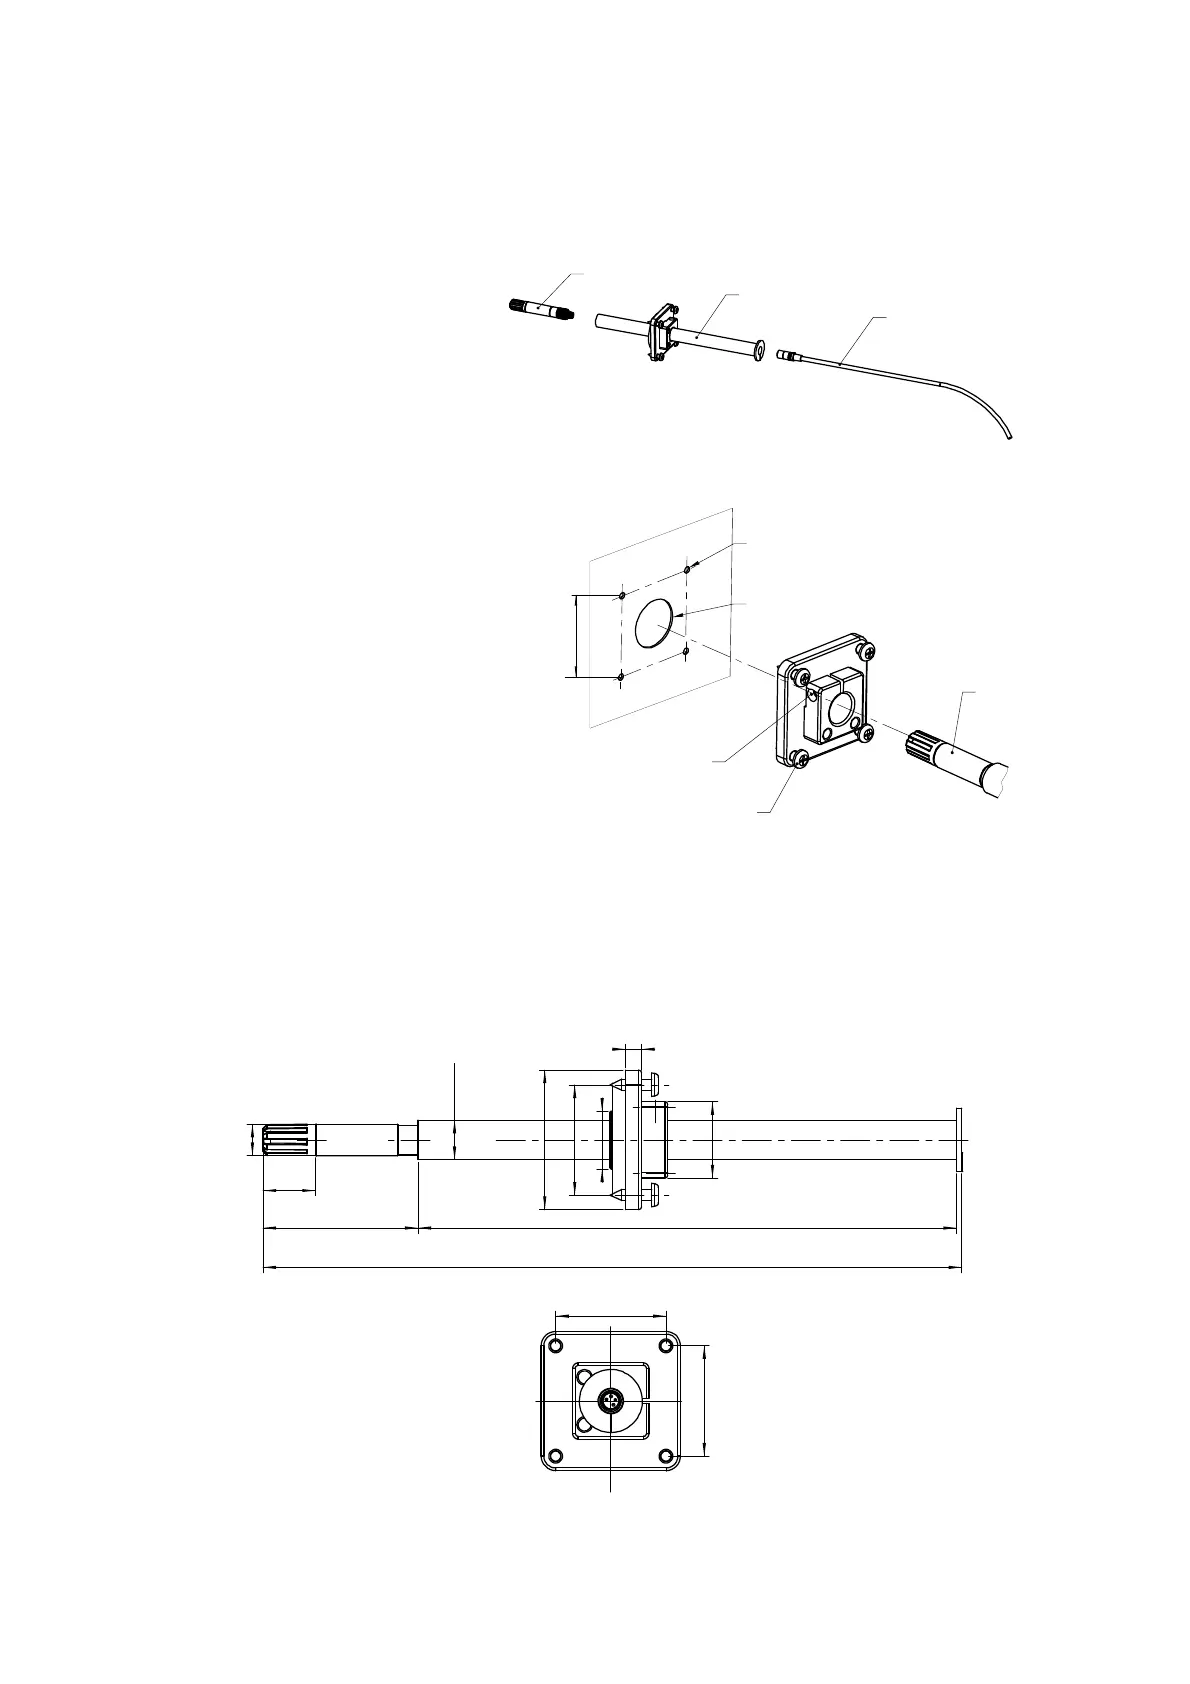
Duct Installation Kit
A = Probe (HMP110)
B = Duct installation kit
C = Probe Cable
1. Pass the probe cable through the plastic pipe of the duct installation kit.
2. Connect the probe cable to the HMP110.
3. Use a 24mm drill bit to make a hole in the duct wall.
4. Use a 3.2mm drill bit to make four holes for the installation screws
(ST4.2x16-C-Z DIN7981 screw, 4pcs). The holes should be arranged
in a square around the 24mm hole, at a distance of 42mm from each other.
5. Mount the probe holder using the screws (D).
6. Adjust the depth of the plastic pipe and tighten the screw (E)
to lock the probe in place.
B
C
42
F
D
E
D = Installation screw
E = Pipe locking screw
F = Probe (HMP110)
Ø24
Ø3,2x 4 pcs
29
59
20
Ø15
205
42
53
Ø22
6
Ø1 2
266
42
42

 Loading...