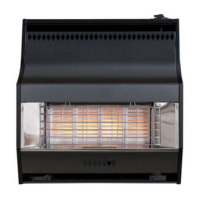
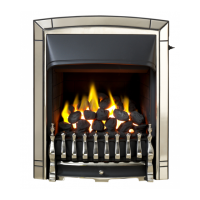
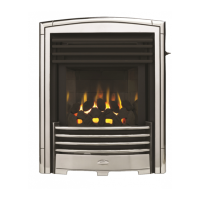
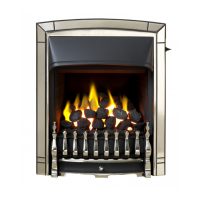
11. SERVICING AND PARTS REPLACEMENT
Always turn off the gas supply and ensure that the appliance is
completely cool before commencing any servicing (The appliance inlet
“T” connector incorporates an isolating valve).
It is recommended that, at least once a year, the appliance is
disconnected and the catchment space behind the closure plate checked
and cleared of any debris. The closure plate must be resealed to the wall
after checking.
Check that soot or debris is not impairing the electrode spark or pilot burner.
Check that soot or debris is not blocking any of the holes in the main burner.
Always test for gas soundness and spillage after servicing the appliance.
Note: For models fitted with electronic ignition it is adviseable to remove the
battery from the electronic spark generator before continuing to service the
appliance. This will prevent accidental operation of the ignition system.
11.1 To remove the fascia.
11.1.1 Remove the control knob by pulling clear of the gas tap spindle.
11.1.2. Remove the two fascia retaining screws located at the front of the fascia
near the bottom corners.
11.1.3. Lift the fascia up and forward to clear the rear top location.
11.1.4. Replace in the reverse order. Make sure that the channel near the top of the
rear of the fascia locates fully into the wings of the engine back panel (See figure 11).
Make sure that the radiants are not dislodged when refitting the fascia.
11.2 To replace radiant(s).
11.2.1. Remove the dress guard by pressing down the two hooks at the top. Tilt the
guard forward and lift out.
11.2.2. Remove the old radiant(s). Fit the new radiant(s) ensuring that their front
face rests against the front of the retaining channel.
11.2.3 Replace the dress guard.
11.3 To replace the pilot unit.
11.3.1. Remove the fascia as section 11.1 above.
11.3.2. Disconnect the thermocouple connection at the bottom of the gas tap.
11.3.3. Disconnect the pilot pipe from the gas tap. It is the upper connection at the
right side of the tap.
11.3.4. Remove the first screw securing the dust cage to the pilot unit & burner
bracket. Carefully remove the dust cage and place aside. Remove the second screw
securing the pilot unit to the burner bracket.
11.3.5. Disconnect the electrode lead from below the pilot electrode.
11.3.6. Carefully remove the pilot unit together with the pilot pipe then disconnect the
INSTALLER GUIDE
© Baxi Heating U.K. Limited 2008.
Page 24