1. Vent chambers on either side to atmospheric pressure.
2. Open the valve.
3. Remove screws (1) and (2) according to «Sample Figure 6-1».
4. Withdraw actuator/mechanism unit carefully from body without touching the body wall;
see «Sample Figure 6-1».
5. Remove locked ring (5) according to «Sample Figure 6-1».
6. Withdraw bolt (4) by pulling it downwards according to «Sample Figure 6-1».
1 Screw
2 Screw
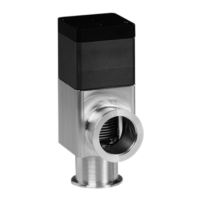
3 Valve body
4 Bolt
5 Locking ring
6 Bonnet seal
Sample Figure 6-1
7. Put valve gate to the horizontal position.
8. Insert new valve gate in reverse order.
9. Mount bolt (4) according to «Sample Figure 6-1».
10. Mount locked ring (5) according to «Sample Figure 6-1».
11. Clean sealing surface of bonnet flange.
12. Check bonnet seal – if necessary, replace it.
 Loading...