Ventis™ MX4 Product Manual
© 2014 Industrial Scientific Corporation
18
Zero Initiate Screen
Options
Bypass zero and calibration process.
Begin zero and calibration process.
Press ON/OFF/MODE to bypass the zero and calibration processes and
advance to one of two screens.
If the installed sensor set includes H
2
S and NO
2
, OR, SO
2
and NO
2
,
the monitor is pre-set for standard calibration mode and the Low
Alarm Set-point Screen displays.
For all others installed sensor combinations, the Calibration Mode
Selection Screen displays.
Press ENTER to begin the zero and calibration process. Proceed to the
manual section, Zero, Calibration, and Bump Testing
Calibration Mode Selection
Options
0 = Standard Calibration
1 = Quick Calibration
The quick calibration option sets the monitor to calibrate all four sensors
simultaneously. The standard calibration option sets the monitor to
calibrate each sensor independently.
Press ENTER to edit the value, if needed.
Press ON/OFF/MODE to set the value and advance to the Low Alarm
Set Screen.
NOTE: The user can edit the values for four alarm types in configuration mode. The monitor presents these options
in the order shown below.
1. Low alarm
2. High alarm
3. TWA (if toxic sensors installed)
4. STEL (if toxic sensors installed)
For each alarm type (e.g., low alarm), the user can edit the alarm settings for each installed sensor, one sensor
at a time. The order in which the sensors are subject to change is as follows.
1. Toxic sensor 1
2. LEL sensor
3. Toxic sensor 2
4. O
2
sensor
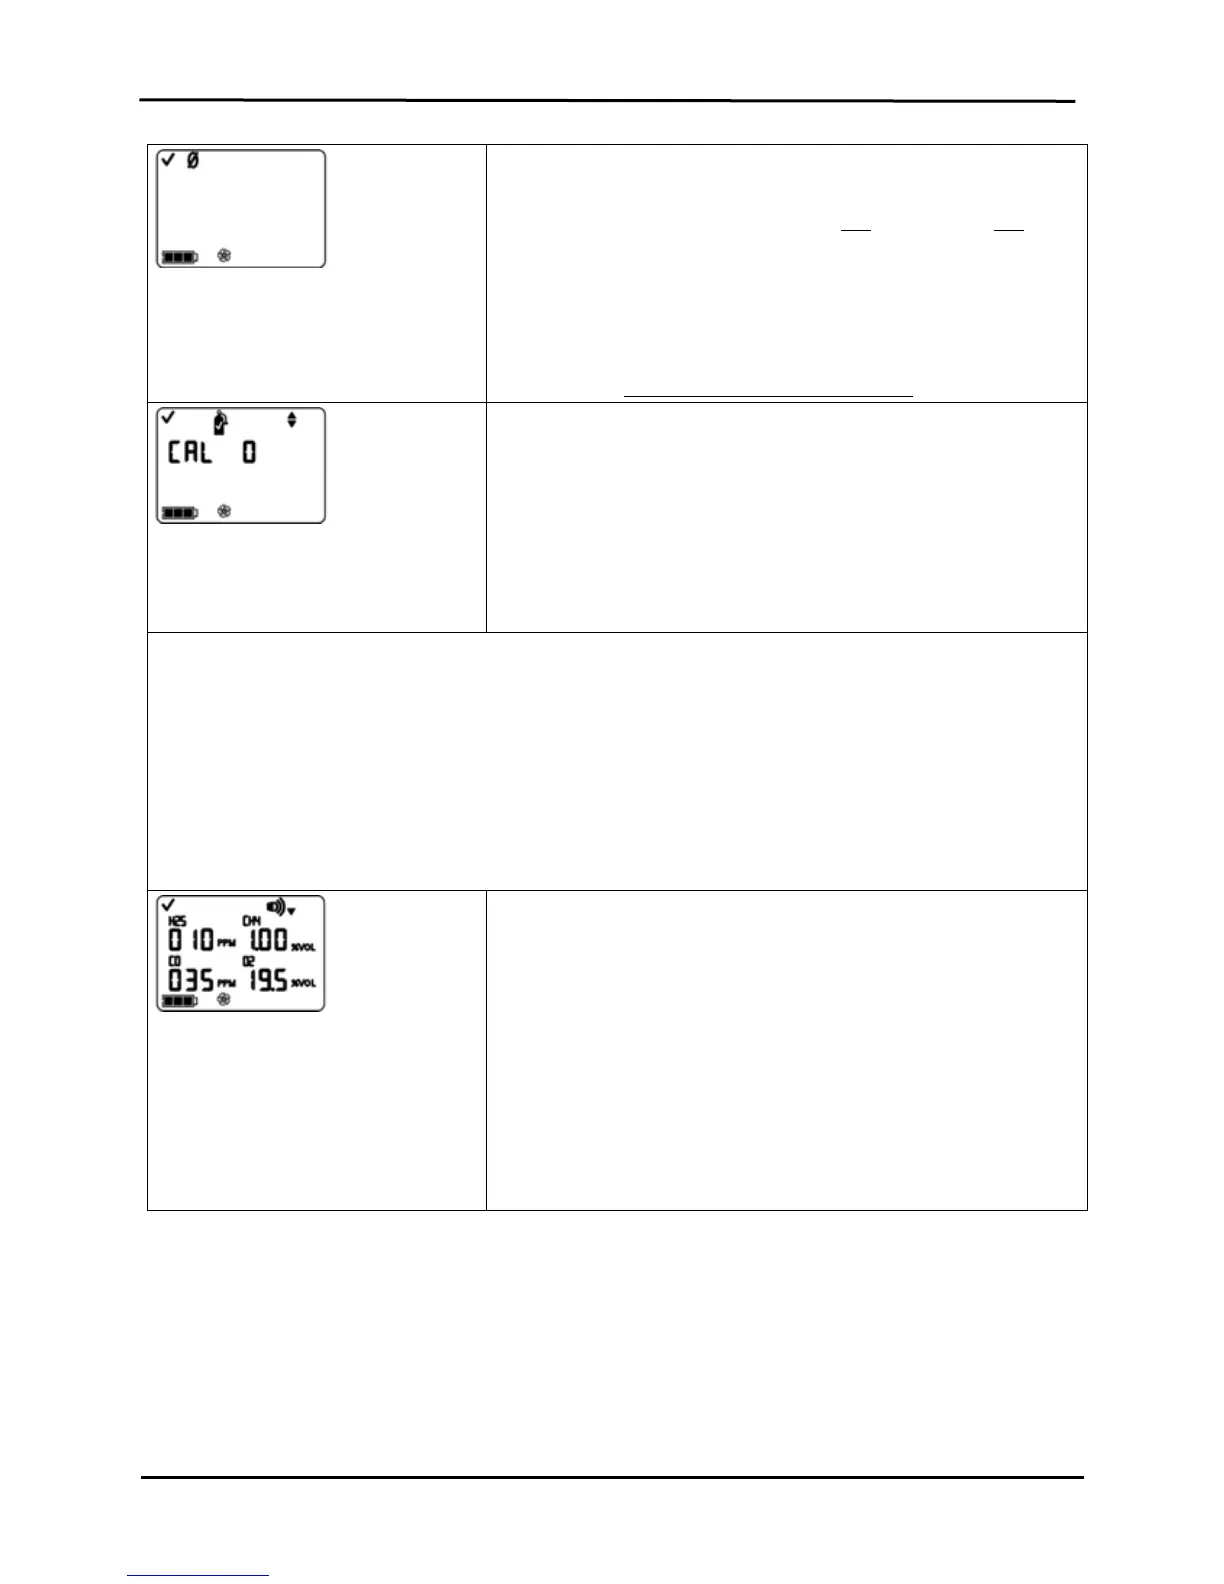
Low Alarm Set-point Screen
Displays the existing low alarm value for
each installed sensor. If any one of the
sensors is NOT installed, its position on
the display is blank.
Press ON/OFF/MODE to bypass the low alarm value set process and
advance to the High Alarm Set-point Screen.
Press ENTER to begin the low alarm value set process.
On the display, the first sensor subject to change flashes.
Press ENTER to edit the value, if needed; press repeatedly or
hold down to speed the increment pace.
Press ON/OFF/MODE to set the value.
The next sensor subject to change flashes. Continue to use the
ENTER and ON/OFF/MODE buttons, respectively, to edit and
set each sensor’s low alarm value.
After the alarm value is set for each installed sensor,
press ON/OFF/MODE to advance to the High Alarm Set-
point Screen.