4.6 Set-up and Configuration on the Touchscreen
The Setup Menu provide options to configure most leak-detection and system settings. All of the options
available and edited via the touch screen propagate to the web interface.
To access the Setup menu:
1. On the LCD display, touch Setup.
The Enter Password dialog opens.
NOTE: The Setup menu may be password protected. By default, there is no password, but the
password screen always opens. Leave the field blank and touch the enter key to open the menu. To set
a password, see Configuring Leak Settings on the Touchscreen on page 26.
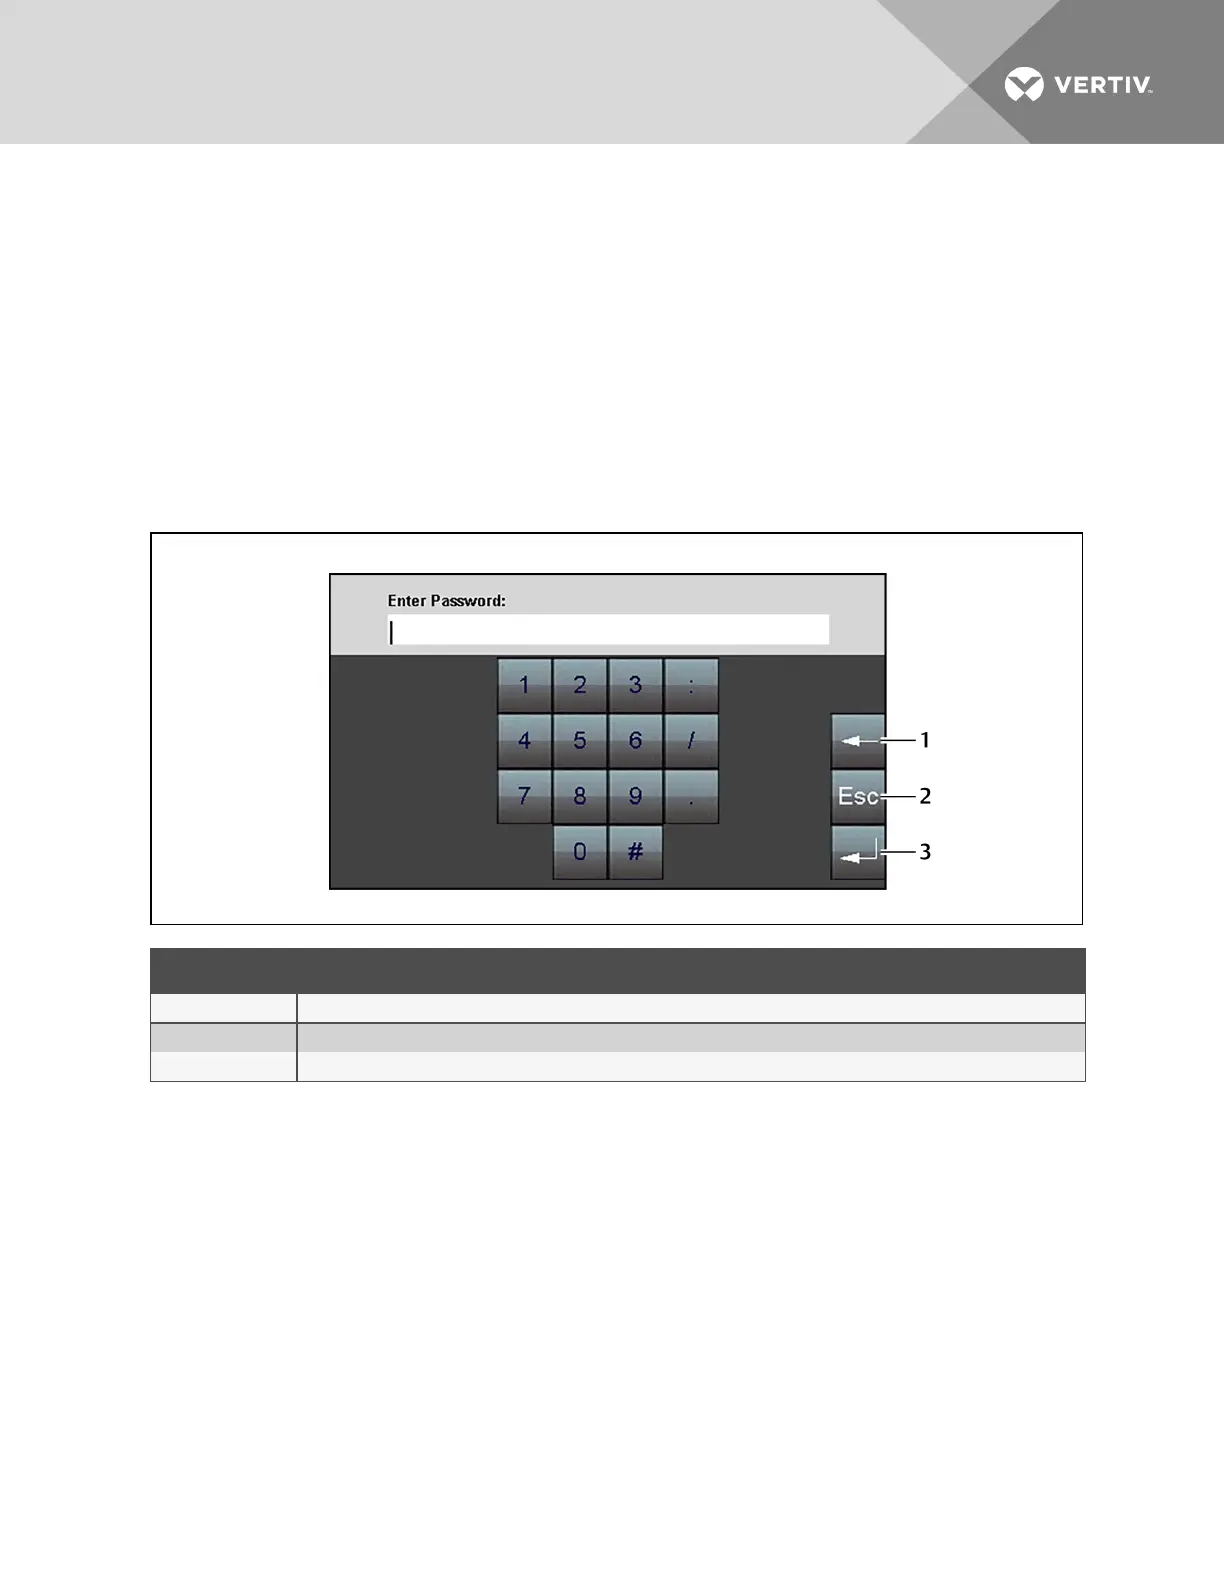
Figure 6.1 LCD Password dialog
ITEM DESCRIPTION
1 Backspace
2 Escape, returns to the previous screen without saving.
3 Enter, accepts entry/saves changes.
2. Enter a password and touch the enter key.
The Setup menu opens providing access to the following options:
• Configuring Leak Settings on the Touchscreen on page 26
• Configuring Virtual Zone Settings on the Touchscreen on page 27
• Configuring Slave Zones on the Touchscreen on page 28
• Configuring 4-20 mA Output on the Touchscreen on page 29
• Setting a Maintenance Reminder on the Touchscreen on page 30
• Configuring Network andSystemSettingsontheTouchscreen on page 31
• Configuring EIA-485 andModbusPortCommunicationontheTouchscreen on page 31
• Configuring BACnet Communication on the Touchscreen on page 32
• Clearing Alarm History and Trend Logs on the Touchscreen on page 33
Vertiv | Liqui-tect LP6000 Installer/User Guide | 25
 Loading...