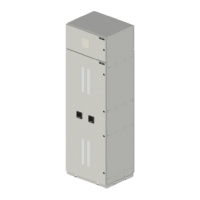
4 Installation
Following are the details for the installation of the switchboards.
4.1 Pre-Installation Preparation
• Install the Switchboards on a smooth, solid, and level foundation (no more than ±0.125 in. per 3 ft.).
• Prior to shipment, the complete switchboard is assembled at the factory to ensure proper alignment and
connection.
• An uneven floor can cause issues with installation, with consequences of misaligned sections, units, doors, and
other parts.
• Determine the layout of the switchboard.
• Verify that the available equipment space and location follow the minimum working space clearances according
to the NEC standards.
For rear access switchboard , installation dimensions are mentioned below :
• Minimum of 2.5 ft (750 mm) from the highest part of the section to the ceiling.
• Minimum of 3.5 ft (1066 mm) between the front and rear of the lineup and the closest obstruction.
For front access switchboard , installation dimension are mentioned below:
• Minimum of 2.5 ft (750 mm) from the highest part of the section to the ceiling.
• Minimum of 3.5 ft (1066 mm) between the front of the lineup and the closest obstruction.
• Minimum of 4 in. (102 mm) between the rear of the lineup and the closest obstruction.
NOTE: Refer to the manufacturer’s switchboard drawings for the glanding area for conduits. Install the Conduits in the
glanding area to ensure compliance with NEC and UL Wire bending requirements.
4.2 Anchoring
Anchoring of each switchboard and their respective splits are different for each job. Standard practice is to bolt each split to
the floor with at least four (4) M10x25 mm hex head bolts. Each split will have four (4) to eight (8) different locations that can
be used for anchoring however, it is recommended to use the two (2) front and two (2) rear locations.
Access is provided to each anchoring location using the large lifting holes in each plinth. After anchoring is complete install
supplied plinth caps. Refer to manufacturer drawings for exact location of anchoring holes for your specific panel.
4 Installation Proprietary and Confidential ©2024 Vertiv Group Corp. 21
Vertiv™ UL891 Switchboard Installer/User Guide