VESDA VESDA Maintenance Guide
www.xtralis.com 29
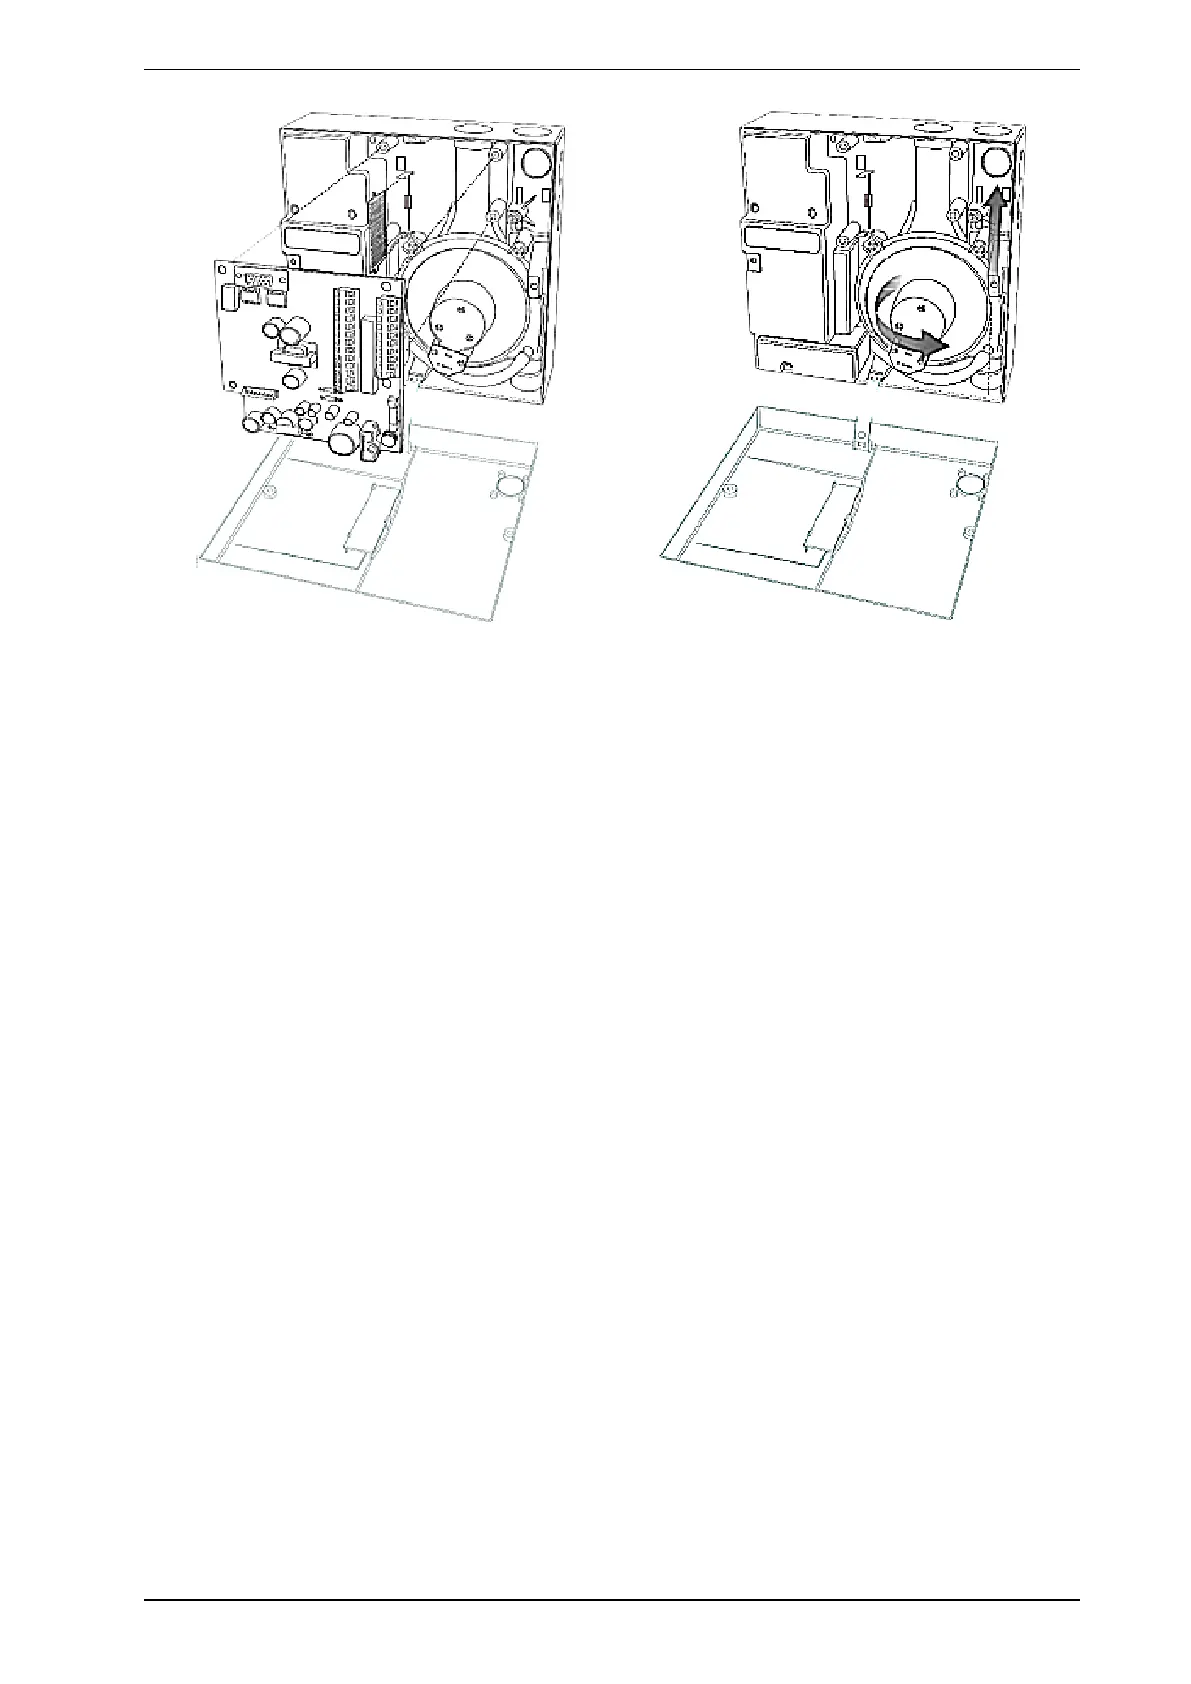
Figure 8-16: Replacing the Aspirator in a VESDA VLC detector
9. Check that the new aspirator has a gasket on the inlet flange and three attached screws.
10. Wipe the manifold outlet flange surface.
11. Secure the aspirator with the three screws.
12. Reconnect the previously removed air hose to the pipe on the aspirator. Ensure a tight fit over the pipe.
13. Reinsert the termination card into the interface card.
14. Secure the termination card with the four screws.
15. Connect the aspirator cable connector to the socket on the aspirator; the connector is keyed and can only
be inserted one way.
16. Check that all wires are secured to their connectors or terminals.
17. Power up the detector and check that the aspirator is running.
18. Resolve all Fault conditions.
19. Close the detector.
20. Reset Isolate to normal conditions and check that the airflow % has returned to the level it was at before
Disassembly.