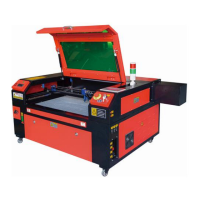
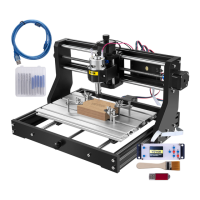
Step 5. Open the engraver cover, check that the air assist is working properly, and
adjust the table if necessary. Cellular beds are recommended for most applications.
The bed can be raised or lowered using the Z-axis control on the front of the
cabinet to accommodate a variety of materials of different thicknesses.
Step 6. Place the material sample on the bench. The standard position is located in
the upper left corner of the table. This can be changed by moving the location of
your design or engraver's origin using the control panel or engraving software. To
handle larger materials, you can open the front or rear through door, or both, at
the same time. When the laser is active, do not insert anything into the work
surface through a pass-through door other than the material. Pay special attention
to fumes and dust that may be released through these doors. Make sure your
ventilation system is robust enough to absorb all by-products or wear the
necessary PPE to ensure the health of users and passers-by.
Step 7. Focus the laser by placing the acrylic focusing tool on top of the material
and carefully lifting the table. The laser head should barely touch the top of the
acrylic tool without applying any pressure, ensuring that the engraving distance is
correct. (Again, never try to be on the bench without material.)In any way, the
laser is focused. Close the lid.
Step 8. Customize the contrast and engraving depth of your design by adjusting
parameters in the engraving software or directly from the control panel. If your
engraving instructions detail the power setting in milliamps, use the following
conversion chart to find the appropriate power setting: