To adjust the mirror, loosen the nut on the screw and gently turn the screw
clockwise or counterclockwise. Each screw adjusts a different position or
angle. Keep track of the screws you are adjusting and the direction of
adjustment. Do not turn the screw more than 1/4 turn at a time, especially
test the position of the laser after each adjustment so that you can see the
effect of each replacement. Test until the beams are properly aligned, then
retighten the nuts on the screws when all adjustments have been made.
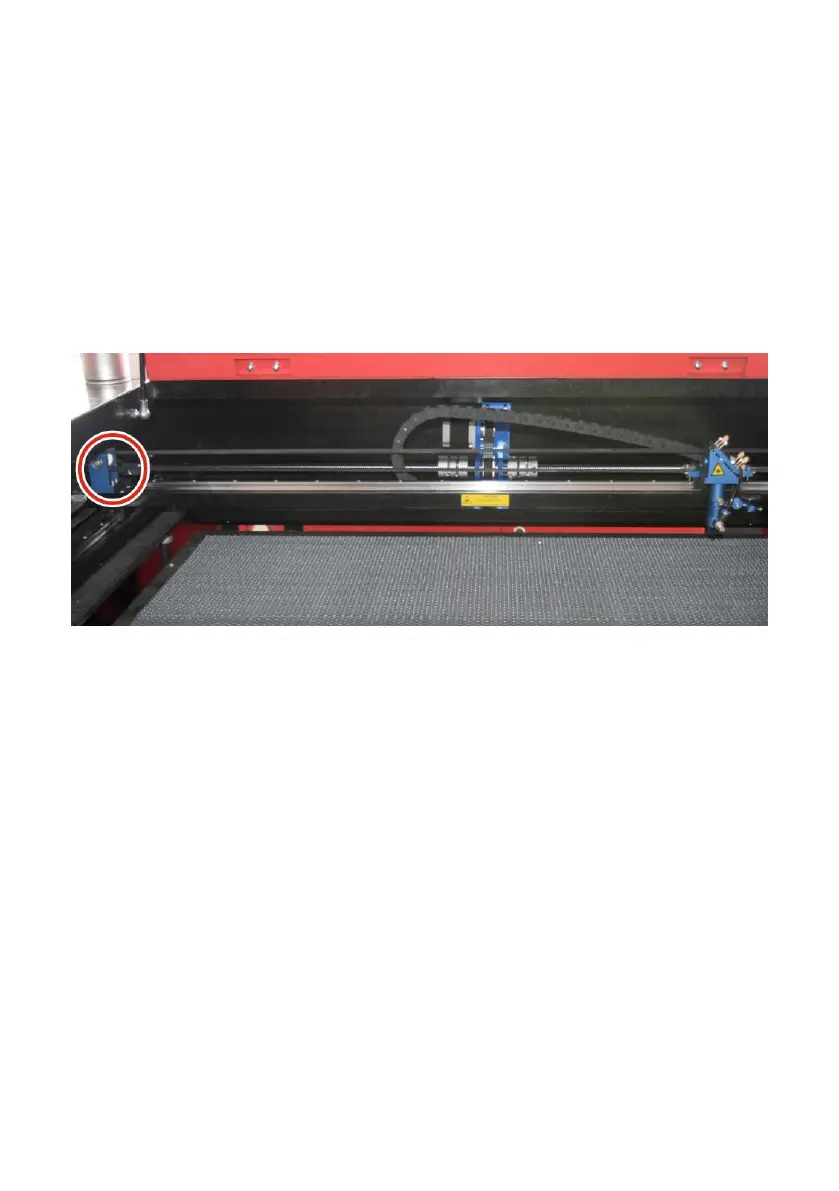
Next, use the directional arrows on the control panel to send the second
mirror to the front of the bed along the Y axis.
Once set, place another strip of tape on the frame of the second mirror. Do
not place the tape directly on the mirror. Repeat the steps in 5.4.1 and, if
necessary, adjust the set screws on the first mirror. Test again until the
beams are properly aligned, then retighten the nuts on the screws.
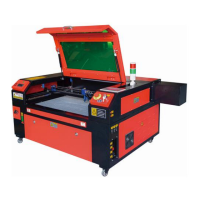
SECOND MIRROR ALIGNMENT.
The laser mark should be close to the center of the hole. If the laser is not
centered on the first mirror, cut off the power of the laser and carefully
adjust the laser tube in its holder. This may require loosening the bolts on
its bracket. Be careful not to over-loosen the bolts and not over-tighten the
bolts. Only one stand can be adjusted at a time.