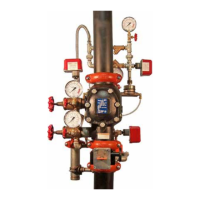
6. Pry the clapper seal, along with the seal ring, out of the clapper.
Inspect the clapper seal. If the clapper seal is torn or worn, replace
it with a new, Victaulic-supplied clapper seal. If replacing the
clapper seal assembly with a new assembly, skip to step 7.
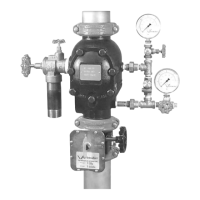
6a. If using the same clapper seal assembly and the seal ring was
removed from the clapper seal in the previous step: Re-insert the
seal ring carefully underneath the outer lip of the clapper seal.
Make sure the smaller diameter of the seal ring is toward the
sealing surface of the clapper seal.
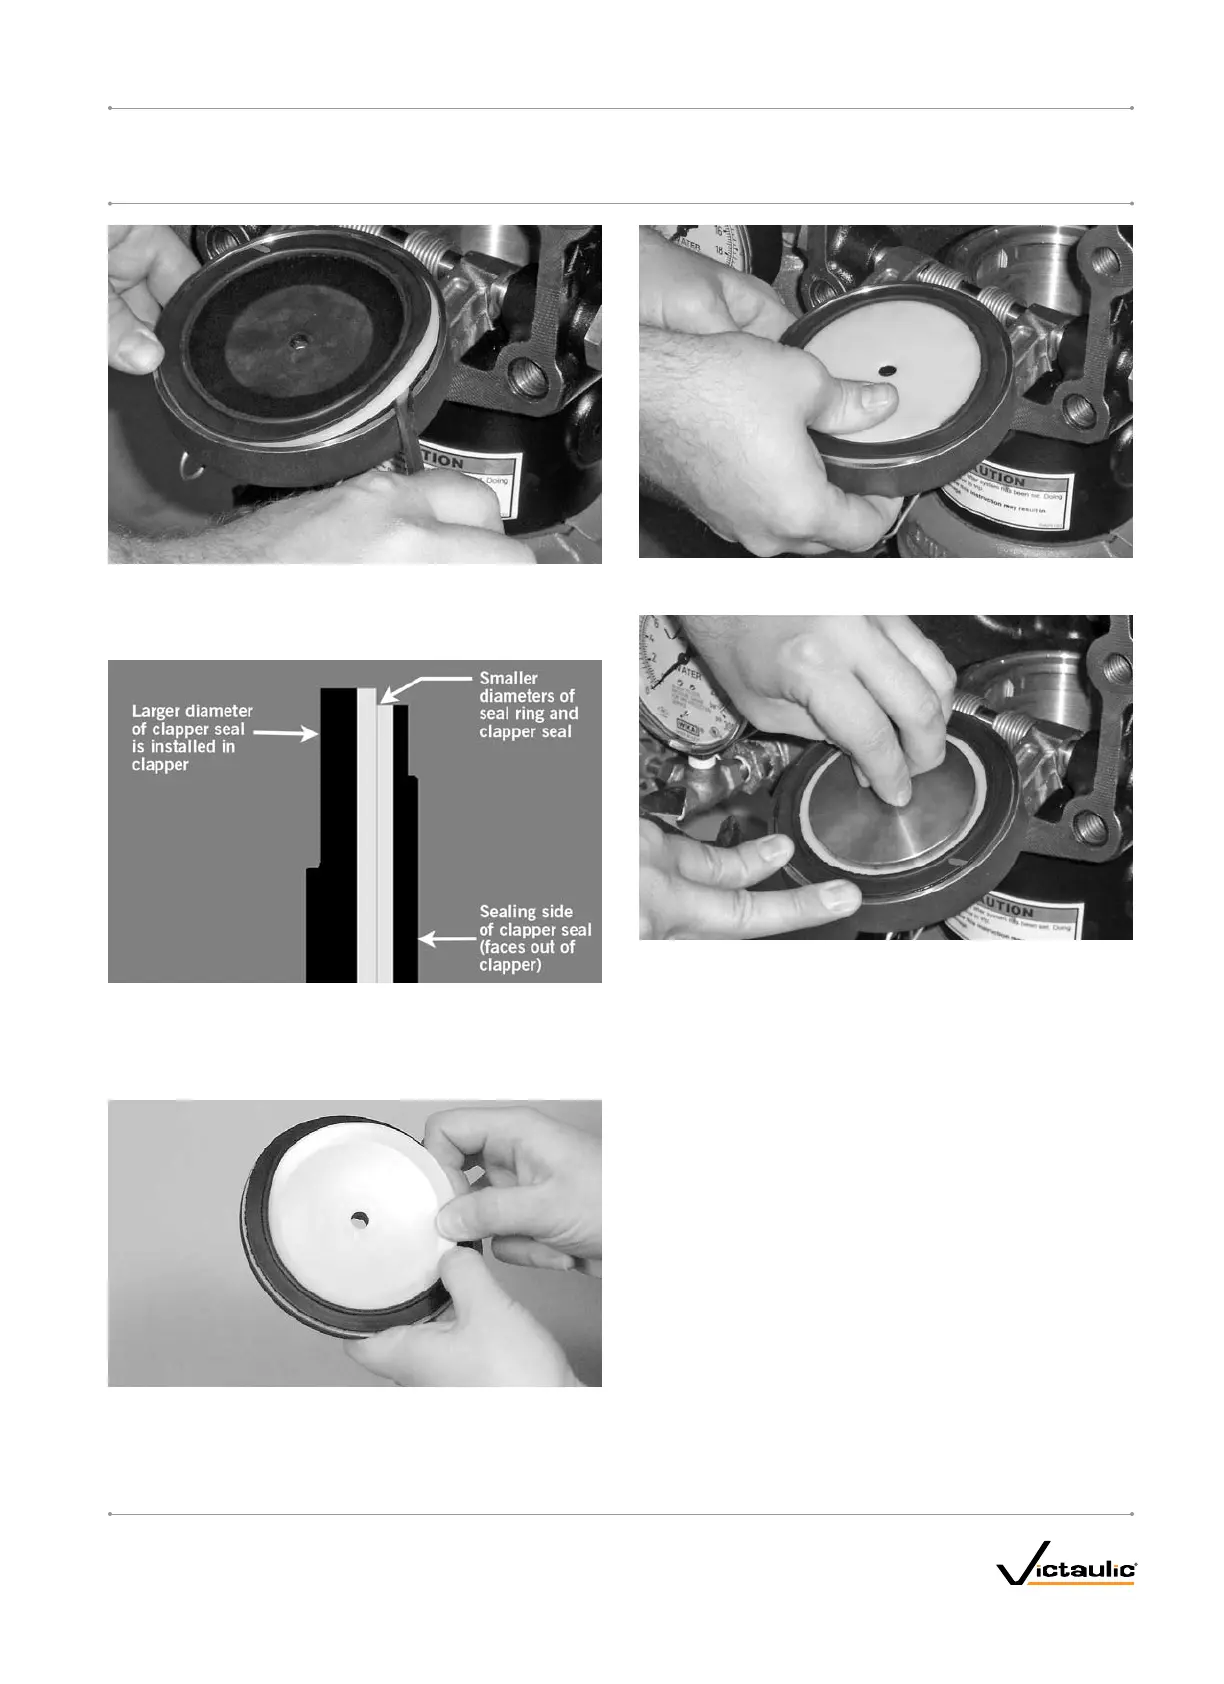
7. Insert the seal washer carefully underneath the sealing lip of the
gasket.
8. Remove any contaminants, dirt, and mineral deposits from the
clapper.
9. Install the clapper seal into the clapper carefully. Make sure the
seal ring snaps into the clapper completely.
10. Place the seal-retaining ring onto the seal washer of the clapper
seal. Install the seal-assembly bolt/bolt seal through the seal-
retaining ring and clapper.
I-768_33
FireLockNXT™DryValve
SERIES768
I-768INSTALLATION,MAINTENANCE,ANDTESTINGMANUAL
www.victaulic.com
VICTAULIC IS A REGISTERED TRADEMARK OF VICTAULIC COMPANY. © 2007 VICTAULIC COMPANY. ALL RIGHTS RESERVED. PRINTED IN THE USA.
REV_D

 Loading...