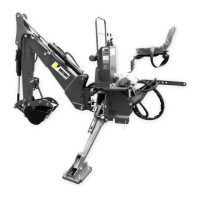
1. Remove the control valve from the backhoe.
2. Thoroughly clean the exterior of the valve before beginning disassembly procedures.
3. At the BACK of the valve, remove all bonnet assembly parts connected to the spool. Keep
parts in the order of disassembly. See figure for the components involved in the make-up of
the bonnet assembly.
• DO NOT remove the spool from the valve. You can replace the seals
externally.
• Prevent spools from turning or moving by inserting a screwdriver
through the clevis slot, running a rod through the pinhole, and using the
rod as a handle.
• NEVER hold the spool with a wrench. It will destroy the finished surface.
4. At the BACK of the valve, remove the seal retainer, backup washer, spool O-ring seal, or
retaining sleeve, bonnet O-ring seal, and spool U-cup seal.
5. Thoroughly clean the counterbores.
6. Install new seals:
A. Spring-Centered Bonnet Assembly Only: Lightly oil new O-ring seal. Slide O-ring seal over
valve spool and insert in seal counterbore. Replace the backup washer and seal the retainer.
B. Float Bonnet Assembly Only: Replace retaining sleeve on valve spool. Lightly oil the new U-
cup seal. Slide U-cup seal over valve spool, being careful to orient seal, install a new O-ring
seal in bonnet counterbore.
7. At the BACK of the valve, replace the bonnet assembly parts, reversing the order in which
they were disassembled in step 3.
Use 12 ft. lbs. torque to tighten assembly screw on spring-centered bonnet assembly.
8. At the FRONT of the valve, remove all parts connected to the spool (handle, linkage, etc.).
9. At the FRONT of the valve, remove the seal plate retainer, seal retainer, backup washer, and
spool O-ring seal.
 Loading...