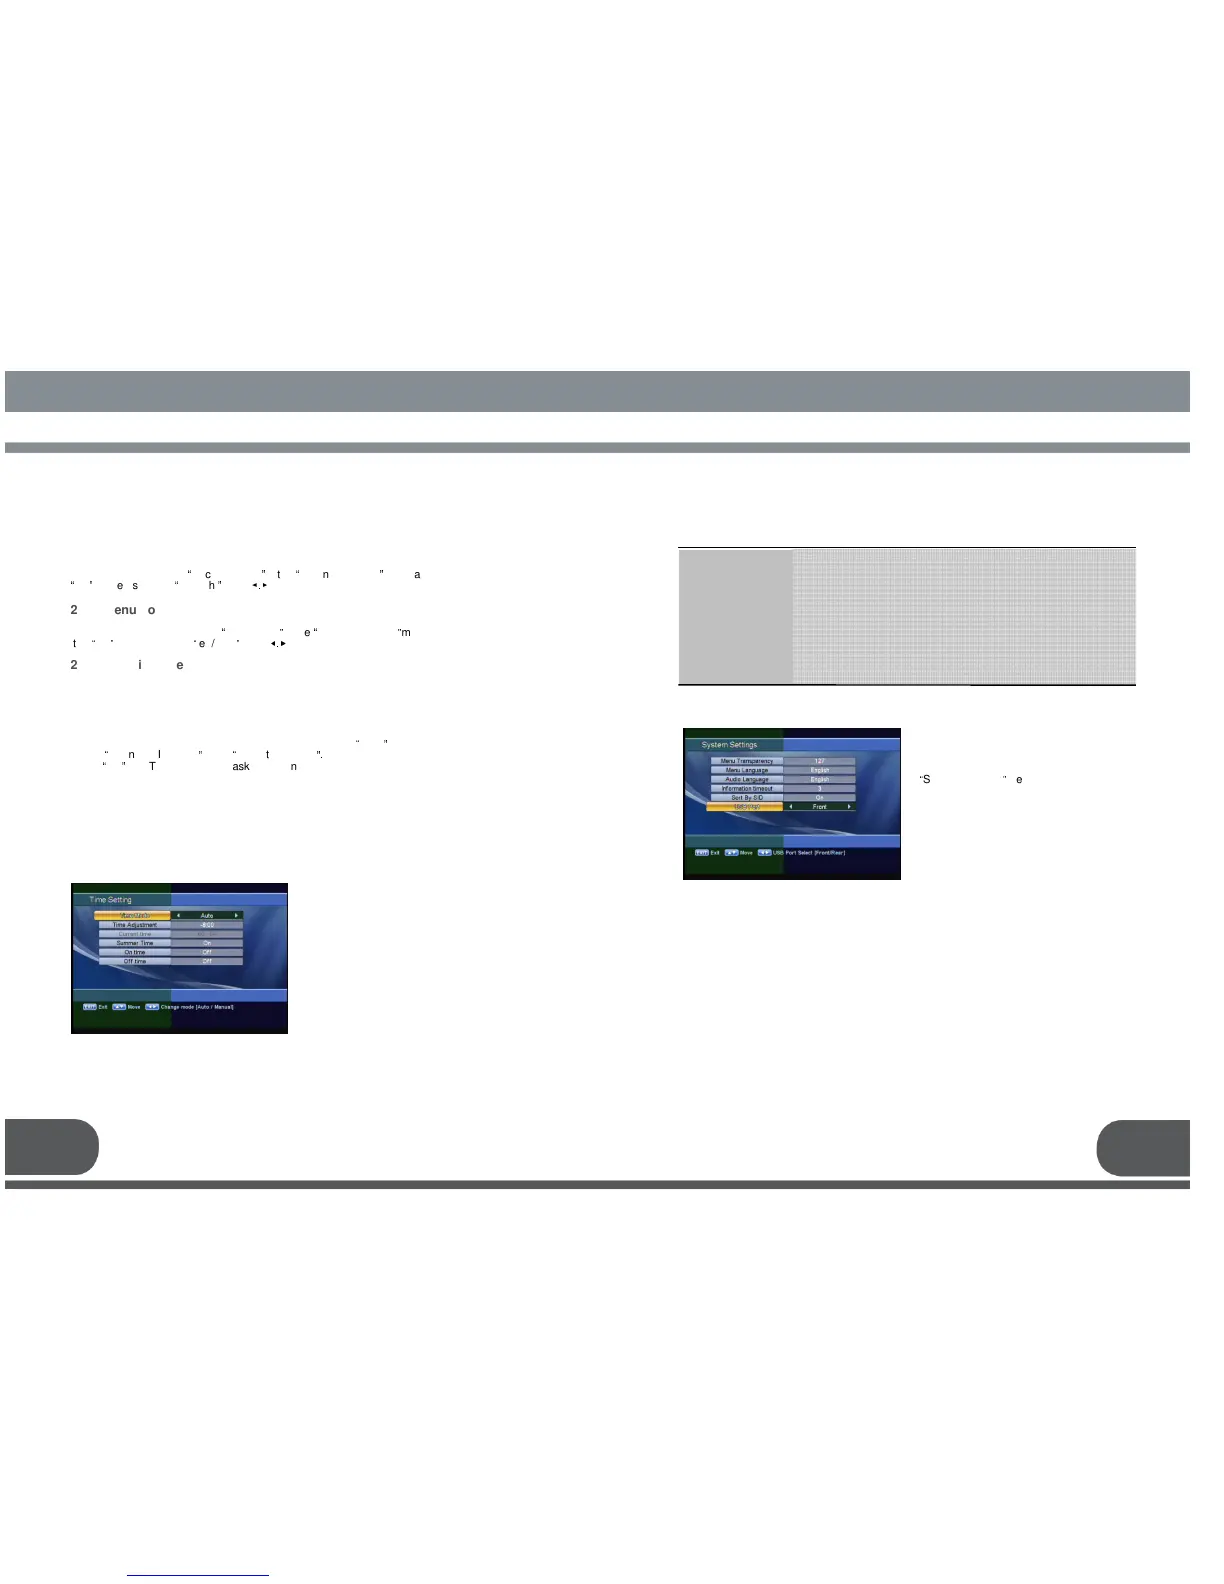
: Select the time mode of your receiver. In Auto mode, your receiver
will use the information from the satellite as time reference. In
manual mode, you can set the time of your receiver manually.
: Set the time offset from the UTC (GMT).
Useful in auto mode only.
: Set the current time manually. Useful in manual mode only.
: Enable or disable the Summer Time. Useful in auto mode only.
: Set the time when the receiver will be automatically turned on
: Set the time when the receiver will be automatically turned off.
Time Mode
Time Adjustment
Current time
Summer Time
On time
Off time
2. B. TIME SETTING
2.C. SYSTEM SETTINGS
This menu helps you to Set up mode,
Ianguage, and screen type Select
“
System Settings
”
menu in “User Setting”.
You can change the time of your receiver
and also switch on/off the timer function in
this menu.
Select “Time Setting” item in the “ User
Setting” menu and the following screen
will be displayed.
21 22
To lock receiver, select
“
Receiver Lock
”
in the
“
Parental Control
”
menu and change it to
“
On
”
mode using the
“
left/right
”
keys (
◀.▶
).
2.A.2 Menu Lock
To lock the Main Menu, select
“
Menu Lock
”
in the
“
Parental Control
”
menu and change
it to
“
On
”
mode using the
“
left/right
”
keys (
◀.▶
).
2.A.3 Maturity Rate
You can set the maturity rate of the receiver. If program rate is higher than the
receiver, PIN code window will appare.
2.A.4 Change PIN Code
You can change your PIN code from factory default value
“
0000
”
as follow:
Select
“
Change PIN Code
”
in the
“
Parental Control
”.
Press
“
OK
”
key. Then you will be asked for a new PIN code.
Once you enter a new PIN code, the receiver will ask you to enter it in again.
After you enter a new PIN code twice, the PIN code is changed permanently.
If you forget the PIN code, you have to contact the distributor to find out it.
 Loading...