TECHNICAL SUPPORT 1 800 908 0884
1317
STEP 6
With the cover off, perform the Manual
Release procedure as shown at the bottom of
page 7. The gate can now be moved
manually.
Ensure that the gate and gate operator move
freely.
Once it is determined the operator will work
properly, remove the operator and complete
the welding process.
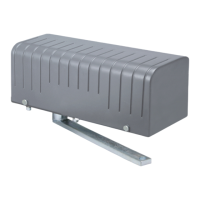
STEP 4
Remount the geared motor on the chassis
accordingly.
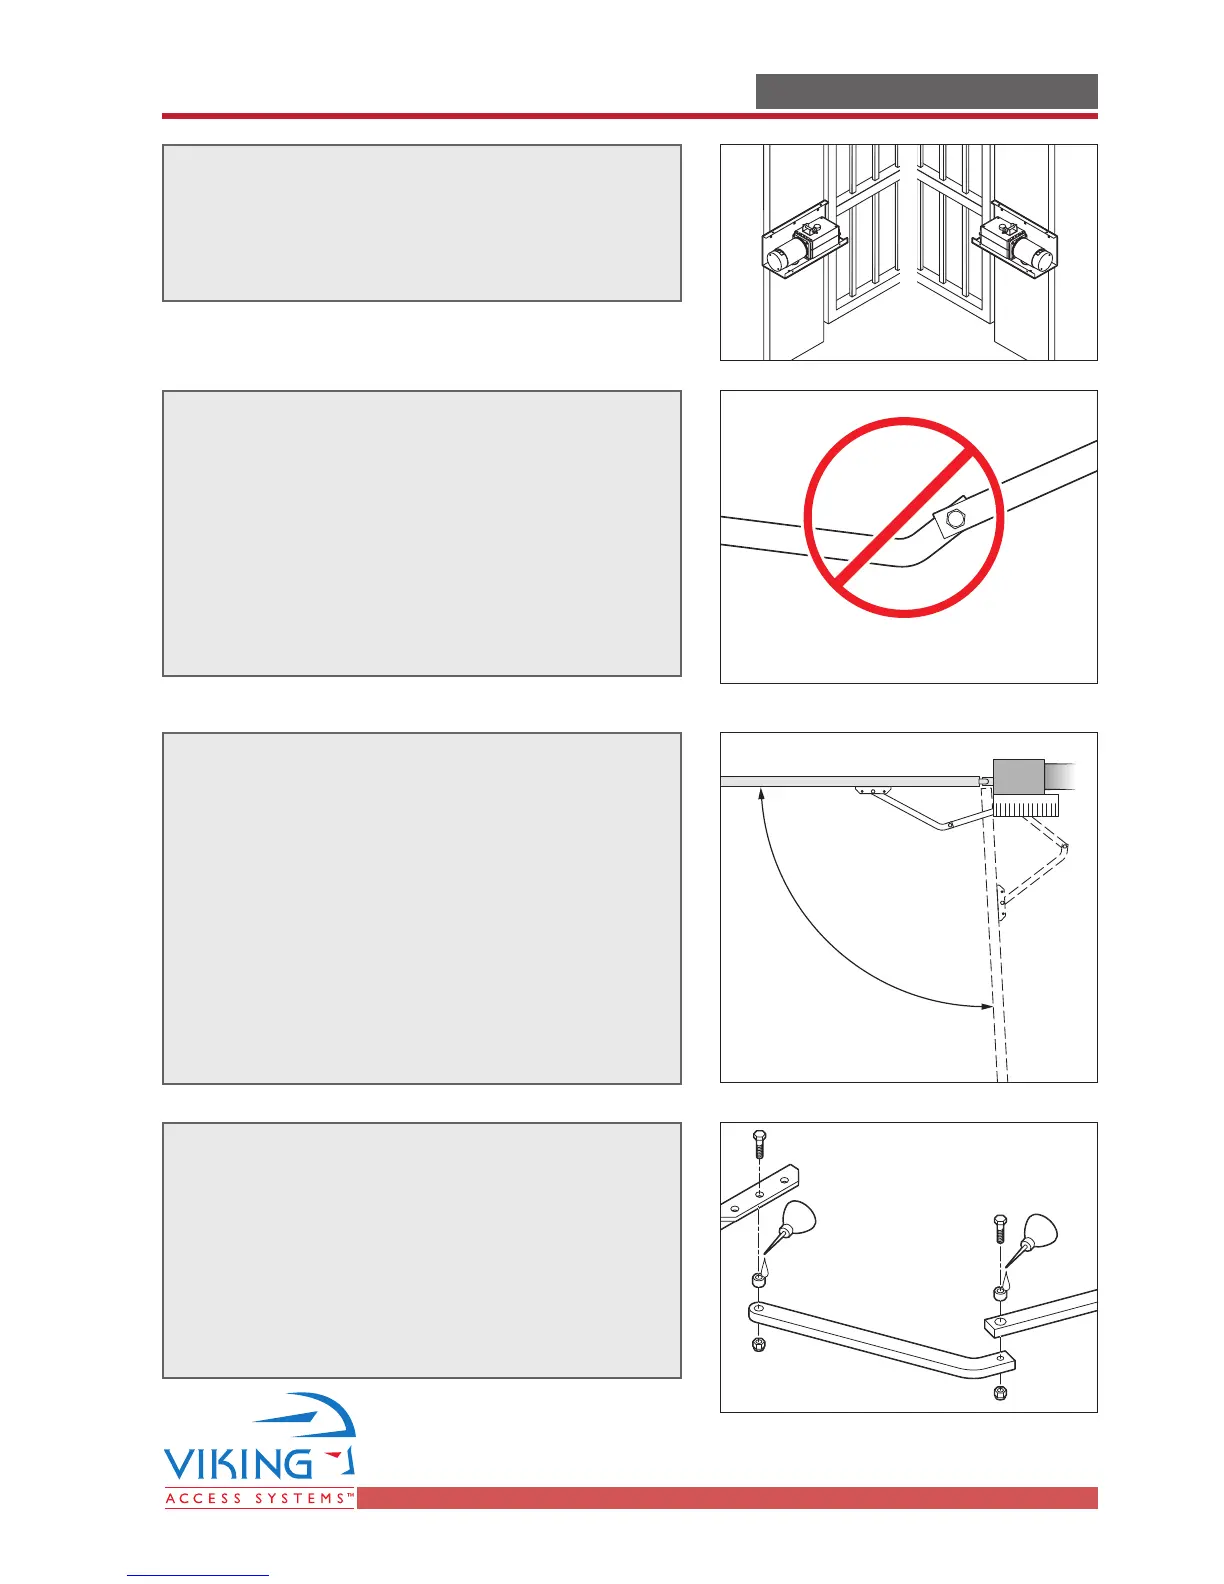
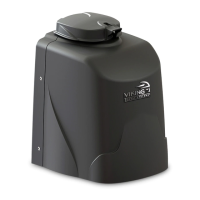
STEP 5
Attach the articulated arms to the pivot
bracket and the Motor/Gear Assembly.
NOTE - With the arms at their most
extended position, make sure the two arms
do not go past the straight position.
Additional holes are provided in the pivot
bracket to assist with proper installation
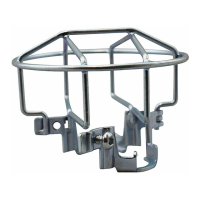
STEP 7
Remount the gate operator. Lubricate the
moving parts (the bushings on the
articulated arm) and tighten the self-locking
nuts in such a way as to not block arm
movement. Leave the cover off until the
limit switches have been adjusted.
GATE OPERATOR INSTALLATIONGATE OPERATOR INSTALLATION