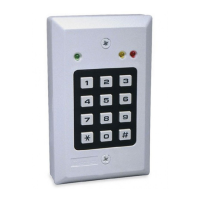
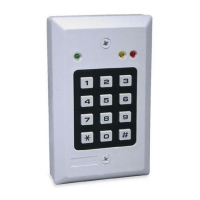
6 D-303169 KP-160 PG2 User’s Guide
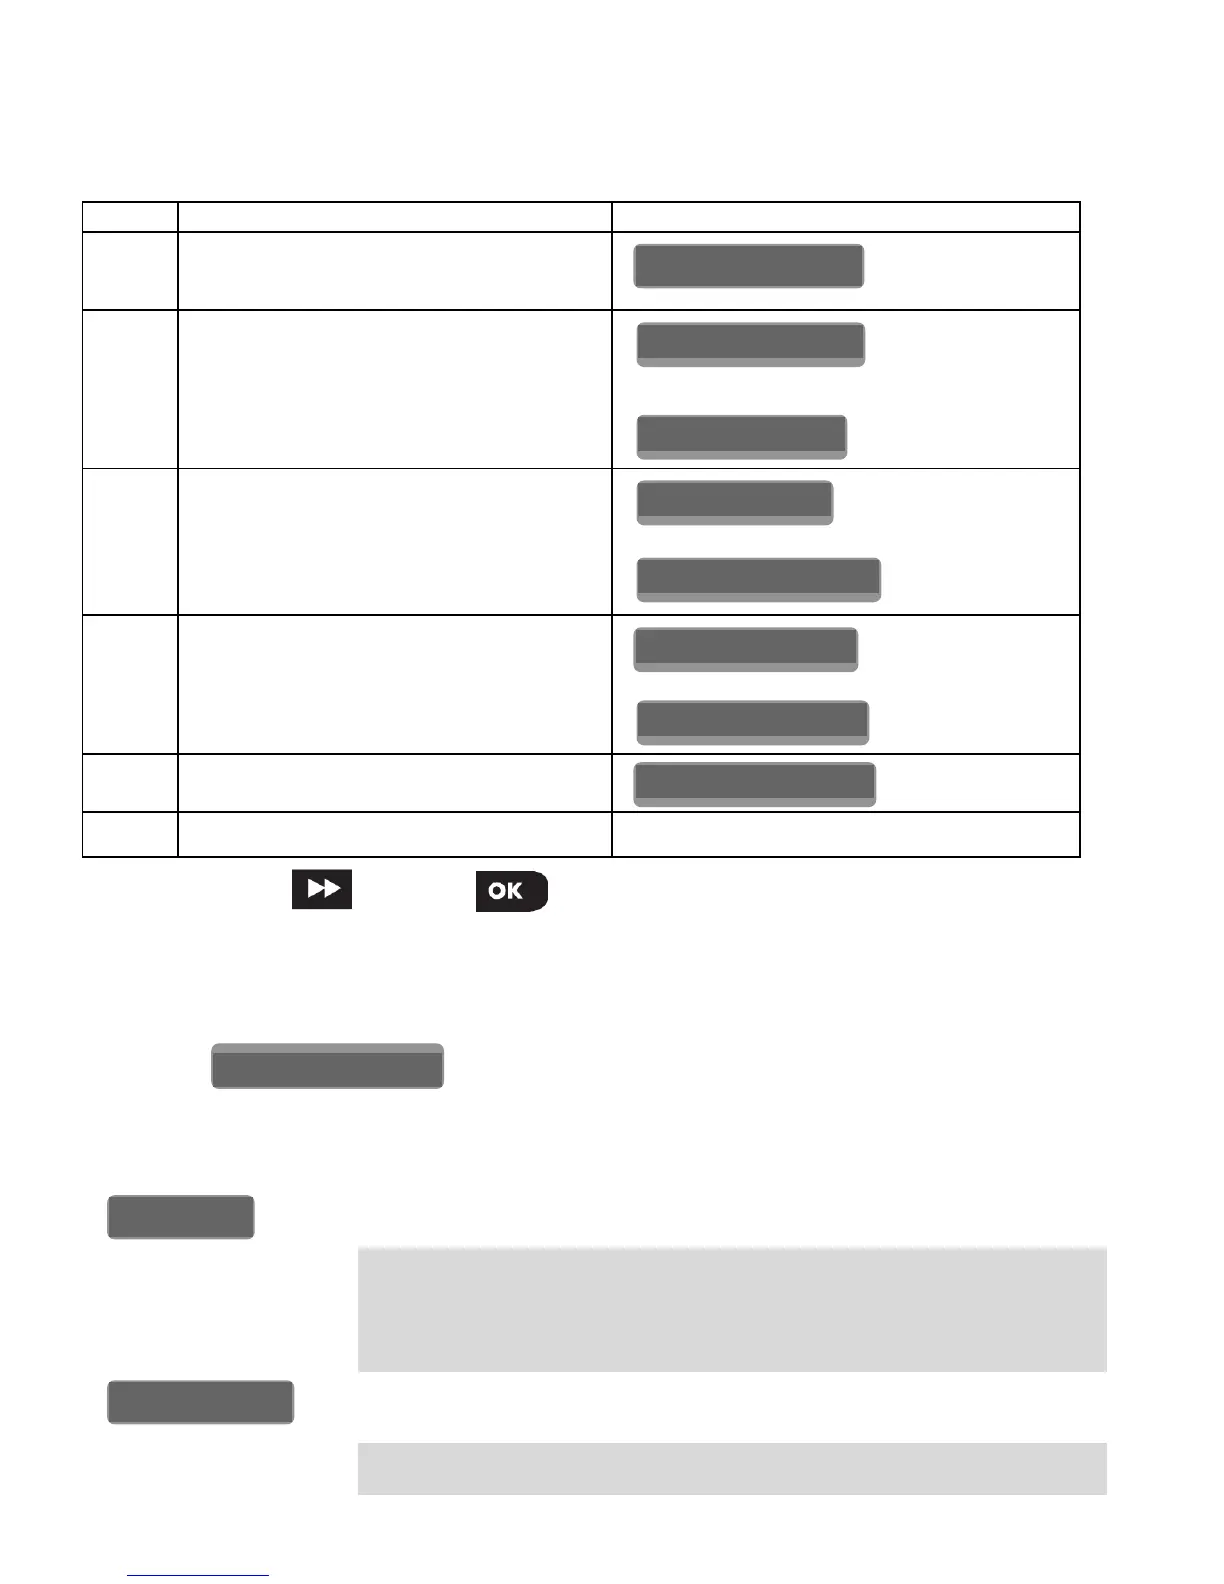
2.4 Enrolling the KP-160 PG2
Refer to the PowerMaster panel's Installer Guide and follow the procedure under the
"02:ZONES/DEVICES" option of the Installer Menu. A flowchart of the procedure is provided
below.
Step Action LCD Display
1
Enter the Installer menu and select
“02:ZONES/DEVICES”
2
Select "ADD NEW DEVICE" Option
See Note
3
Enroll the device or enter the 7-digit
code that appears on the device's
sticker.
4
Select the desired keyprox Number
5
Configure the settings of the device
6
Configure the Keyprox See section 2.5
means scroll and select
Note: If the KP-160 PG2 is already enrolled, you can configure the KP-160 PG2 parameters
via the “Modify Devices” option – see Step 2.
2.5 Configuring the KP-160 PG2 Parameters
Enter the main menu in the PowerMaster control panel, choose the
number of the touch screen keyprox device to configure and follow the configuration
instructions for the KP-160 PG2 touch screen keyprox.
Option Configuration Instructions
Define the active tamper.
Option settings: Disabled (default); All Tampers and Battery
Cover.
Note: For UL Listed product, set to “All Tampers”.
Define whether or not the control panel will monitor supervision
messages sent by the keyprox (see Note).
Option settings: ON (default) or OFF.
SUPERVISION
TAMPERS
K07.DEV SETTINGS
K07.DEV SETTINGS
ID No. 374-XXXX
K07: LCD Keypad
ENTR ID:XXX-XXXX
ENROLL NOW or
MODIFY DEVICES

 Loading...