11 HOMEDEPOT.COM
Please contact 1-855-847-7264 for further assistance.
Installation (continued)
6
Preparing exhaust venting
WARNING: Fuel (gas) burning ranges must be vented out-
doors using, at minimum, metal ductwork and range hoods of
sufcient capacity. Follow your fuel burning equipment manu-
facturer’s guidelines, as well as, all applicable safety standards
published by the National Fire Protection Association (NFPA),
and the American Society for Heating, Refrigeration and Air Con-
ditioning Engineers (ASHRAE), and your local code authorities.
Choose venting exhaust discharge from the options listed:
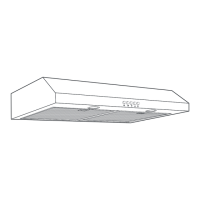
Style 1 - Recirculating Hood version
For this installation, go to “Install Range Hood (recirculating version)”.
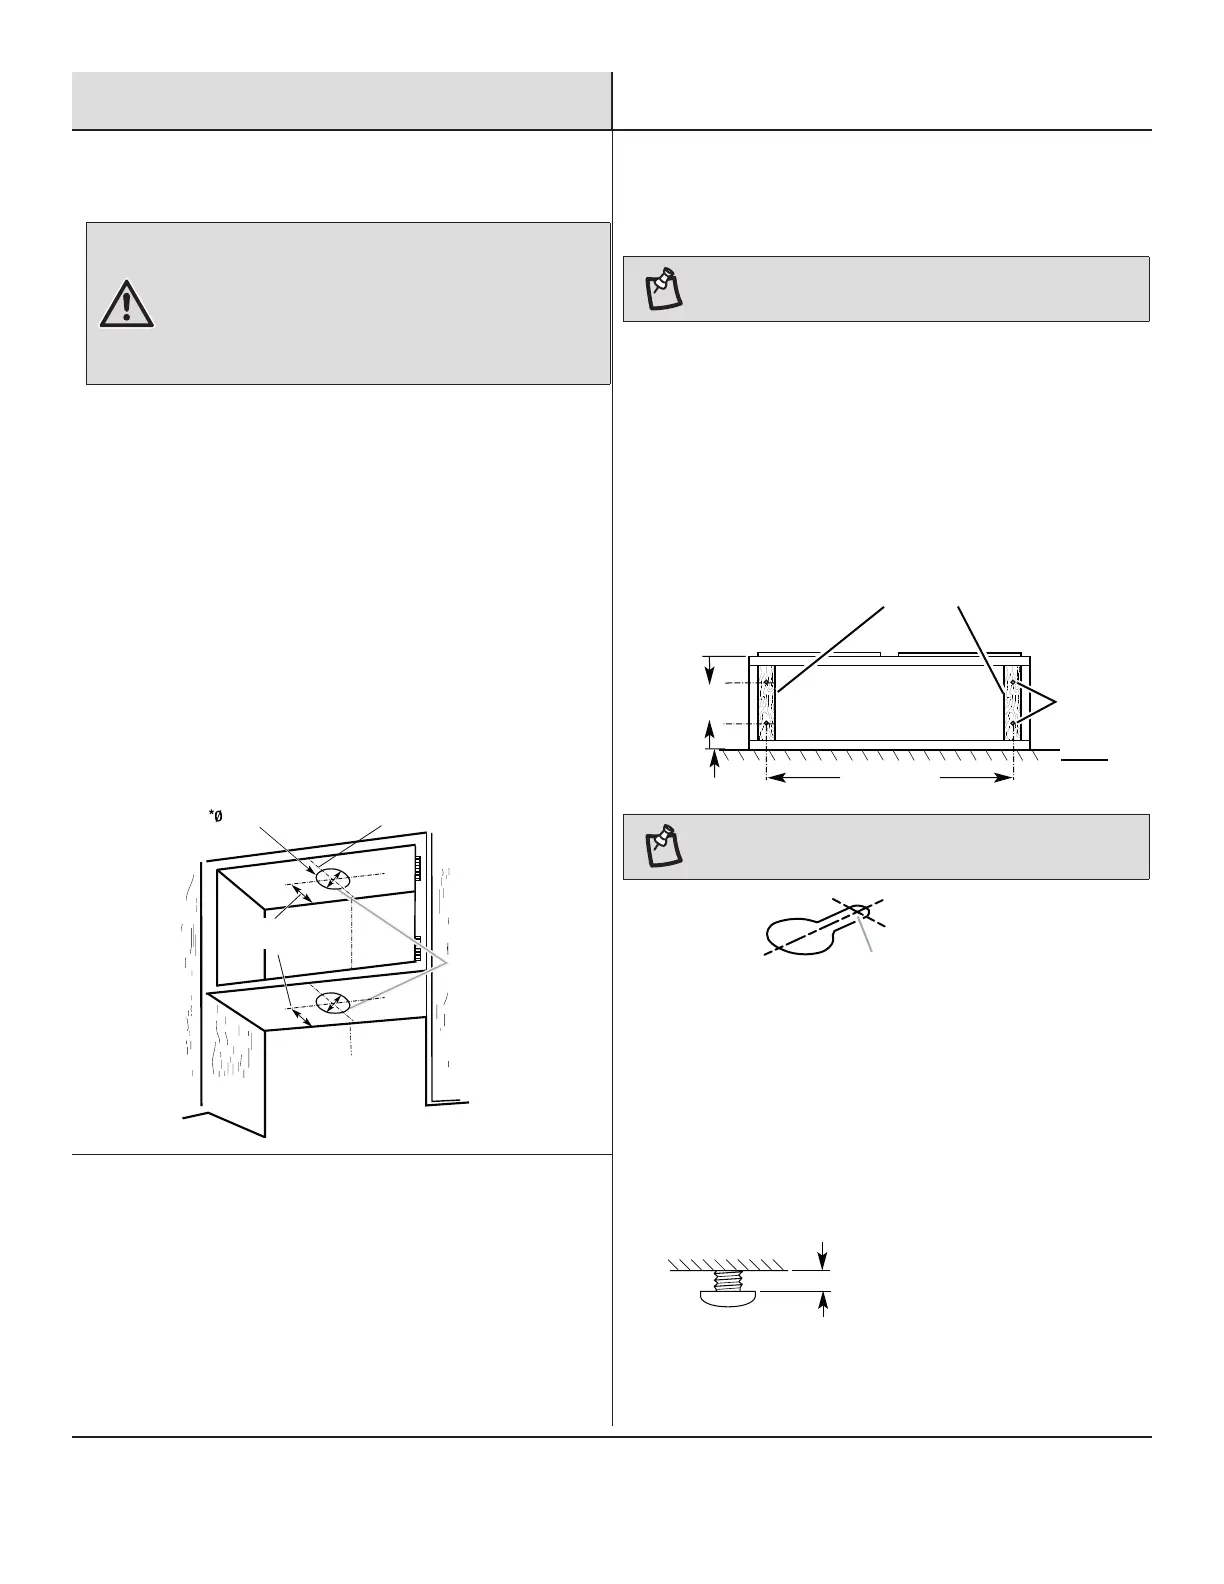
Style 2 - Cut Openings for 7 in. (17.8 cm) Round Vent to Round
Vent Transition
Roof Venting
To make a circular vent opening on the underside of the cabinet top:
□ Mark a centerline on the underside of the top of cabinet.
□ Mark a line 5 in. (12.7 cm) from the back wall on the underside
of the top of cabinet.
□ Use a compass or a circle template to draw a circle with a
diameter of 7-1/2 in. (19 cm). Use saber or keyhole saw to cut
the circular vent opening.
□ Repeat steps 1-3 for the underside of the top of the cabinet.
*From wall, not
cabinet frame
*5 in.
*
*
(12.7 cm )
Cabinet
cutouts
in.
7-1/2
(19 cm)
enterline
7
Installing vent system
□ Install vent through the vent opening in upper cabinet or wall.
Complete venting system according to the selected venting
method. See “Venting Requirements” section.
□ Use caulk to seal exterior wall or roof opening around the cap.
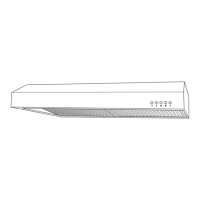
8
Preparing the location
(cabinet mounting)
NOTE: Before making cutouts, make sure there is proper
clearance within the ceiling or wall.
□ Select a at surface for assembling the range hood. Place
covering over that surface.
□ Lift the range hood and set it upside down onto covered
surface.
□ If cabinet has recessed bottom, add wood ller strips on each
side. Install screws to attach ller strips in locations shown.
□ Mark the location of the four keyhole mounting slots on the
cabinet bottom.
Wood
iller strips
(recessed cabinet
bottoms only)
Wall
Cabinet
bottom
in.(
22.
9 cm)
1-1/2 in.
28 in. (71.2cm)
3.8 cm
4-1/2 x 13 mm
mounting screw
NOTE: Make the drill holes on the thin area of the slot.
Drill pilot hole
□ Use 1/8 in. (3 mm) drill bit and drill four pilot holes as shown.
□ If a vent damper is installed with a wall cap with damper,
check that they do not interfere with each other. Remove the
vent connector damper ap if they interfere.
□ Install the four 4.5 mm x 13 mm mounting screws in pilot
holes. Leave about 1/4 in. (6.4 mm) space between screw
heads and cabinet to slide range hood into place.
(6.4 mm
in.
1/4