3
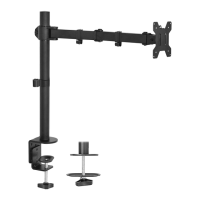
STEP 2
STEP 3
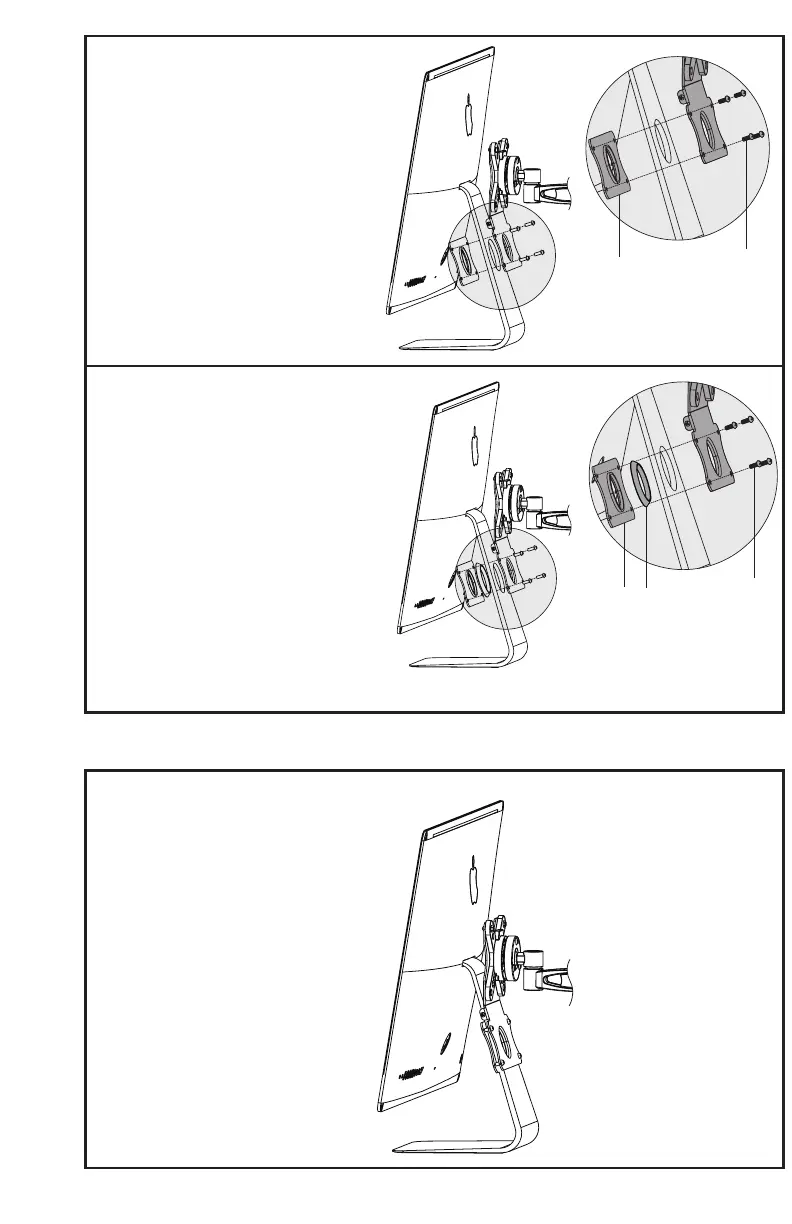
Adjust iMac to comfortable viewing position.
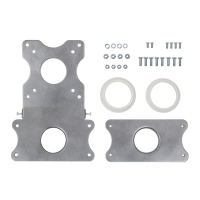
OPTION A: 21.5” iMac Installation
Assemble adapter plate (A) and clamp plate
(D) to base of iMac using M5x14 screws (M-C),
making sure the plates are properly fit to the
cable hole and leaving screws slightly loose.
Tighten nylon screws to level the iMac, then
tighten the rest of the screws.
Please note that the plastic adapter rings are
NOT used with the 21.5” iMac.
OPTION B: 27” iMac Installation
Assemble adapter plate, adapter ring (B or
C) and clamp plate (D) to base of iMac using
M5x14 screws (M-C), making sure the plates
are properly fit to the cable hole and leaving
screws slightly loose. Tighten nylon screws
to level the iMac, then tighten the rest of the
screws.
Please note 70mm ring fits models from mid-
2012 and older, and 72mm ring fits models
from late-2012 and newer.
D
M- C
D
M- C
B/ C
 Loading...