Installation
Hardware Installation
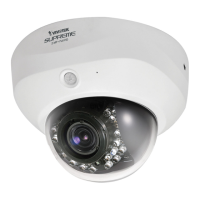
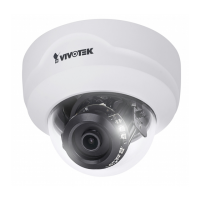
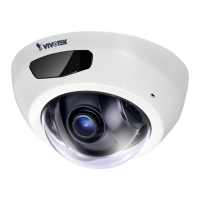
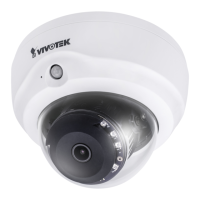
First, use the supplied screwdriver to detach the dome cover from the camera base� Then, fol-
low the steps below to install the camera to either the ceiling or the wall�
Installation Tips
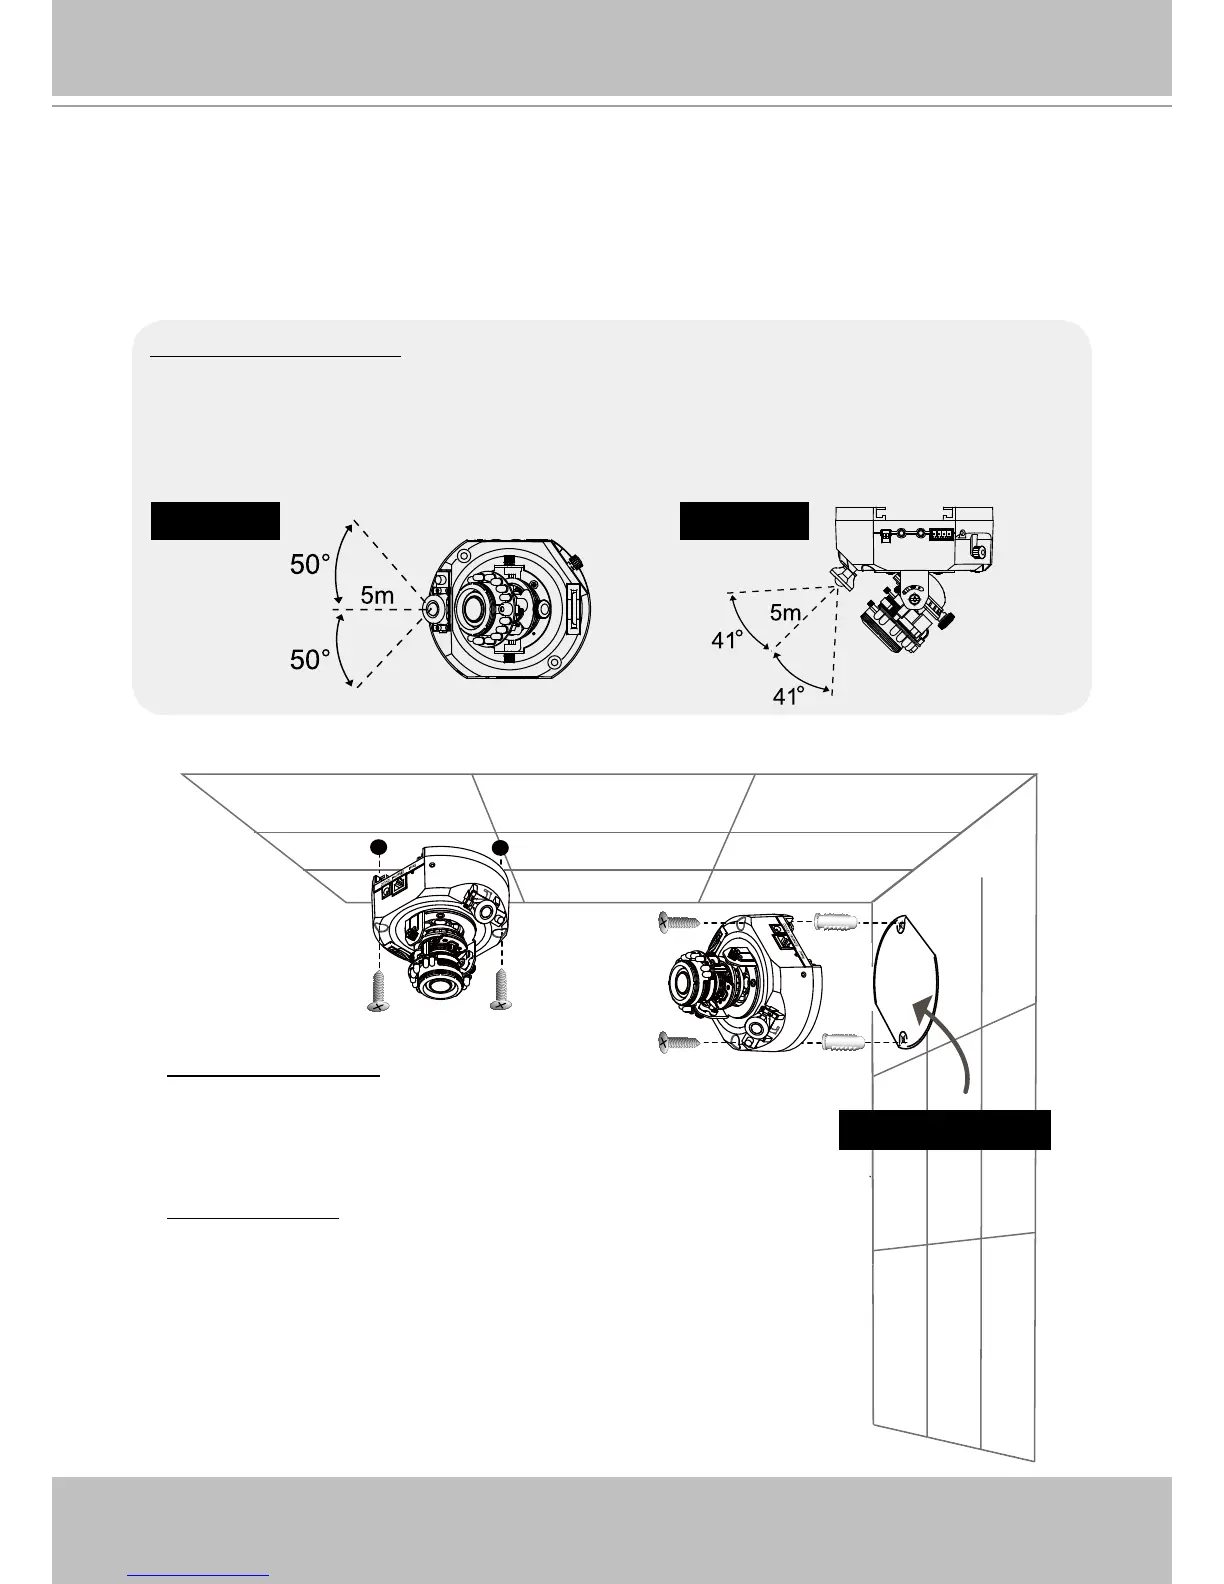
Before installing the camera, look for a shooting area that best suits your needs� The built-in
PIR (Passive Infrared) sensor will be triggered when a person enters its detection range� The
sensitivity of PIR sensor depends on the object size and temperature differences between
the object and the background environment� Therefore, it is crucial to install the camera at a
place with the PIR sensor facing the desired direction�
Side viewTop view
Ceiling mount
Through the two holes on each side of the camera base, insert
the supplied two screws to corresponding holes and secure
them with a screwdriver�
Wall mount
1� Attach the alignment sticker to the wall�
2� Through the two circles on the sticker, drill two pilot holes into
the wall�
3� Hammer the supplied plastic anchors into the holes�
4� Align the two holes on each side of the camera base with the
two plastic anchors on the wall, insert the supplied screws to
corresponding holes and secure them with a screwdriver�
Alignment sticker