68
e) Dene date and time during conguration
• Select month, year and time with date picker and time sliders. The time
will be shown as “TIME” in HH:MM:SS format. Conrm with “DONE”.
Date and time settings are displayed in the corresponding elds.
• Alternatively, click “NOW”, if you require an immediate start of logging.
Actual date and time - as per locally set on your computer - will be lled
automatically into eld “START TIME”/“STOP TIME”.
f) Button ENTER
• Press button ENTER to switch between maximum and minimum
reading.
• Press and hold button ENTER for few seconds to start/stop logging or
activate/deactivate pause function.
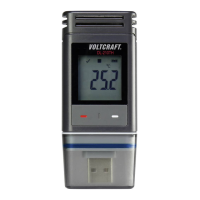
10. BEFORE FIRST USE
a) Protection foil
• Remove the protection foil from the LC display (5).
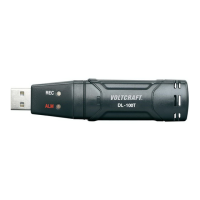
b) Insert/replace battery
• Install the battery before rst-time use or replace the battery when the
battery symbol “
“ appears in the LC display.
Removing and replacing batteries does not delete data or settings.
• Remove the protective cap from the data logger.
• Press and hold the button RELEASE BATTERY COMPARTMENT (7)
and pull out the logger unit from the housing. The housing ts tightly due
to the second rubber seal (9).
• Release the button RELEASE BATTERY COMPARTMENT.