WARN INDUSTRIES PAGE 6 84856A0
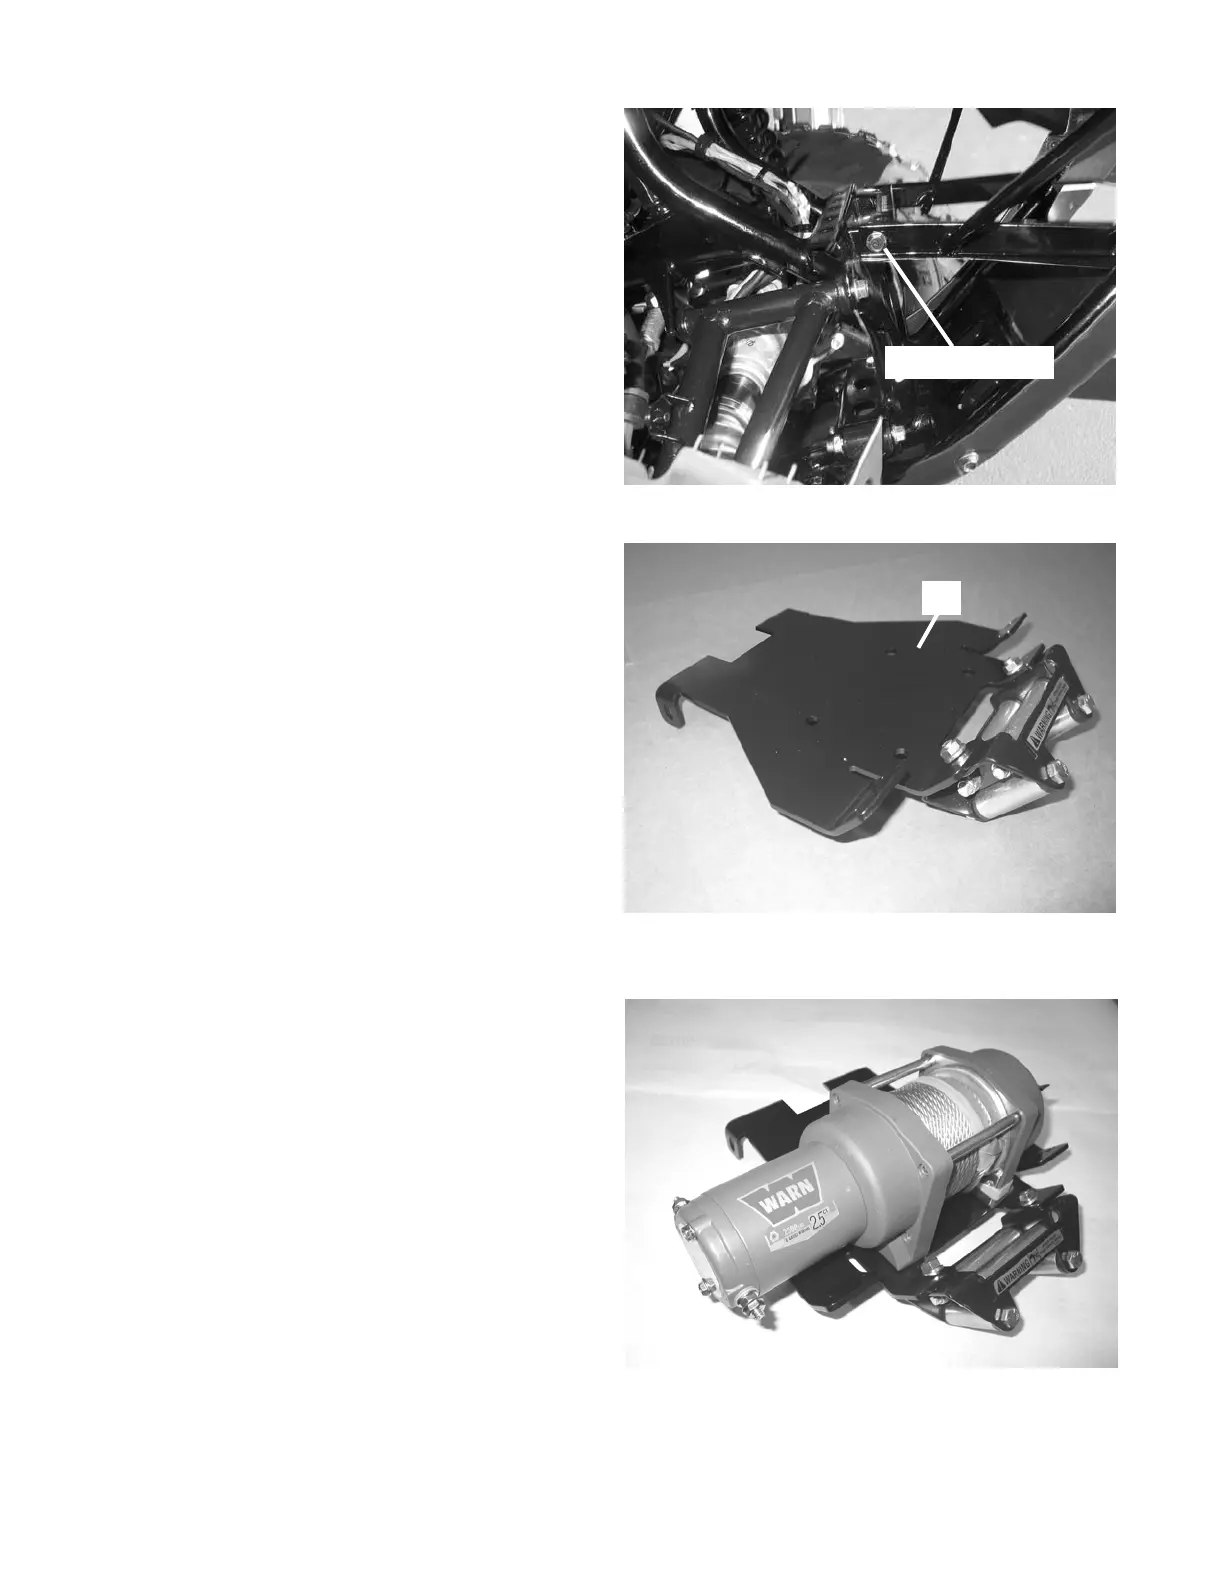
Figure7RemoveFrameBumperBolts
Remove(bothsides)
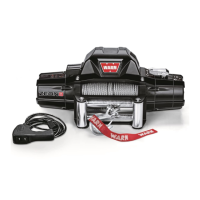
Figure8AttachRollerFairlead
A1
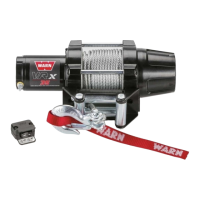
Figure9InstallWinchontoMountingBracketandFairleadBracket
7. Remove the two middle bumper bolts that attach
the bumper to the middle of the vehicle frame,
gure 7. Remove the front vehicle bumper at this
time.
8. Attach the roller fairlead to the winch mounting
bracket (A2), gure 8. Use the two supplied 3/8”
dia bolts, nuts, and lock washers provided with the
winch as shown in gure 8. Tighten the two 3/8”
dia bolts to a recommended torque of 34 N-m (25
ft-lb).
Note: Atthispointintheinstallationrefertothe“Mo-
torRotationGuide”suppliedwiththismounting
kittotorotatethewinchmotor.Thiswillallow
themotorterminalstobeinthehorizontalpos-
tionandavoidinterferencewiththeheadlight
cowling.
9. Mount a 2.5ci winch to the mounting bracket (A1)
with four 5/16” dia bolts and lock washers supplied
with the winch kit. Mount the winch so that the
motor faces the right side of the vehicle, gure 9.
Tighten the bolts to a recommended torque of 17
N-m (12 ft-lb).