WARN INDUSTRIES PAGE 7 84856A0
10. Place the winch, mounting plate and roller fairlead
assembly into position on the front bumper, gure
10. Install two 1/4-20 x 1” x 1 1/2” U-bolts (B1),
four 1/4” at washers (B2) and four 1/4-20 lock
nuts (B3) that were supplied in the mounting kit,
gure 10. Do not tighten fasteners at this time.
11. Place the front bumper with attached winch
assembly back onto the vehicle frame. Reinstall
the two top and two bottom bumper bolts that
were removed in steps 5 & 6. Do not tighten at
this time.
12. Install the supplied 8mm-1.25 x 25mm bolts (B4)
into the middle bumper mounting location, place
the supplied spacer (B5) into postion between the
ATV frame and the winch mounting bracket tab
gure 11. Do not tighten at this time.
13. Reinstall the two 6mm bolts that were removed in
step 4. Reinstall the four rivet fasteners that were
removed in step 2. Reinstall the two 6mm bolts
that were removed in step 3. Do not tighten at
this time.
14. Reinstall the front plastic skid plate that was
removed in step 1, four side 8mm bolts and four
bottom 6mm bolts. Do not tighten at this time.
15. Tighten all fasteners to a recommended torque of:
6mm bolts - 12 N-m (9 ft-lb)
8mm bolts - 37 N-m (27 ft-lb)
1/4” U-bolts - 10 N-m (7 ft-lb)
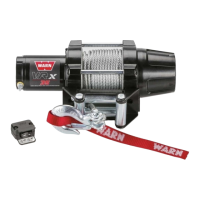
Figure12CompletedWinchInstallationontheRubicon
ClevisHook
8mmBolts
37N-m(27ft-lb)
8mmBolts
37N-m(27ft-lb)
8mmBolts
37N-m(27ft-lb)
8mmBolts
37N-m(27ft-lb)
6mmBolts
12N-m(9ft-lb)
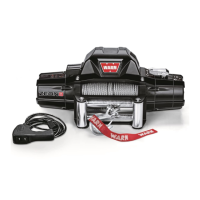
Figure11BoltandSpacerInstallation
B4(bothsides)
B5(bothsides)
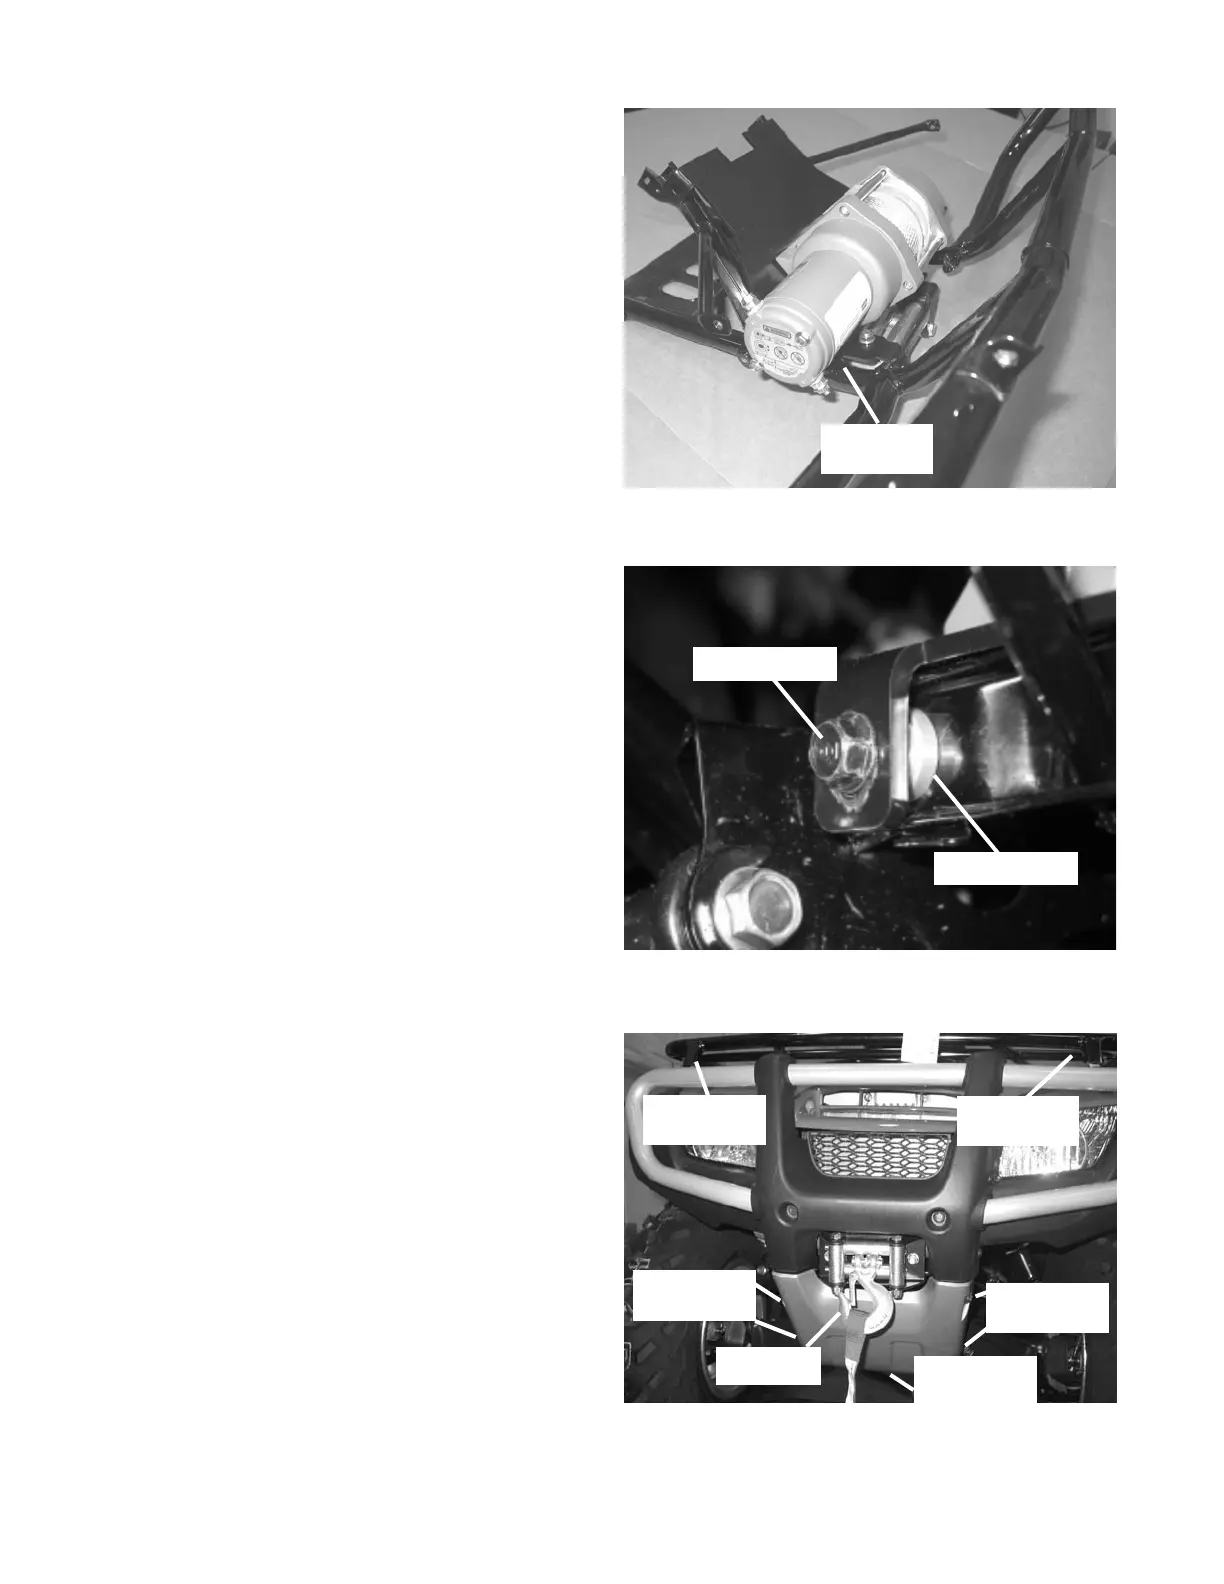
Figure10PlaceWinch,MountingPlateandRollerFairlead
AssemblyontoFrontBumper
B1,B2&B3
(bothsides)