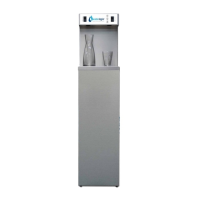
Remove Front Frame. Front Frame is attached using 6 Phillip Screws.
2 screws are located on the top of the frame.
2 screws are located at the bottom of the frame.
2 screws are located on both sides, underneath the upper part of the frame.
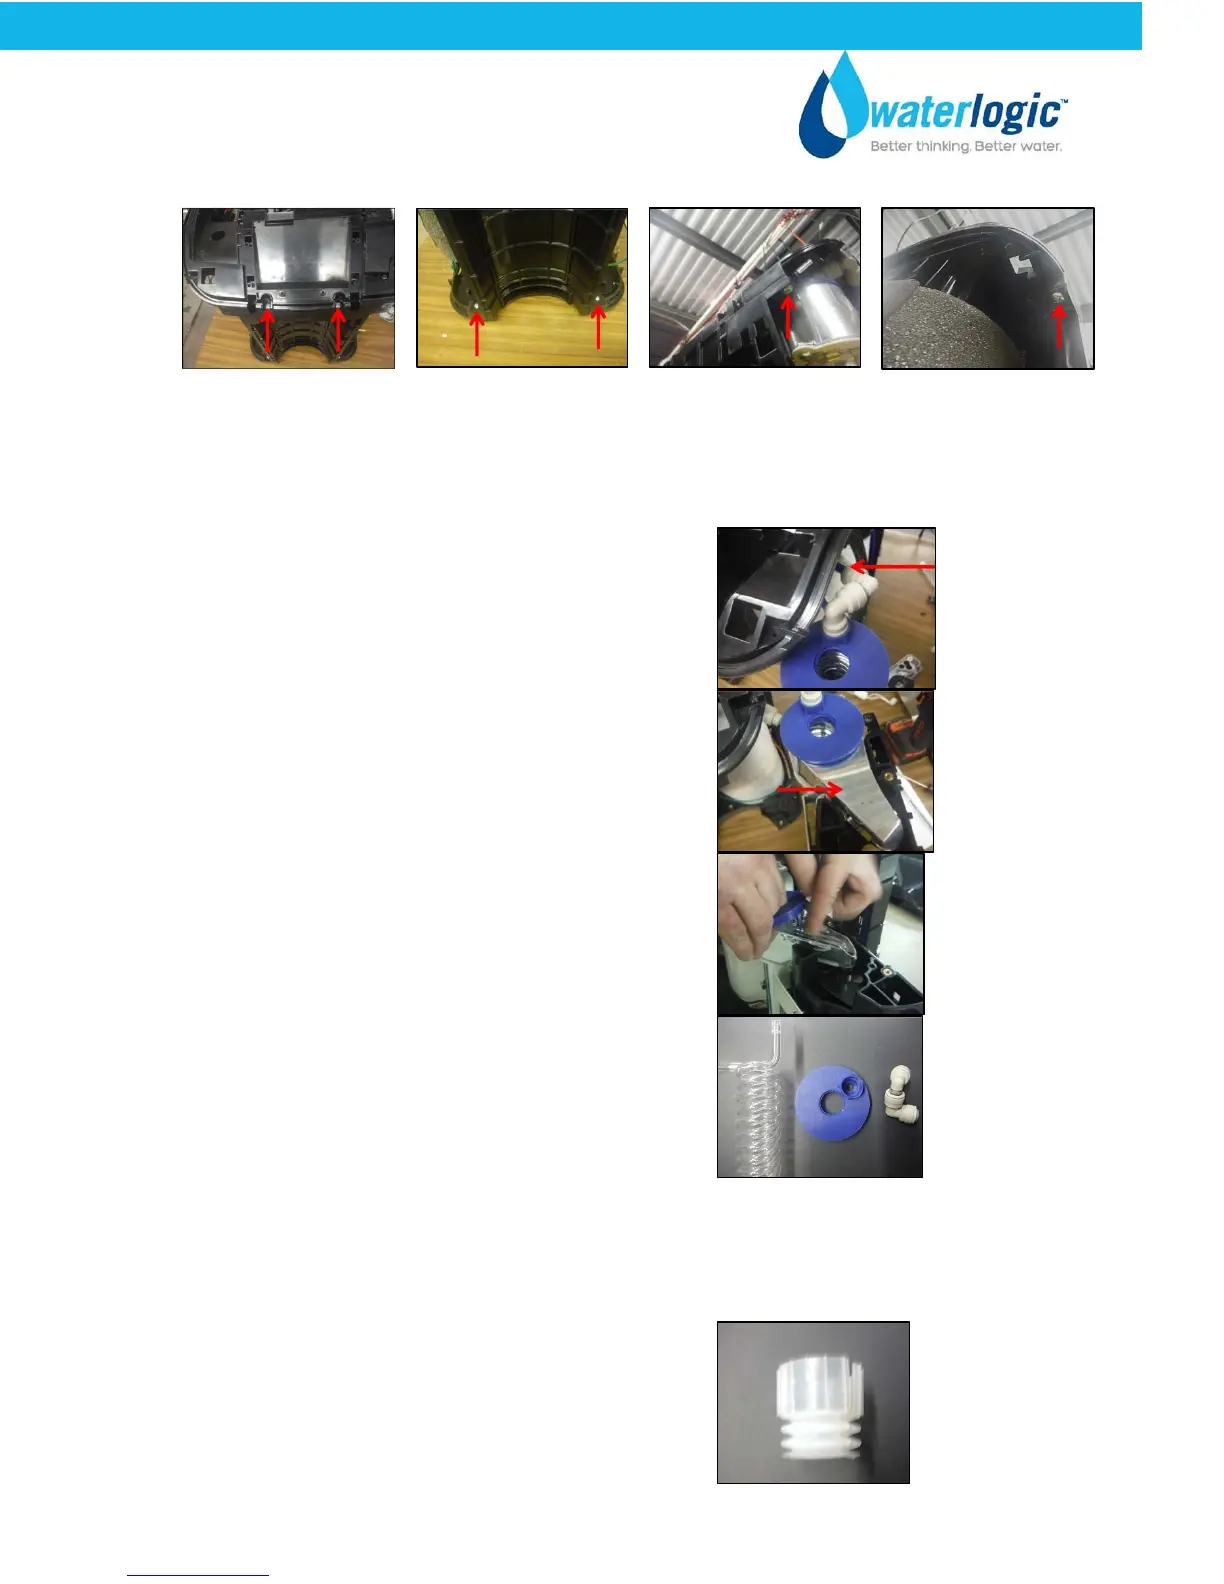
Disconnect elbow from tubing on the UV Lamp
Assembly.
Remove firewall housing top cover.
Remove quartz sleep spiral from housing
Remove blue CDS fixing rubber and elbow from
quartz spiral.
Put blue CDS final rubber and elbow on new quartz spiral.
Support when attaching rubber.
Place silicon cushion into bottom of housing
assembly.
CUBE Operating, Installation, and Service Manual Page 44 - Revision: 6-23-2015