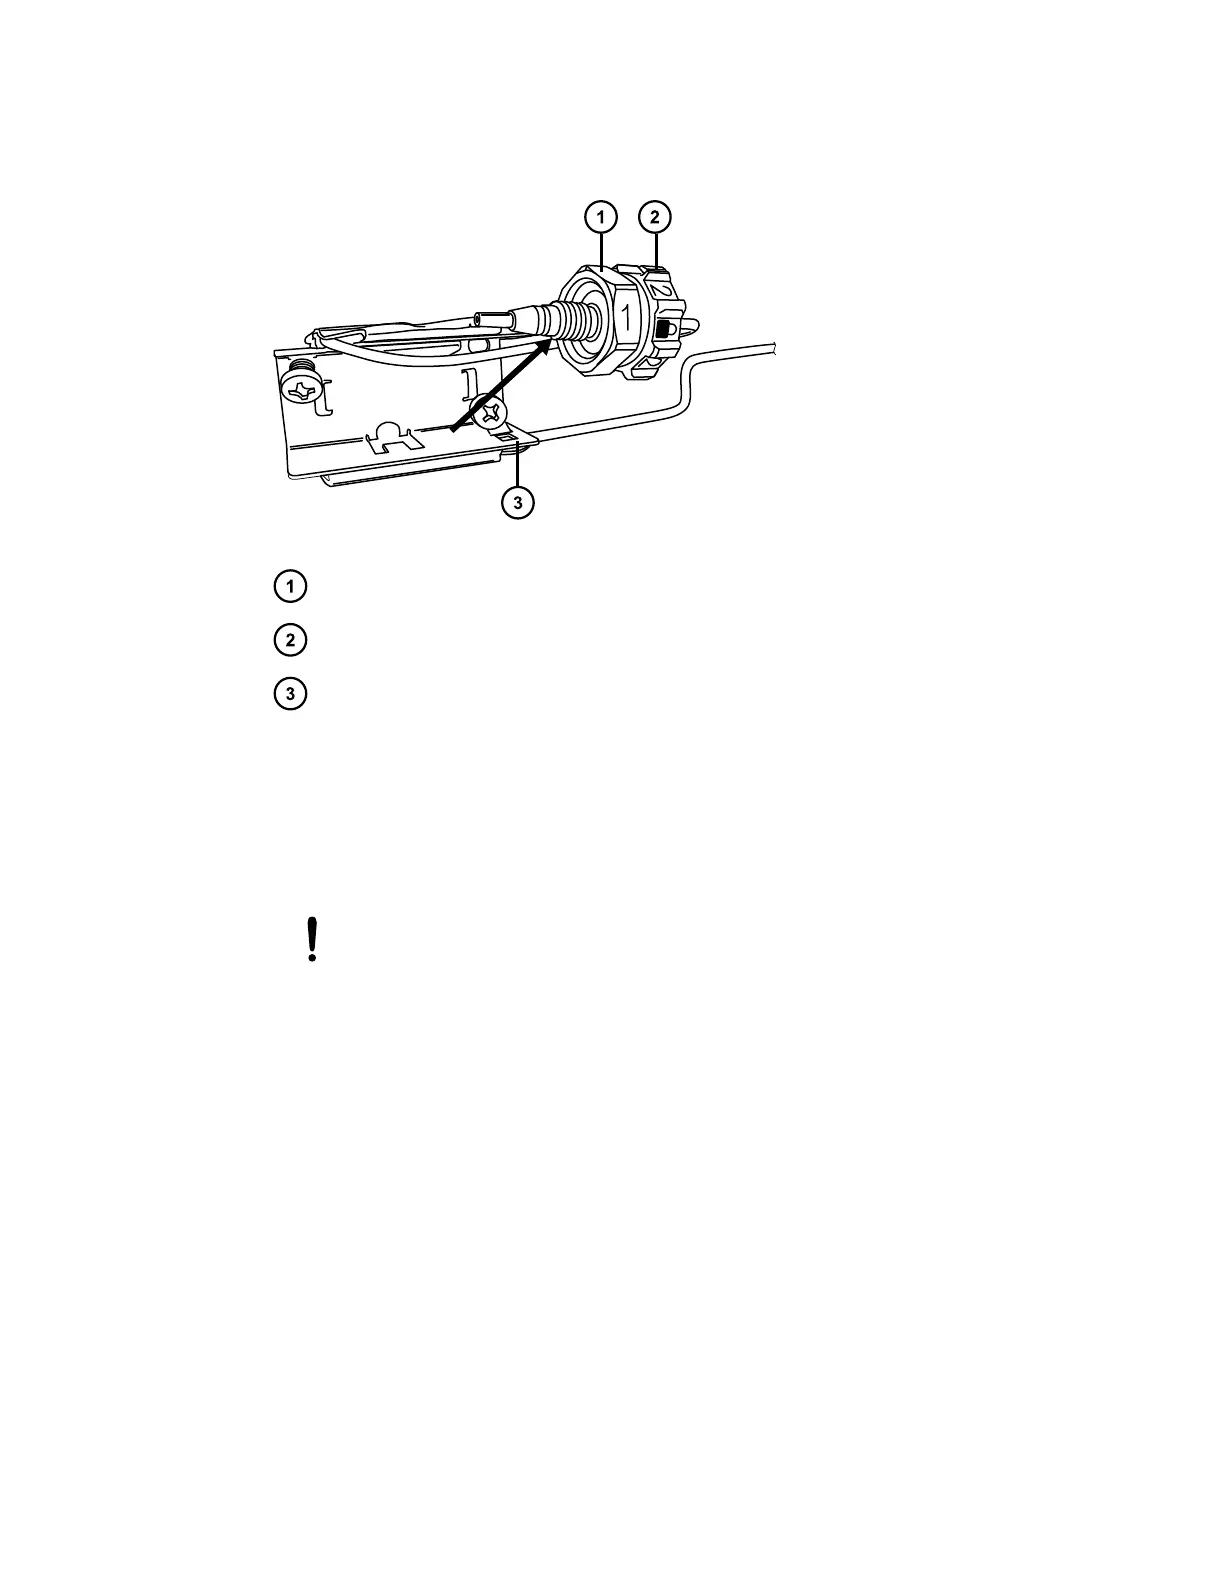
Figure 2–42: Pulling the column fitting away from the column stabilizer
#1 hex compression fitting
#2 locking cap nut
Column stabilizer retainer
11. Align the two Phillips screws to the threaded holes in the column trough, and then press
the column stabilizer into the trough.
12. Use the #1 Phillips screwdriver to tighten the screws.
Note: Alternate tightening between the two screws to ensure that the column-stabilizer is
secure and sits flat against the trough for best thermal performance.
Notice: To avoid stripping the threads, do not overtighten the screws.
13. Loosen the #2 locking cap nut on the column stabilizer before assembling the column or in-
line filter.
Note: For instructions on how to install the column in-line filter, see Installation
recommendations for fittings.
14. Connect the column assembly to the column stabilizer.
Note: For installation instructions, see Dual-threaded fitting with locking cap nut.
15. Connect the column-outlet tubing into the column.
16. Push the column assembly into the column trough.
17. Close the column compartment door and ensure that the door is clasped.
Note: Before operating the column heater with the column stabilizer, you must change the
preheater setting in the console to Active, disabled. For instructions, see Specifying the
preheater setting.
December 4, 2019, 715005052 Version 02 (previously released as Rev.B)
Page 58