To replace the leak sensor:
1. Power-off the sample manager.
2. Depending on the configuration of the column heater leak-sensor you are replacing, do as
follows:
• If the leak sensor is in the sample manager's upper drip tray, follow the instructions for
replacing the leak sensor in the ACQUITY UPLC Sample Manager - Flow Through
Needle PLUS Series Overview and Maintenance Guide.
• If the leak sensor is in the MS-bracket drip tray, proceed with the steps below, to
replace the leak sensor.
3. Disconnect the APH-inlet tubing from injector port 6 of the sample manager.
4. Disconnect the column-outlet tubing from the detector inlet.
5. Disconnect the eCord fob from its receptacle on the right-hand side of the CH-A.
6. Using the T20 TORX driver, remove the TORX screw from the right-hand side of the
column heater, behind the eCord receptacle.
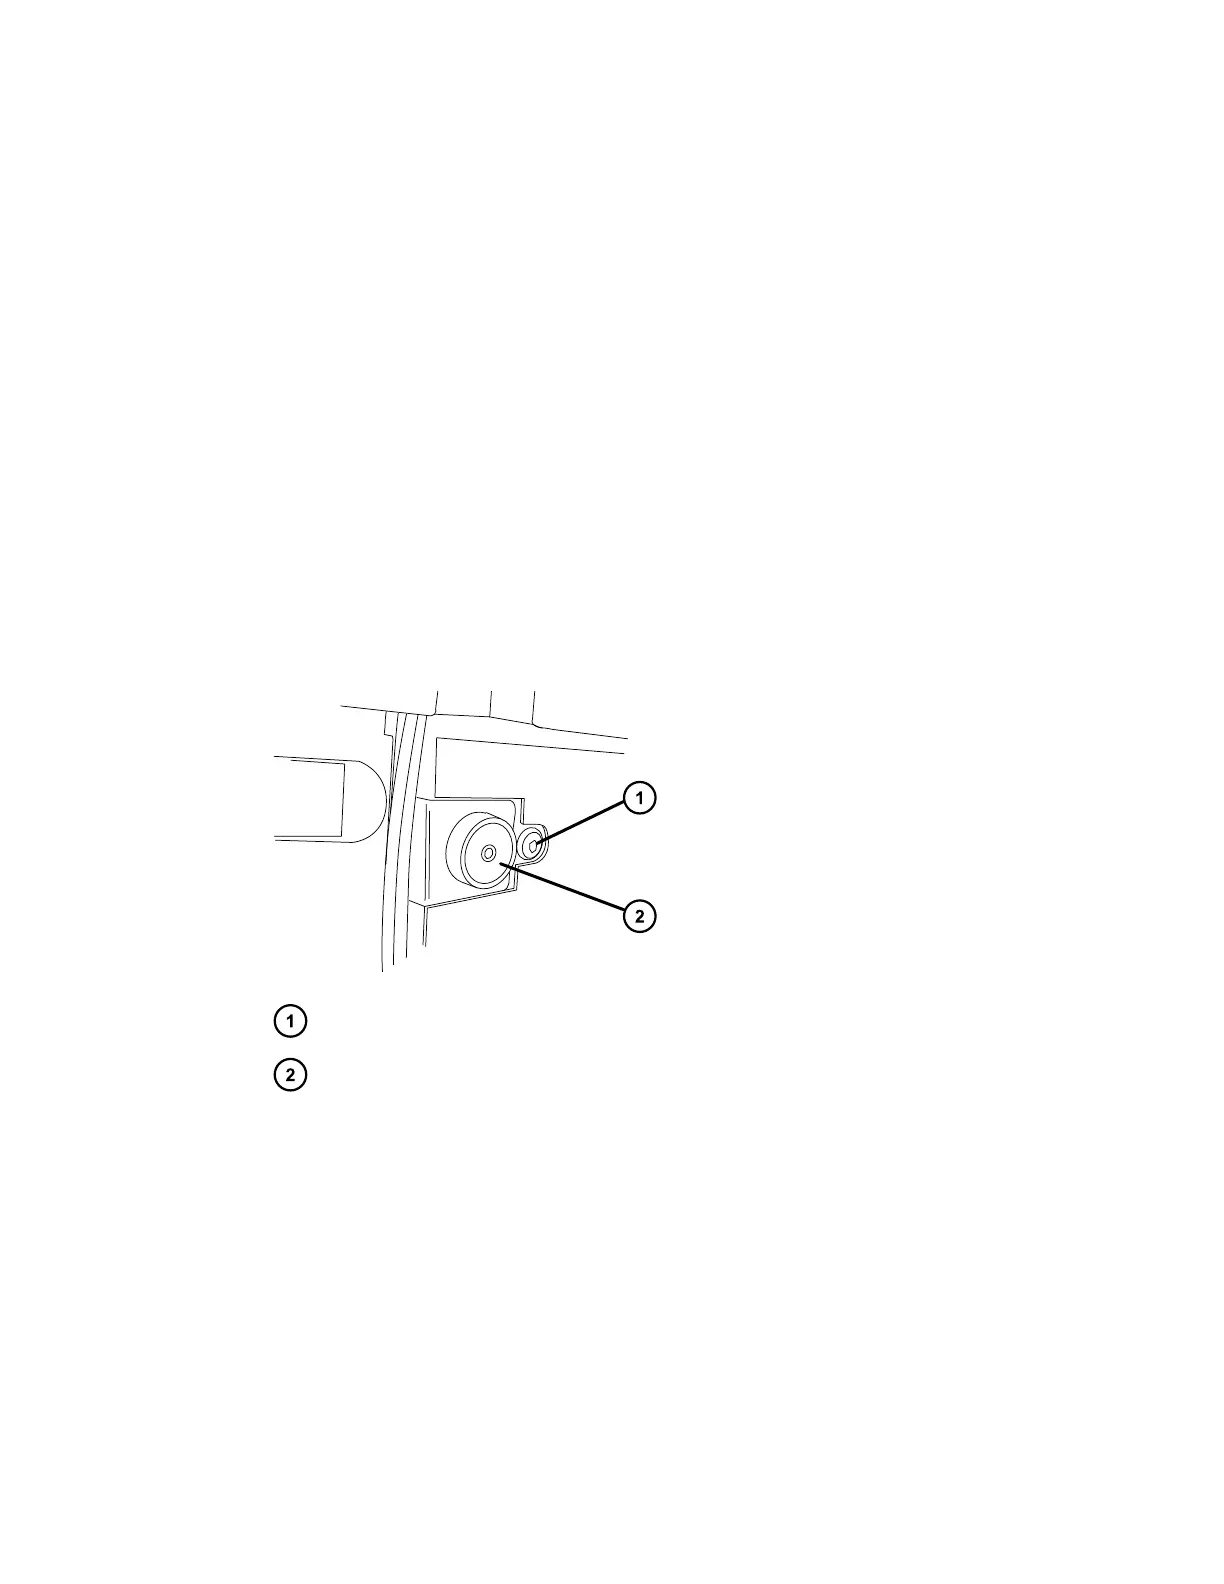
Figure 3–1: TORX screw behind the eCord receptacle
TORX screw
eCord receptacle
7. Gently pull the right-hand side of the column heater toward you, and then slide it to the
right, to unseat the tab on the left-hand side of the column heater from its extended
column-heater housing.
8. Using the flat-blade screwdriver, loosen the two retaining screws, and then remove the CH-
A interconnect cable's 25-pin connector from the D-sub receptacle on the rear of the
column heater.
December 4, 2019, 715005052 Version 02 (previously released as Rev.B)
Page 71