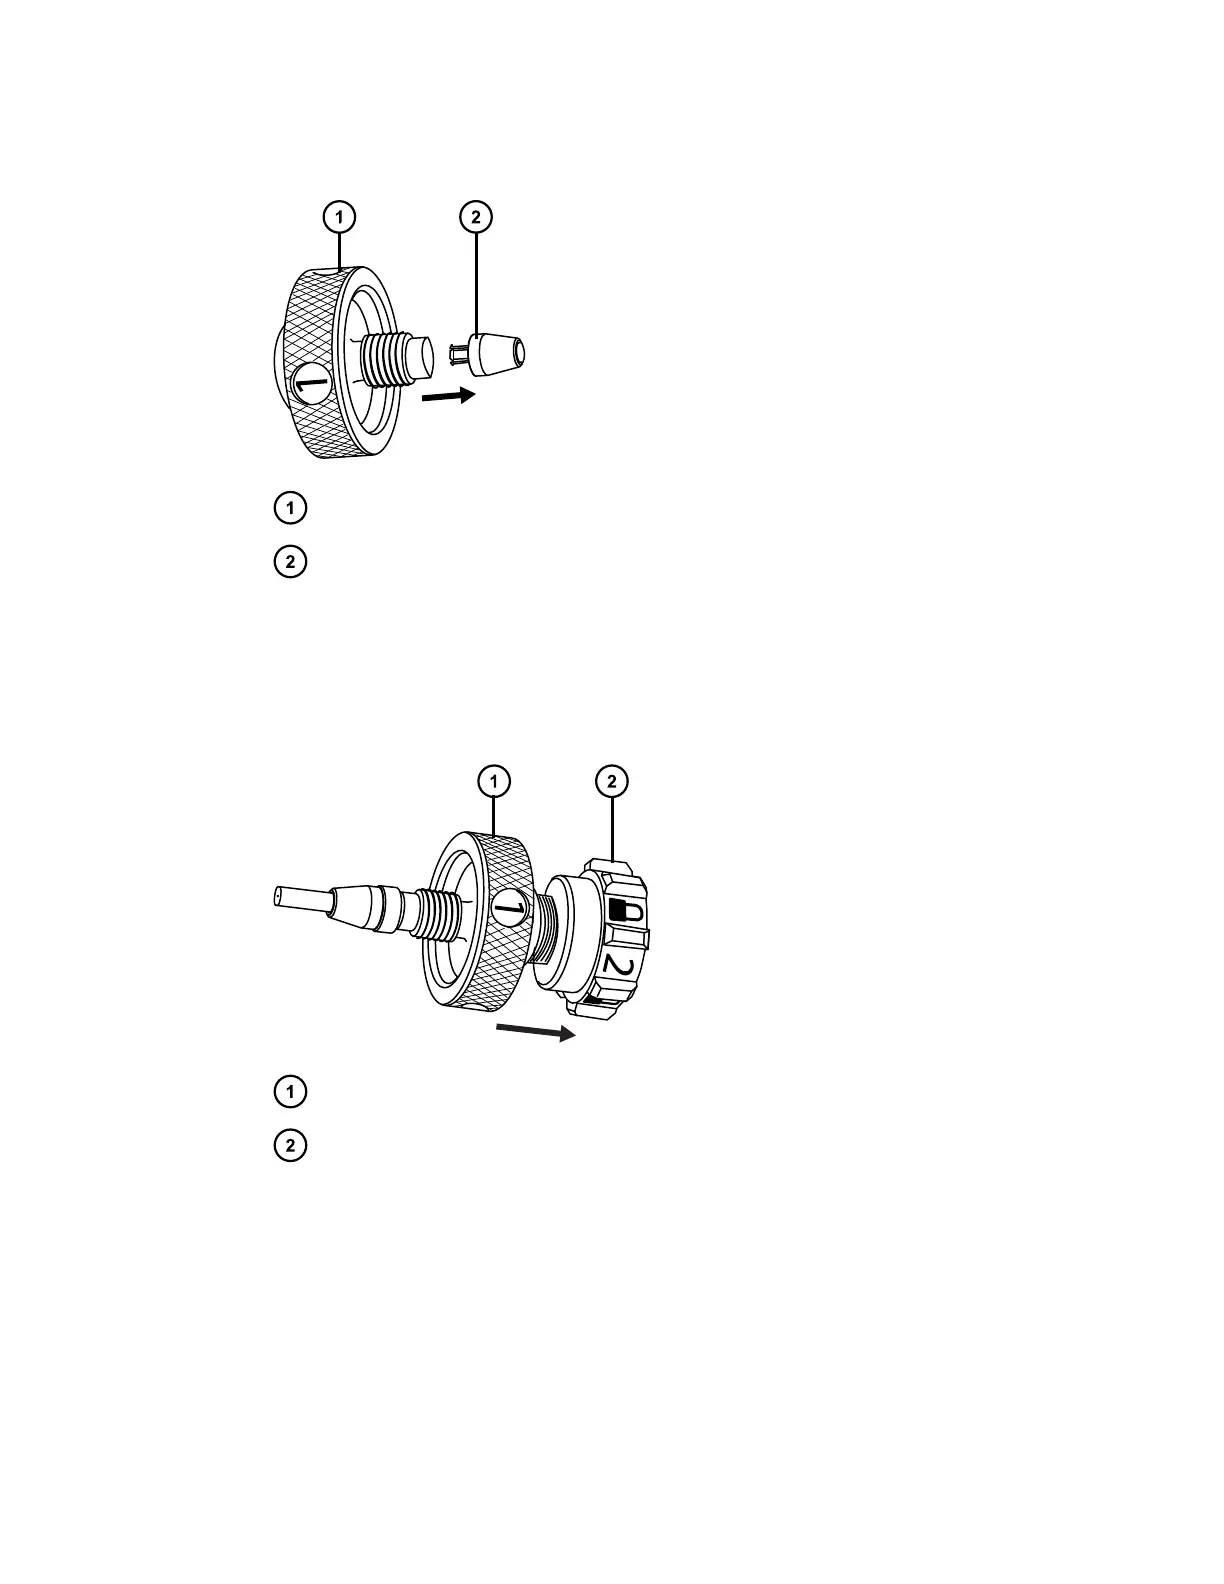
Figure 3–17: Removing ferrule from fitting
#1 knurled compression fitting
Ferrule (captive ferrule shown)
4. Discard the used ferrule.
5. Install the new ferrule on the fitting.
6. Slide the #1 knurled compression fitting and ferrule onto the tubing.
Figure 3–18: Sliding fitting and ferrule onto tubing
Tubing
#1 knurled compression fitting
Note: If it is a captive ferrule, the ferrule locks into the fitting.
7. Screw the #2 locking cap nut onto the #1 knurled compression fitting.
December 4, 2019, 715005052 Version 02 (previously released as Rev.B)
Page 87